Quilt #4: Crosstown Buzz

I started working on this quilt in April 2021 when I first picked up Urban Quilting by Wendy Chow. Her book was one of the first quilting books I ever bought. When I was searching for books online I was immediately drawn to her modern patterns and bright colors. I decided to try my hand at the throw version of ‘Crosstown Buzz’ in a green and pink color palette. At this time I was shopping mostly from Pins and Needles so I picked out the Tiger Lily collection (Paintbrush Studio), a shetland flannel in a russet herringbone (Robert Kaufman), and a solid in the color Willow (Kona). I also picked up Aurifil 50 weight thread in Light Peony and Medium Spruce (2437 & 2885).

Initial fabric picks pulled from Pins & Needles

The first cuts of my fabric selection

While it was the 2nd quilt I had ever started, it was the first quilt I was making for myself (rather than giving it away). But because of this, this quilt ended up getting deprioritized in favor of the baby quilts I was making in 2021/2022. Then of course, when everything was put on pause while I was dealing with health issues, this quilt was left in a partial state.

Picking up this quilt was quite intimidating for several reasons. Mostly because I had to reckon with my old mistakes when trying to finish this quilt. Here is a quick summary of my past sins:

1) Due to the amount of pieces needed, I had try to cut my strips and triangles in bulk but hadn’t developed the techniques at the time to successfully cut it evenly and consistently.

2) I had not sewed all my seams with the same seam allowance. Which made my flying geese triangles smaller than they should of been.

3) While I had completely pieced half the blocks and squared them up before abandoning the project, there was still half the quilt to finish piecing. And for a 72 x 72 inch quilt that is not insignificant.

So I already knew walking back into this project I would need to do some aggressive cutting to try to keep things square and that I was going to have issues with my triangles lining up.

In Oct 2023, I started trying to orient myself to where I had left off in the pattern so I could pick up the rest of my pieces and make up the second half of the blocks. As I predicted, I ended up having to cut off quite a bit to square them up.

Once I had all the blocks completed, the next challenge was getting all the blocks to line up. I quickly realized that I was going to have cases where two halves of the triangle were not going to line up and that there wasn’t really much I could do about that.

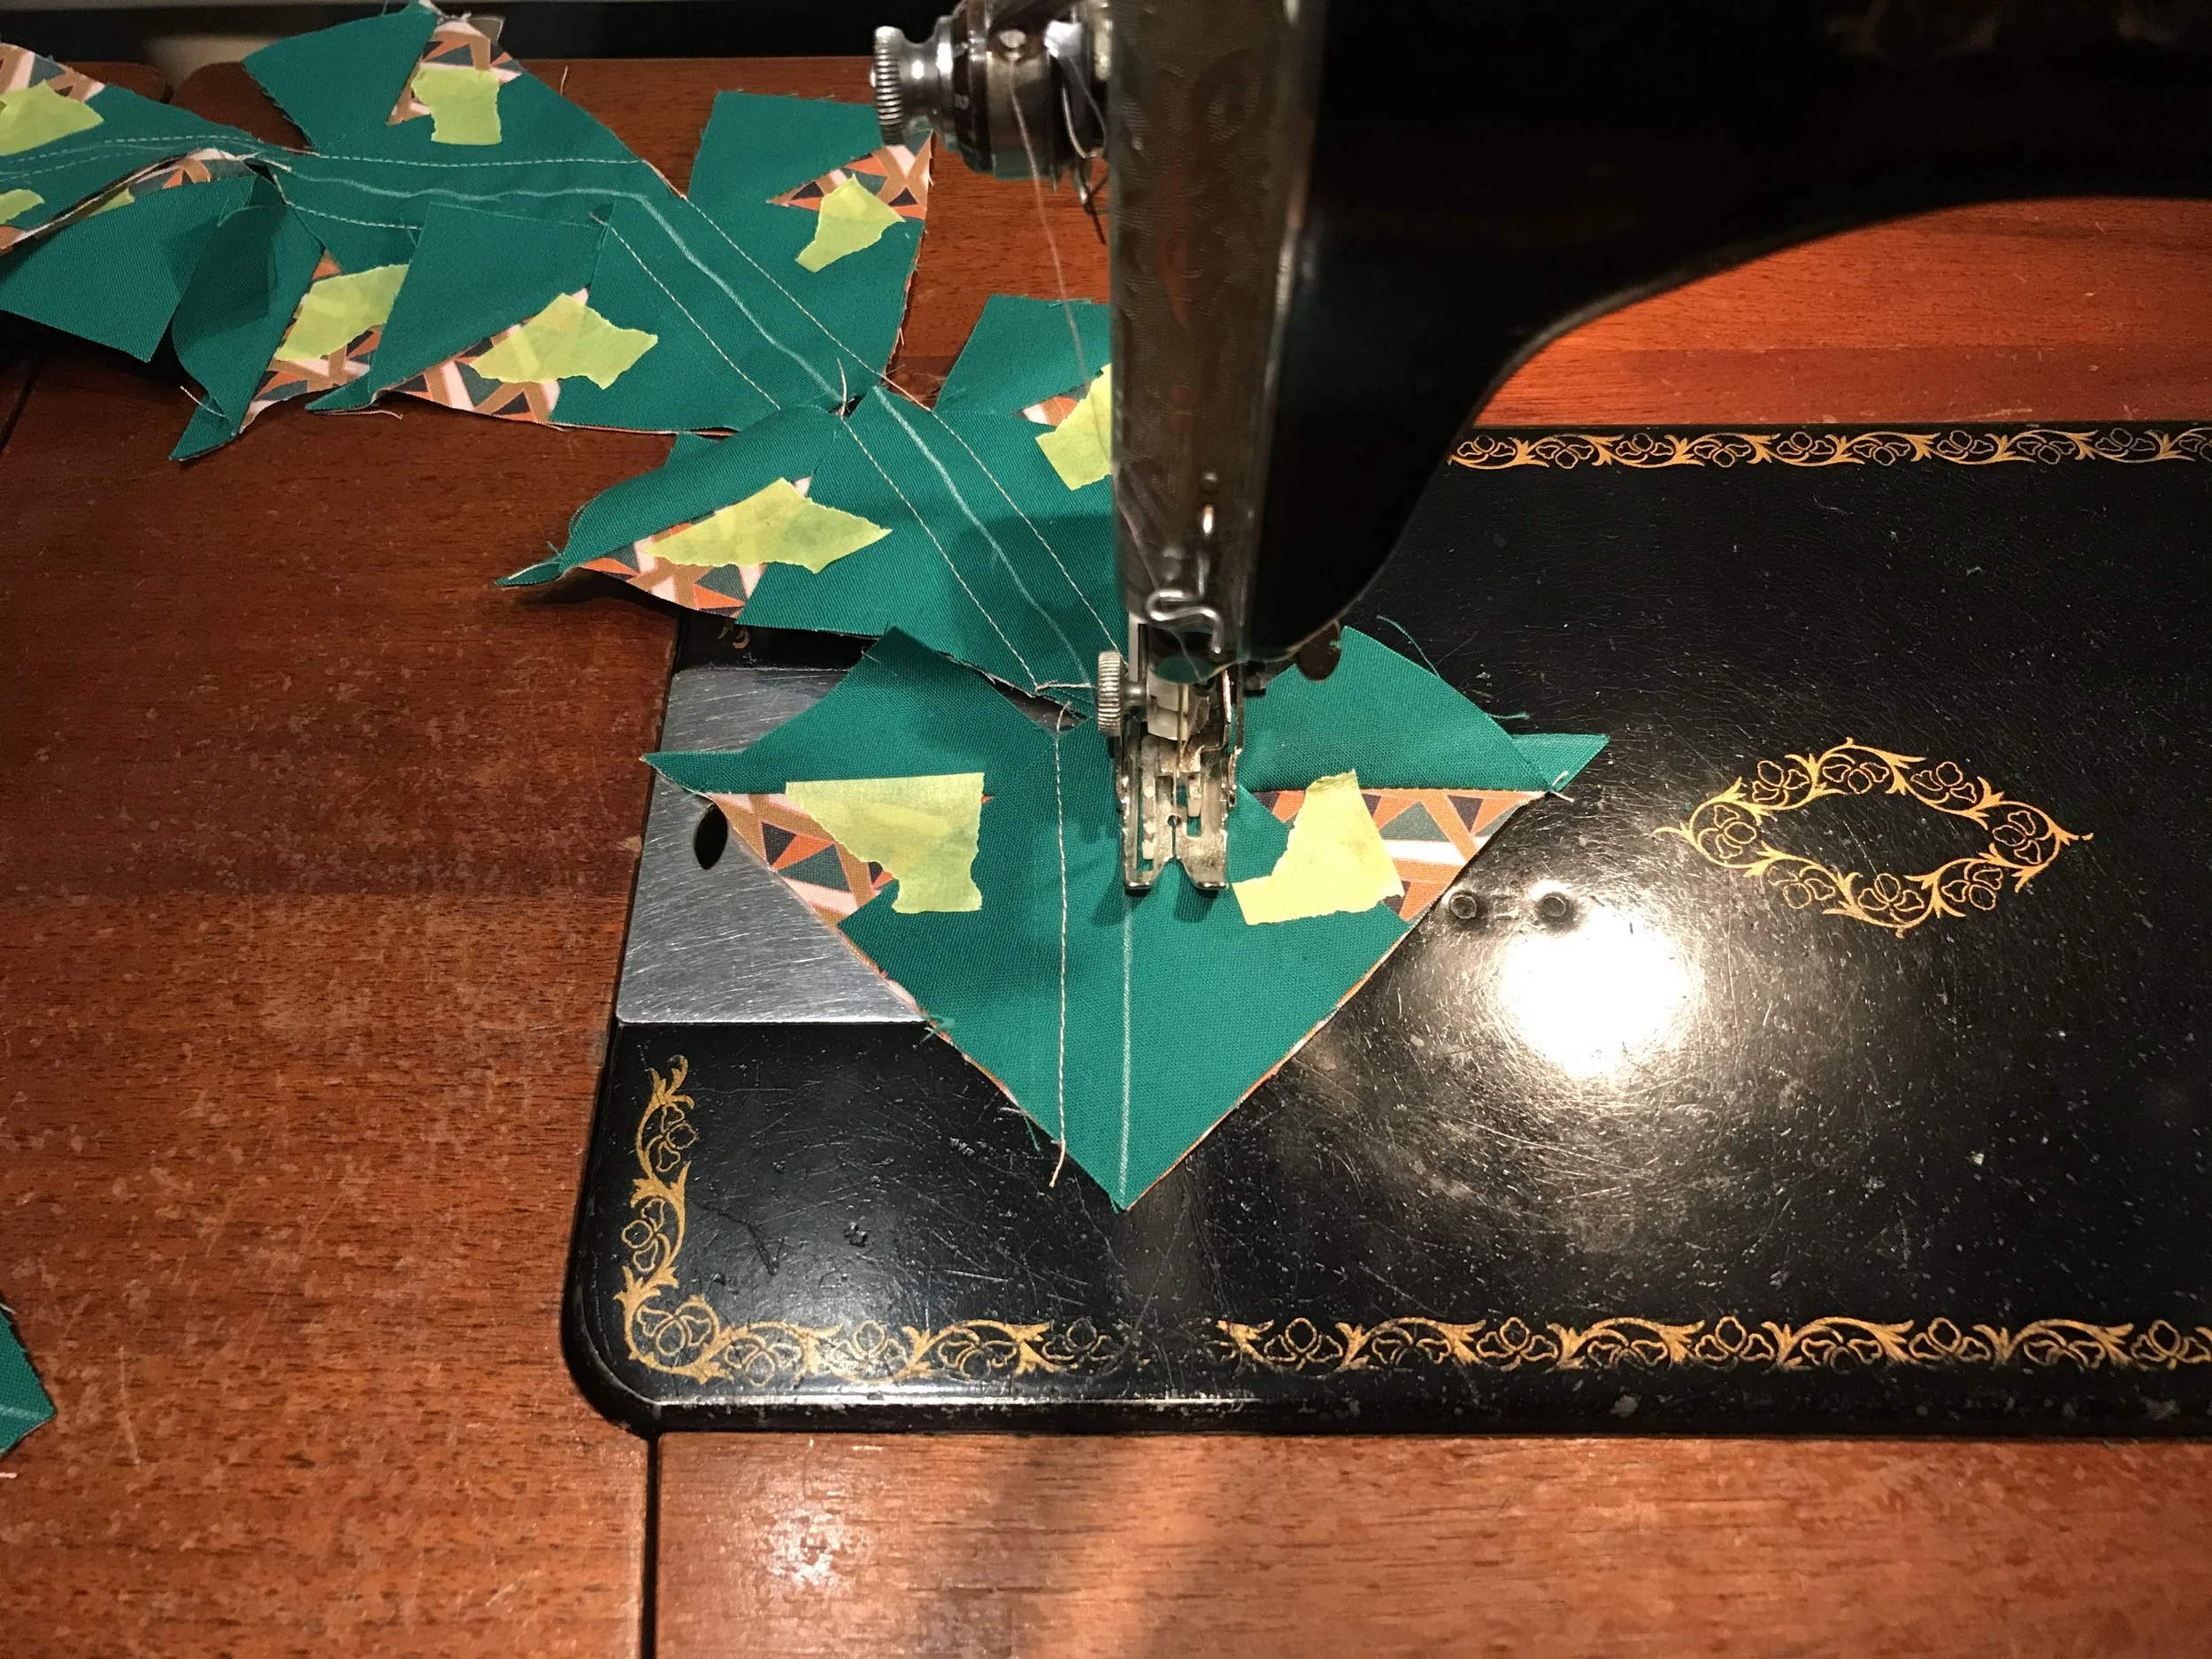
By this point it was Nov 2023 and I was nervous about trying to feed this quilt through my 15-91 for the actual quilting part of the process due to the sheer size and I was also beginning to have issues with my thread snapping while quilting on my 15-91. Despite my attempts to adjust the tension, I was unable to solve the problem. So while I was arranging for my 15-91 to be serviced, I decided to take the opportunity to try out a Pfaff Ambition 620 at my local quilt shop.

I stitched in the ditch of the blocks using Light Peony as my bobbin thread (for the backing) and Medium Spruce as my thread for the front. The blocks are quite large though in this pattern, hence I was worried that the quilt spacing wasn’t dense enough. So I decided to add some hand stitching in 8 wt Acorn Thread’s ‘Maple Syrup’ (Trailhead Yarns) around one triangle in every block.

This kept me busy for a month or so and finally in Jan 2024 I was ready to tackle the binding. I ended up keeping the solid fabric in Willow (Kona) for the binding and machine sewed it to the front with my 15-91 (which had returned from servicing by this point). I finished the binding with hand stitching in the same 8 wt Acorn Thread’s ‘Maple Syrup’ (Trailhead Yarns). As I worked on the binding, I found a few places on the front where I failed to catch part of the binding due to misaligning my binding layers. Which led to me having to hand repair a few spots.

Hand stitching around a triangle

Hand stitching the binding to the back of the quilt

Repairing part of the binding

After a round in my washer and dryer, I did my final inspection for loose threads and weak spots. All I found was a few more spots on the binding that I had to hand stitch. Below is the final result!

I’m still struggling to figure out how to photograph quilts that are as large as this one. Short of hanging it from the ceiling, I’m not sure what else I can do.

It is a big relief to finally finish this quilt. And now that it is done I can comfortably move on to new things. I’m still trying to decide what my next quilt should be but I think I will take a break from triangles for a little while.

Update + Quilt #3

I’ve been on a somewhat long and unintended hiatus. My last post was in January 2022 although the last time I was really actively and regularly posting was August 2021. It is not as though I wasn’t thinking about quilting or Singer 15-91s. Over the last two years I was occasionally buying fabric, patterns, and sewing equipment. I even had a grand plan to go over all the different sewing feet you can use on a Singer 15-91 and film demonstrations of it. But of course that didn’t happen.

Health-wise I had things going on that made it difficult to set aside time to quilt (or even blog about Singer 15-91s). I was often too tired and all my projects gathered dust. And then, when I started to feel better about six months ago, I was busy planning for a wedding. It wasn’t until very recently that I pulled myself together (and stopped staring guiltily at my fabric stash and quilting supplies) to actually work on one of my abandoned quilts. Part of the this was driven by the fact I had a coworker with a new baby and I wanted to gift a quilt to them. Another reason was that I had signed up for a class on hand quilting a binding and needed to bring in a project far enough along to practice on in class.

I think I’m in a better place now to post more actively here. I will first focus on wrapping up my abandoned projects and then transition into new Singer 15-91 content.

Quilt #3

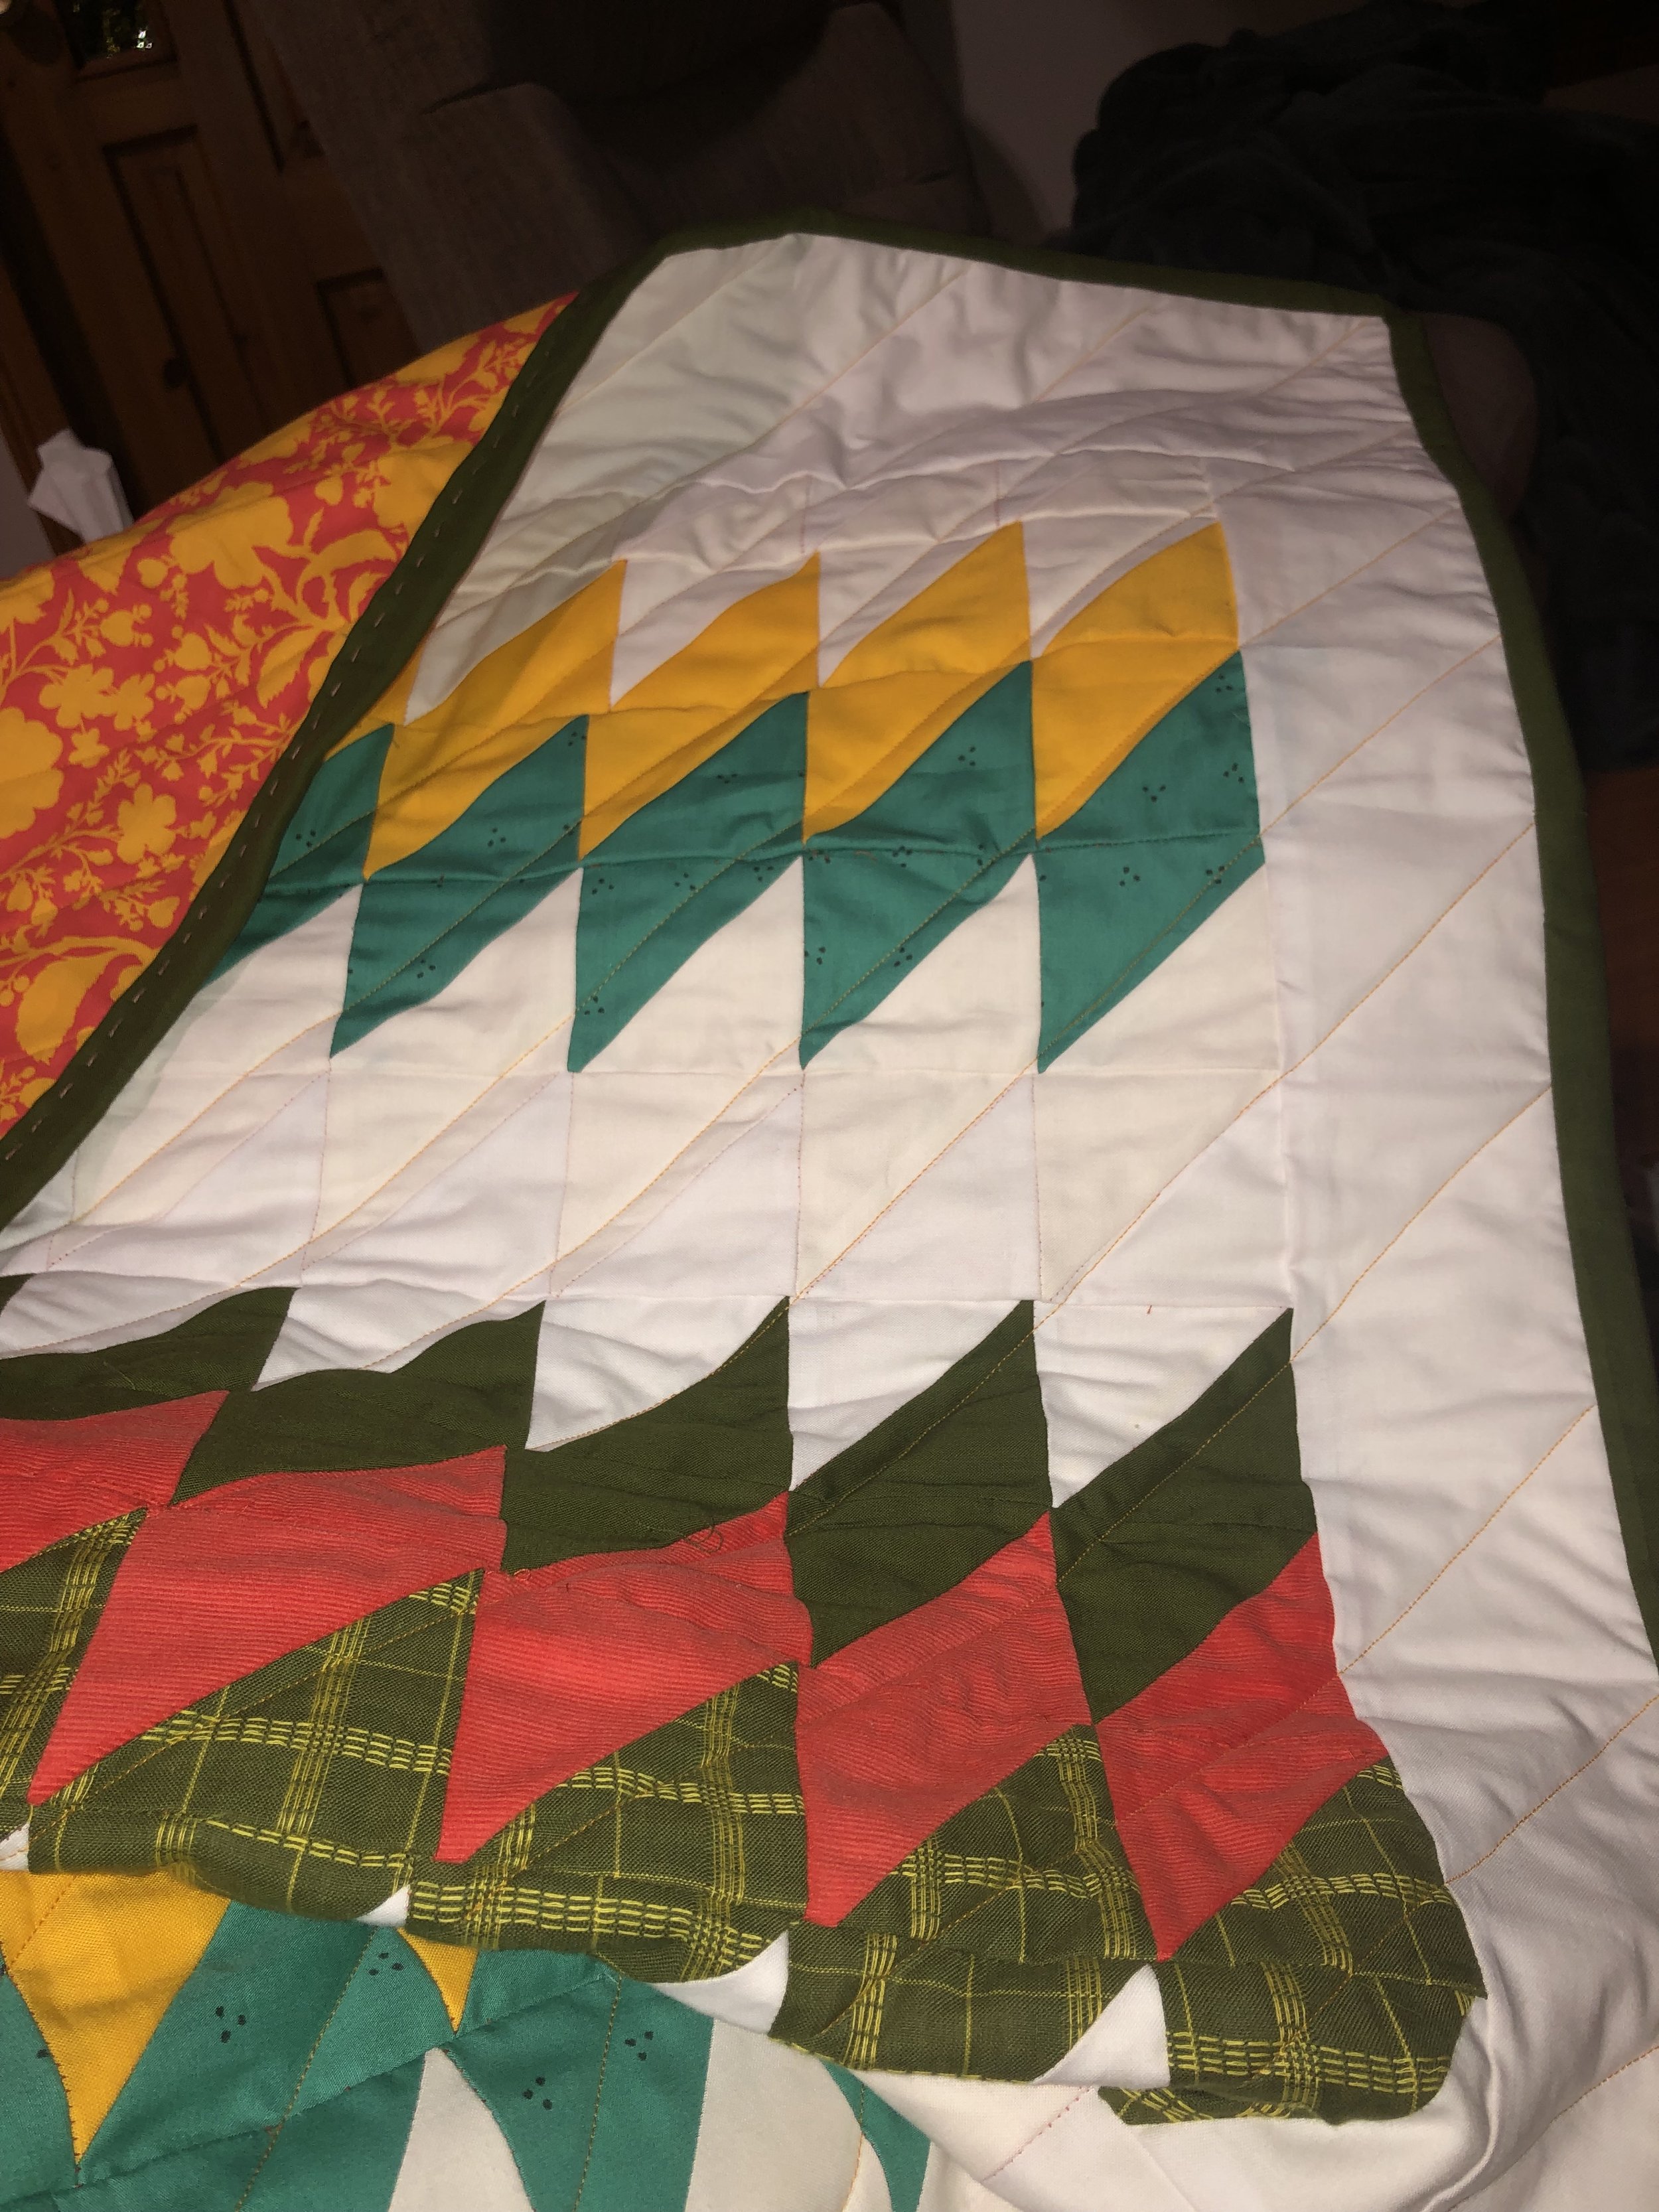
Speaking of abandoned projects, I have just finished one. It is a long overdue baby quilt that I originally started for another baby. But after a year, it seemed like I had missed the window of opportunity to finish it and gift it. When another coworker recently had a baby, I decided I need to revisit this quilt and complete it. So eager was I to get this quilt at the door that I forgot to take good photos of it. I only have a few snapshots from my phone.

Mostly the front of the quilt with the back folded over. The top group of colors is repeated at the bottom.

Stitches from hand binding showing up on the back of the quilt

I followed the pattern ‘Angelos Mini’ from Southwest Modern (by Kristi Schroeder). As you can see it is somewhat similar to a diamond pattern although it is more like stacked rectangles. In terms of color, I picked Kona cotton colors (Sunny, Avocado, Snow, and white) mixed with a vibrant salmon corduroy and patterned blue and green fabrics. The back, which you can see folded over in the photos, is a Tula Pink cotton (specifically Wildflower in Snapdragon). I’m aware that some people have strong opinions that baby quilts should be pastels and neutral colors, but I think these colors came together in such a fun way. The corduroy also added some nice texture.

I didn’t do anything fancy with the quilting technique (just diagonal lines) but a fun part of the quilt was the binding. Recently, I learned 5 techniques for hand stitching and it was fun to apply one of them to the binding using Acorn Hand Dyed Threads (by Trailhead Yarns) thread for this particular project.

I did have some difficulties with the pattern though. Despite following the instructions, somehow the border strips were too short for the top quilt and I had to cut back some of my pattern at the top and bottom. Additionally, despite using color catchers, I also had a brief scare about color transfer when I washed the quilt. After seeing some yellow staining, I ran the quilt through the washer about three more times to remove it. All the washing though resulted in some weak points in my quilt top to come undone (specifically seams between two triangles). And I had to hand bind those weak points in two places. On one hand, it is better that I caught this now before sending it. Since this is a baby quilt I expect it to be washed often and these weak points would have been eventually exposed. Catching it now means I can reinforce those areas so the quilt can last longer. On the other hand, it is a bit of a disappointment that after all that hard work my quilt came apart a bit, and I have to put some visible mending on the front before gifting it.

I feel like every project I’ve done so far is a bit of a struggle in terms of piecing together the quilt top. If it isn’t cutting inconsistent fabric pieces, then it is inconsistent stitching which leads to things not lining up properly. Or sometime falling apart as in this case. While I’m sure I am improving since I first started, I still feel like I’m falling a bit short. Which is why it is one of my goals to really improve my piecing work.

One of the things that surprised me was my enjoyment of using hand stitching techniques. While it does take a little more time, I thought the hand stitching on the binding was very aesthetically pleasing despite me being a beginner and my stitches not being completely straight or even. I’m looking forward to doing more of that type of work.

I also really enjoyed using corduroy. It took a little bit of consideration to make sure I was cutting and piecing the grooves/wales (in the fabric) in the same direction, but having that texture in the finished quilt was amazing. I’m looking forward to using it in more projects (as I have a pile of corduroy sitting in my fabric stash).


Quilt #2: Fancy Fox

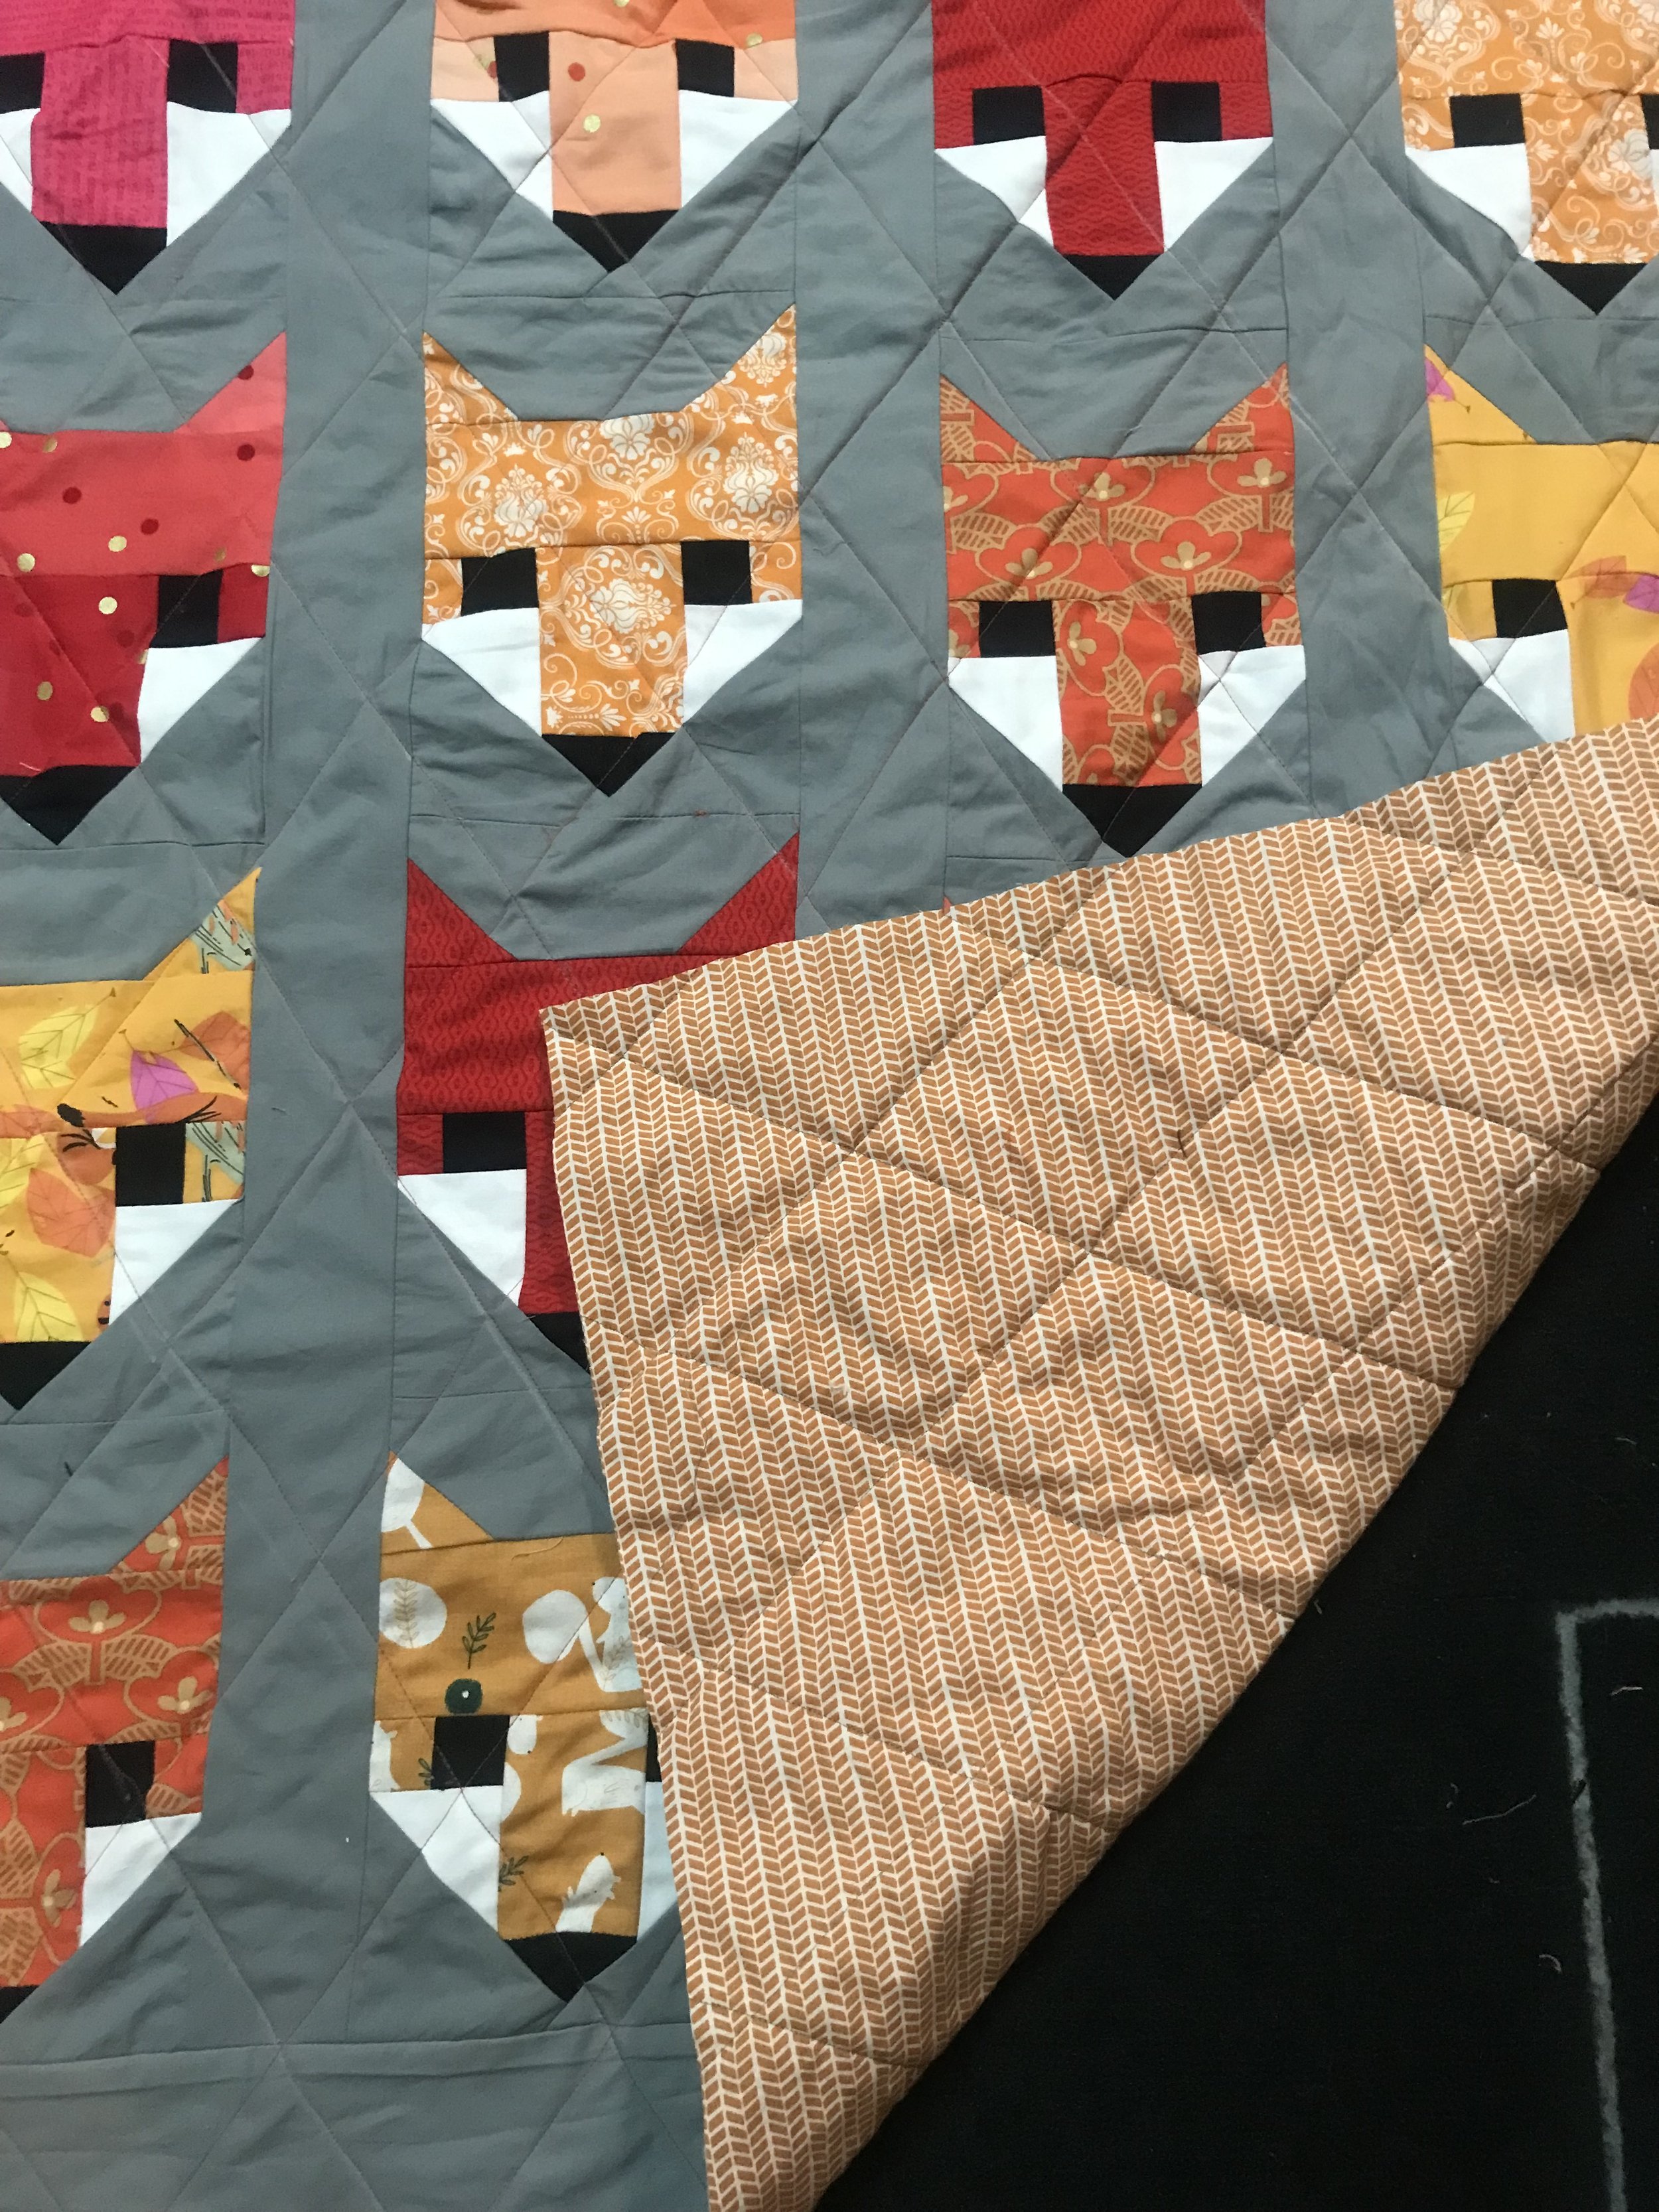
For my second quilt, I decided to do a Fancy Fox pattern (by Elizabeth Hartman). It was initially intended as a birthday gift but it turned into a Christmas gift… I like a lot of Elizabeth Hartman’s patterns but chose this pattern as it seemed one of the easier ones. And the foxes are undeniably cute.

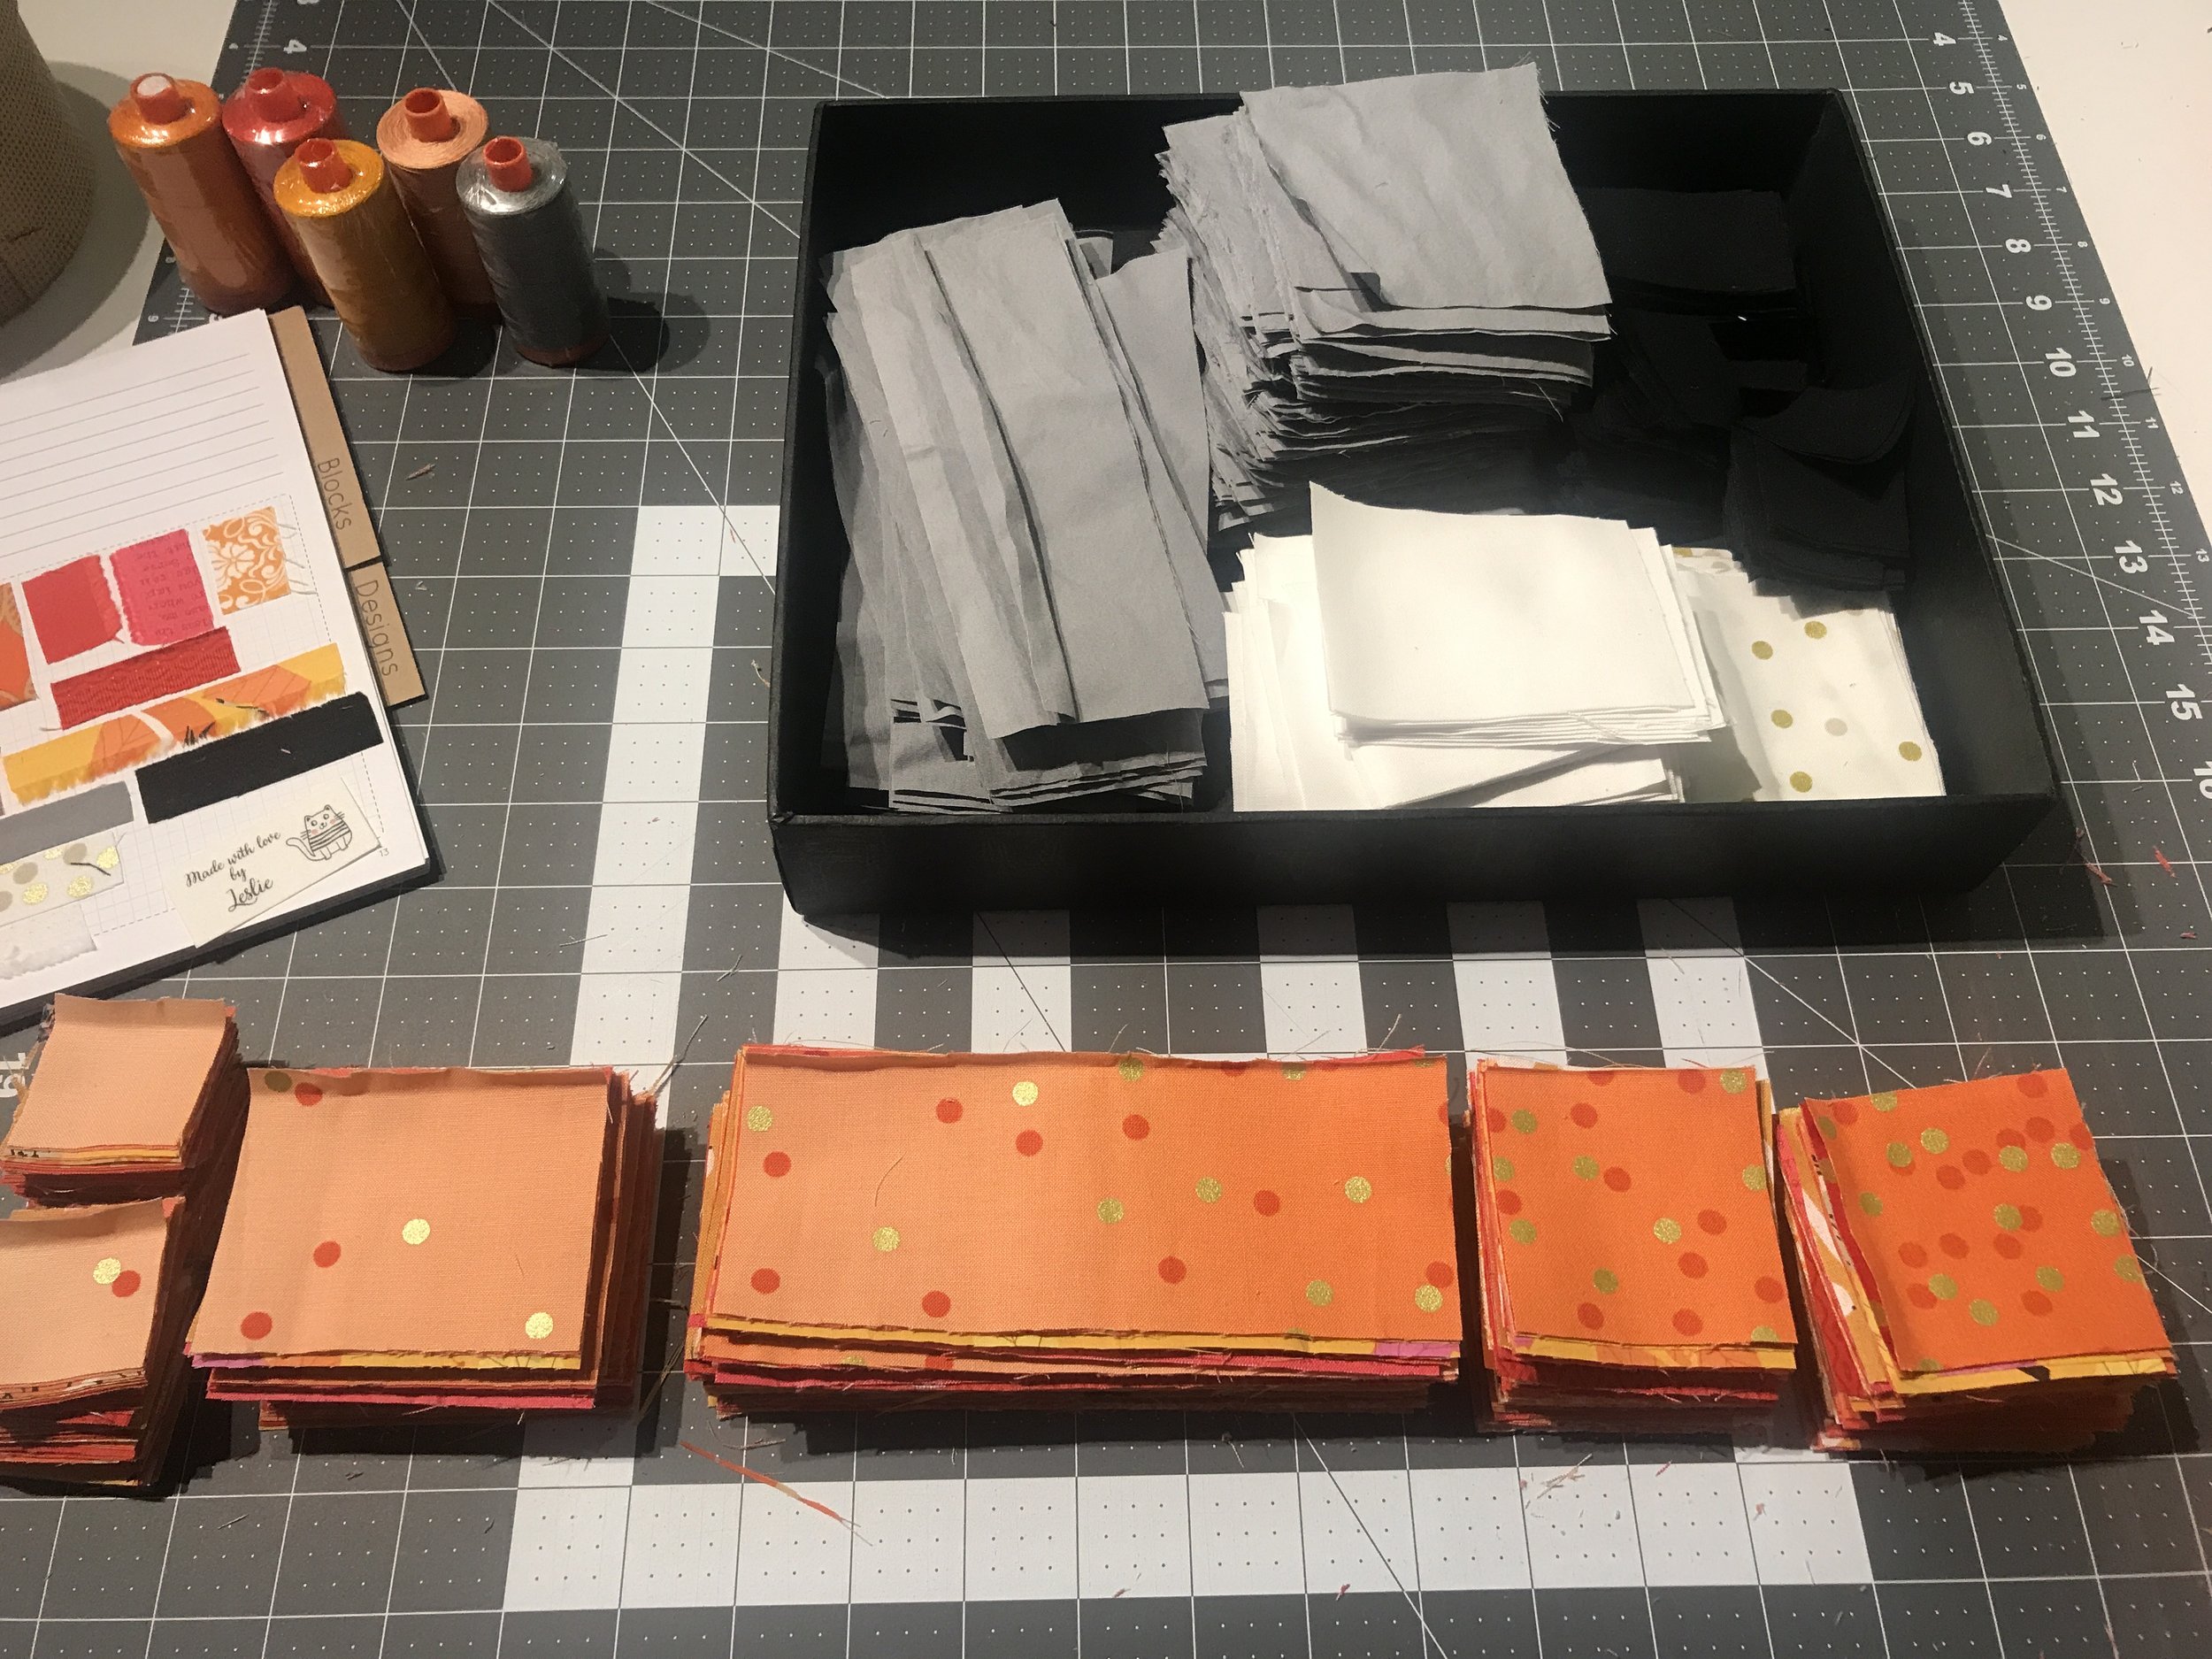
As you can see above, I’ve started to use a quilting journal (from Patterntrace on Etsy) to keep track of my projects. I do wish the fabric section was a bit bigger since I like to list all the fabric colors, but overall it has been a good way to log my quilts. It is also a great way to review the work I’ve done, especially when it is something I’ve given away. While this is labeled ‘Project 3’ in the journal, it is the second quilt I’ve actually finished. Project 2 is still in progress.

I decided to go with the 80 block version (twin sized) of Elizabeth Hartman’s pattern. Which meant A LOT of cutting. And A LOT of piecing. And A LOT of ironing. The only thing that got me through all 80 blocks is how cute the foxes are (and a new blade on my rotary cutter didn’t hurt either).

I’m not sure if it was due to inconsistencies in my cutting or sewing, but I had a lot of difficulty keeping the fox blocks the same size. I had to do a significant amount of trimming to make sure I could fit the blocks together when sewing the strips of blocks together. It means my final quilt is actually a bit smaller than twin size due to how much I trimmed down.

I was also worried about the final layout of the foxes. I didn’t want clumps of certain colors. I ended up having someone help me with the layout (a second pair of eyes really help with this!). When it came to the batting I pulled out my big roll of batting (ordered from Dinkydoo). Is a roll of batting excessive? Maybe. But if you are planning multiple projects that will use the same batting, it might ultimately be cheaper and easier to order a roll of batting (as it was for me). It also meant I didn’t have to piece together multiple pieces of batting for this quilt.

I decided to go with a large diamond pattern to quilt the layers together. Besides the aesthetic, I was also looking for a quick quilting pattern to make sure the quilt was done by Christmas. Since none of my rulers were big enough to draw the lines across the quilt, I used a laser level cube to help guide my lines. I drew them in chalk marking pencils (Roxanne Quilter’s Choice bought from Quilters Cupboard Uxbridge). My one complaint about those marking pencils is I constantly have to sharpen them but it is better than disappearing ink when working on a large project. Next time, I think I will just buy a chalk stick.

For the top of the quilt, I decided to use Blood Orange Aurifil 50 wt thread (#2245, I used it in the piecing as well) to contrast with the gray background. For my bobbin thread (the back of the quilt), I used Gray Aurifil 50 wt threat (#2625). To fit the quilt through the throat of the sewing machine, I had to roll it. I was expecting some trouble due to the size of the quilt (even rolled), but it wasn’t too bad since I have a table behind my quilt that catches the quilt (i.e. prevents pulling on the fabric from the weight of the quilt falling down). There was only a few moments I needed someone to hold the end of the quilt (when I had excess fabric on the left side of my sewing machine).

For the binding, I used the same gray background fabric. After attaching the binding to the front, I had a bit of trouble cleanly sewing it on the back. If I had to do the binding over again I would be a bit more careful about the binding width (make it more consistent) and pinned it more securely while sewing. I would have also taken a bit more time doing the hand stitching around the label. Unfortunately I was under a time crunch and had to get the quilt out the same day in time for drop off Christmas presents.

For the hand stitching of the label, I used some Sew Fine thread gloss (satsuma scented), Acorn Premium Hand Dyed Threads by Trailhead Yarns (Butternut), and sashiko needles. I would not recommend sashiko needles for this type of work. I’m not sure if it was the stiffness/material of the label or something else, but I actually had two sashiko needles break on me while I was trying to sew this label on the quilt. The label itself was from EverEmblem, and the only complaint I have about it is that the color faded a bit in the wash. I’m curious to see how the label holds up long term. I actually sewed the label up to the batting layer of the quilt. I did this so the hand stitching wouldn’t show up on the front of the quilt. It took some practice to correctly gauge the depth of my needle.

This was also my first time using Acorn thread. The thread itself is 8 weight, and I have had some difficulty finding sewing needles that I can thread with that size (hence my attempt with sashiko needles). Despite that though, the color of the thread is gorgeous and I’m excited to try the other colors I have bought on other projects. While hand quilting can be time consuming, it can be a nice touch. And hand quilting can be mixed with machine quilting if you don’t feel like completely hand quilting a quilt. For the thread gloss, while it is not a necessary product, it can make hand quilting easier. It coats the thread to protect it from fraying and tangling, and makes the thread stiffer (i.e. easier to work with). And I would be lying if I didn’t say the scents are a big part of the appeal of using thread gloss (there is a variety of scents of satsuma doesn’t appeal to you).

I am aware there is a debate about washing quilts. Washing quilts will give them a crinkly look (although you can minimize that by pre-washing fabric). Personally, I don’t mind the crinkled look and it has been important to me to make sure the quilts I’ve given out are clean (one was for a baby and the other a toddler). I also think it is a good way to test the integrity of the quilt (as a quilt for a child will likely have heavy wear and tear). After I wash and dry a quilt, I examine it for tears and loose threads. For this quilt, I ended up having to wash it twice since the chalk marks didn’t completely disappear in the first round of washing.

Quilt #1 Update 2

I realized I never finished posting about the baby quilt I made for a family member (part 1 here). I did actually finish the quilt! Some notes below:

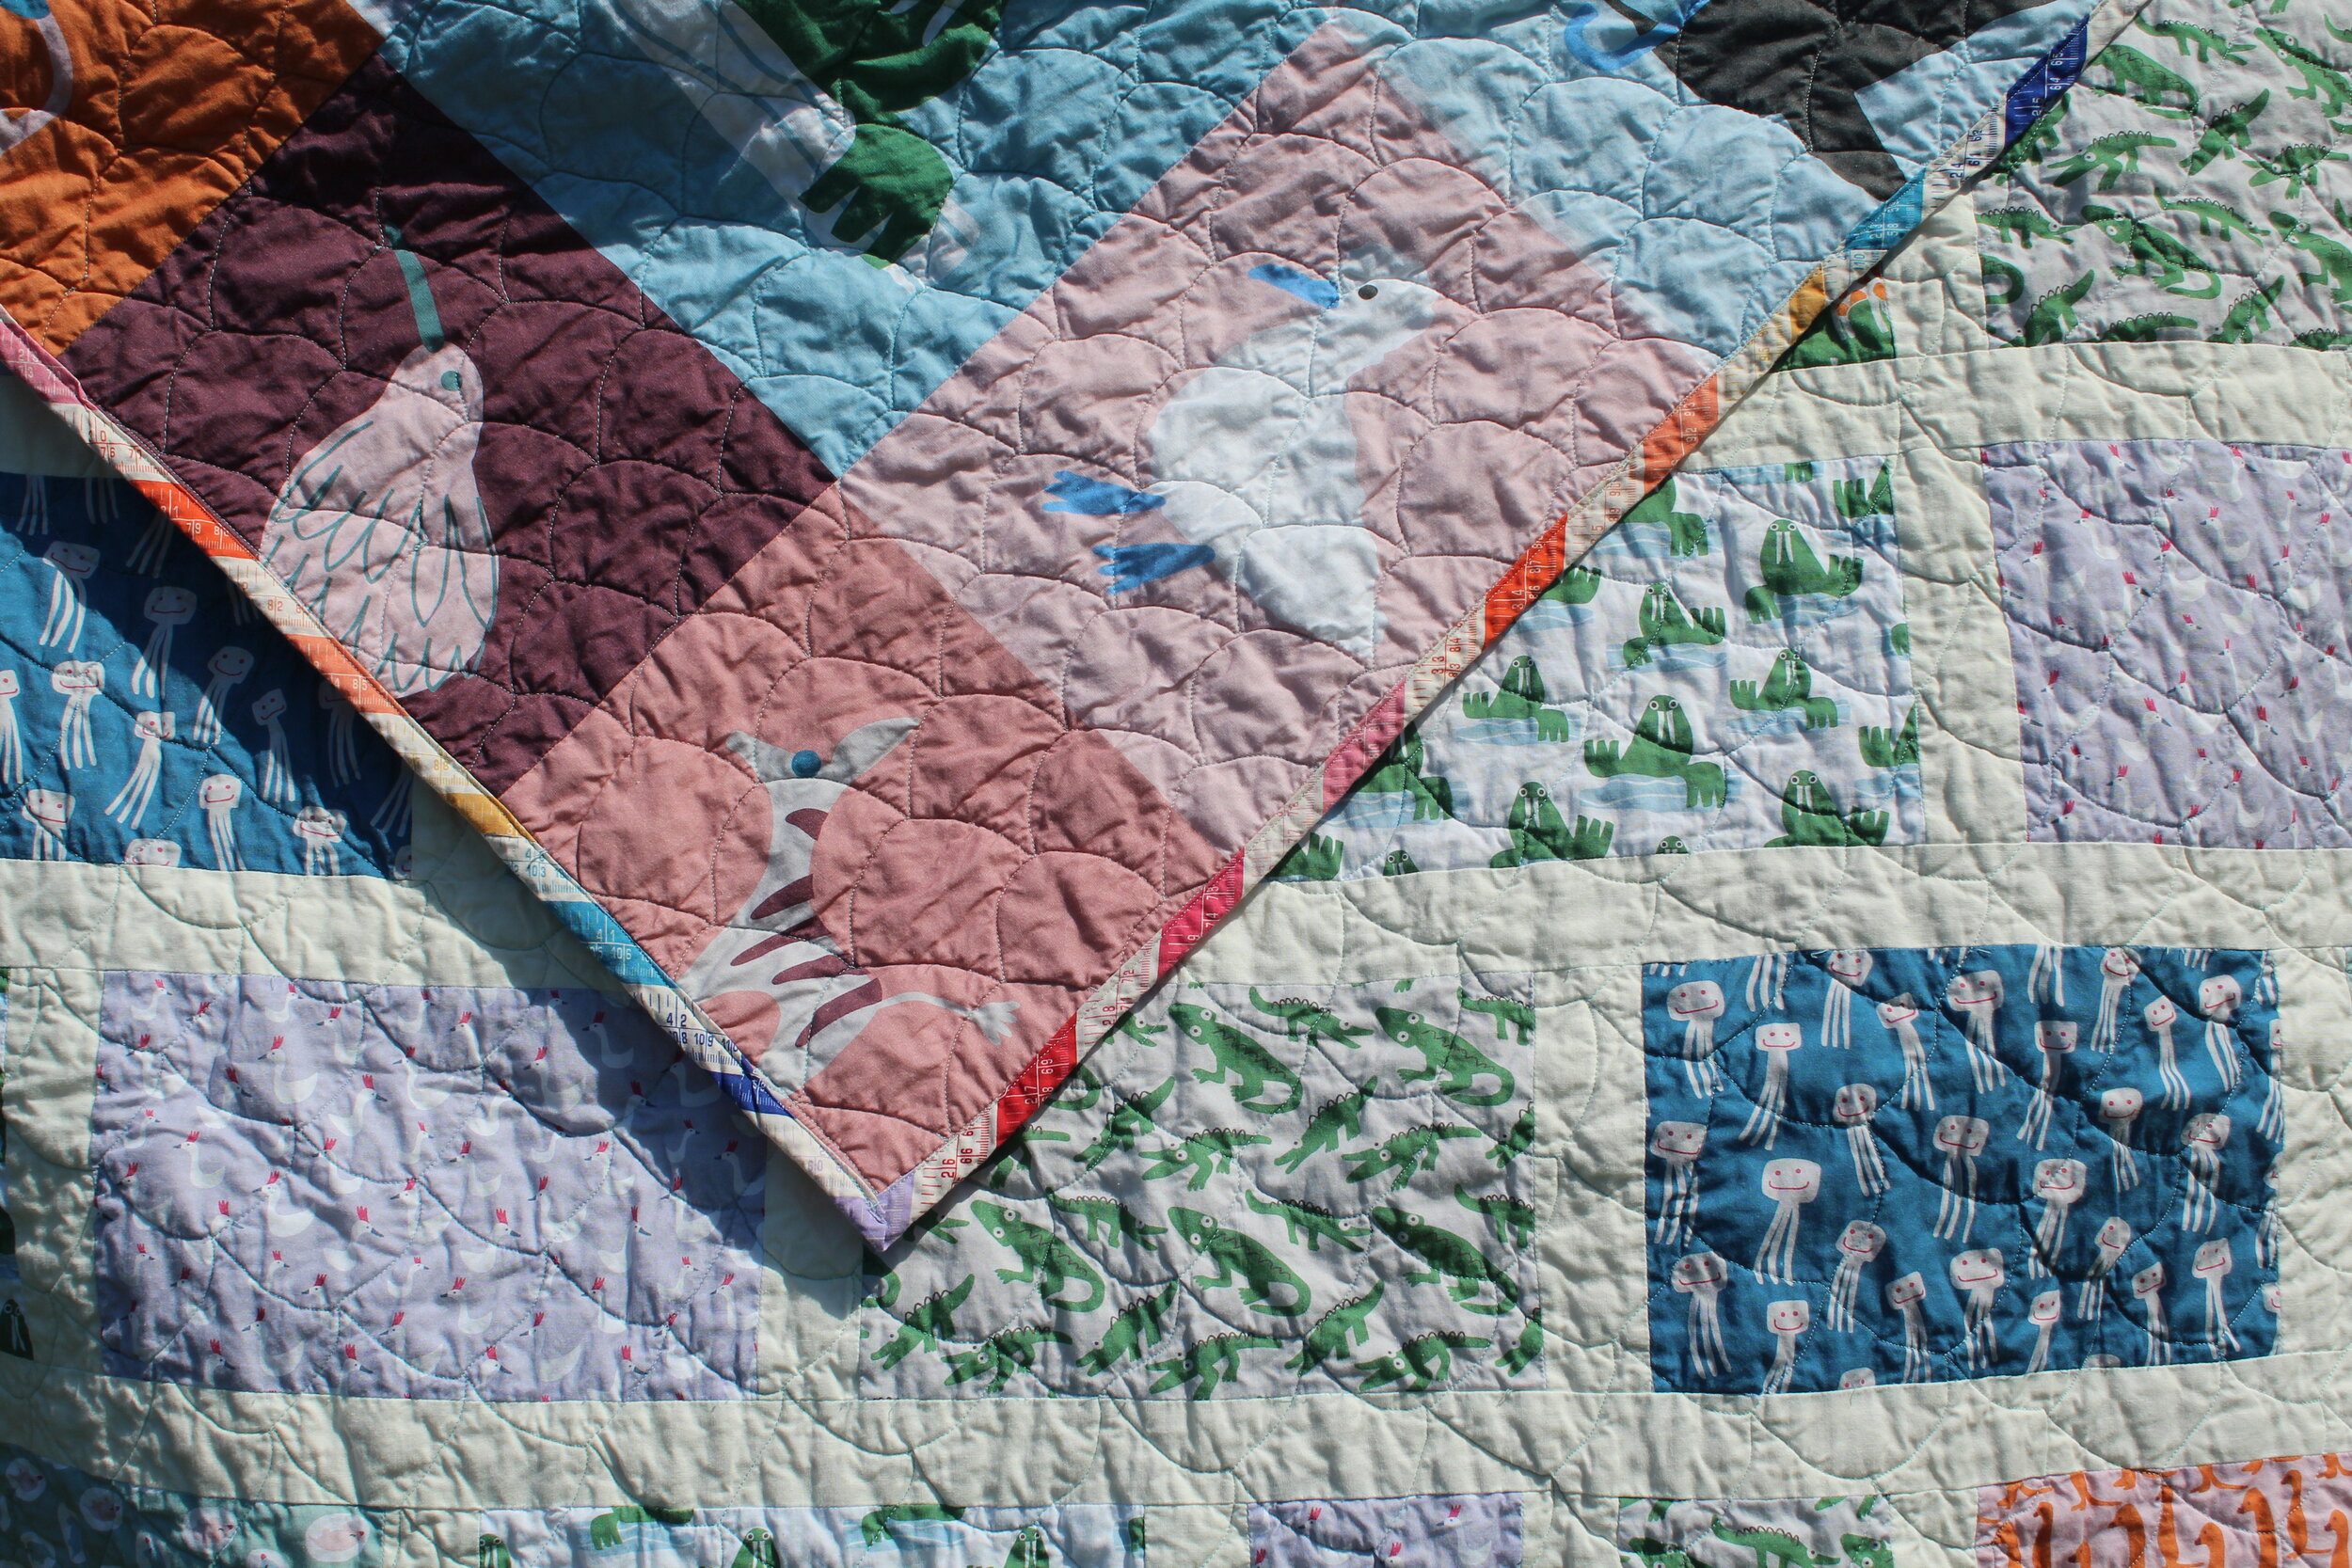
Front - I had some trouble around the dimensions of my piecing blocks. I had to cut many of the blocks down. It’s actually resulted in pieces smaller than what the pattern called for but I don’t think its noticeable.

Backing - the animal panel wasn’t quite as wide as I needed so I cut out strips of the blocks and resew them together to fit the size of my quilt better

Quilting - I did a clamshell pattern with a walking foot. Jacquie Gering actually covers the technique of how to do this with a walking foot in her book ‘Walk’. If you look closely at my quilt, you can see some of my lines for the clamshell pattern are a bit rough but it isn’t noticeable farther away (thankfully). This pattern ended up giving a nice effect to the finished quilt.

Binding - I ended up cutting the binding on the bias and I think it was the best decision given the pattern.

On to other quilts! I think in the future I will wait to post any new quilts until I’ve completed the project in full.

Quilt #1 Update 1

The first quilt I’m working on is a baby quilt for a family member. I already had some fabric from Paintbrush Studio’s Animal Kingdom Collection and I decided to pair it with the Zoo Dwellers pattern from Andy Knowlton. For piecing thread, I’m using 50 wt. Aurifil cotton thread (2805 Light Gray Turquoise) . I am still not sure if I will use this color for the actual quilting part but I will have some time before I have to decide.

IMG_1687.jpg

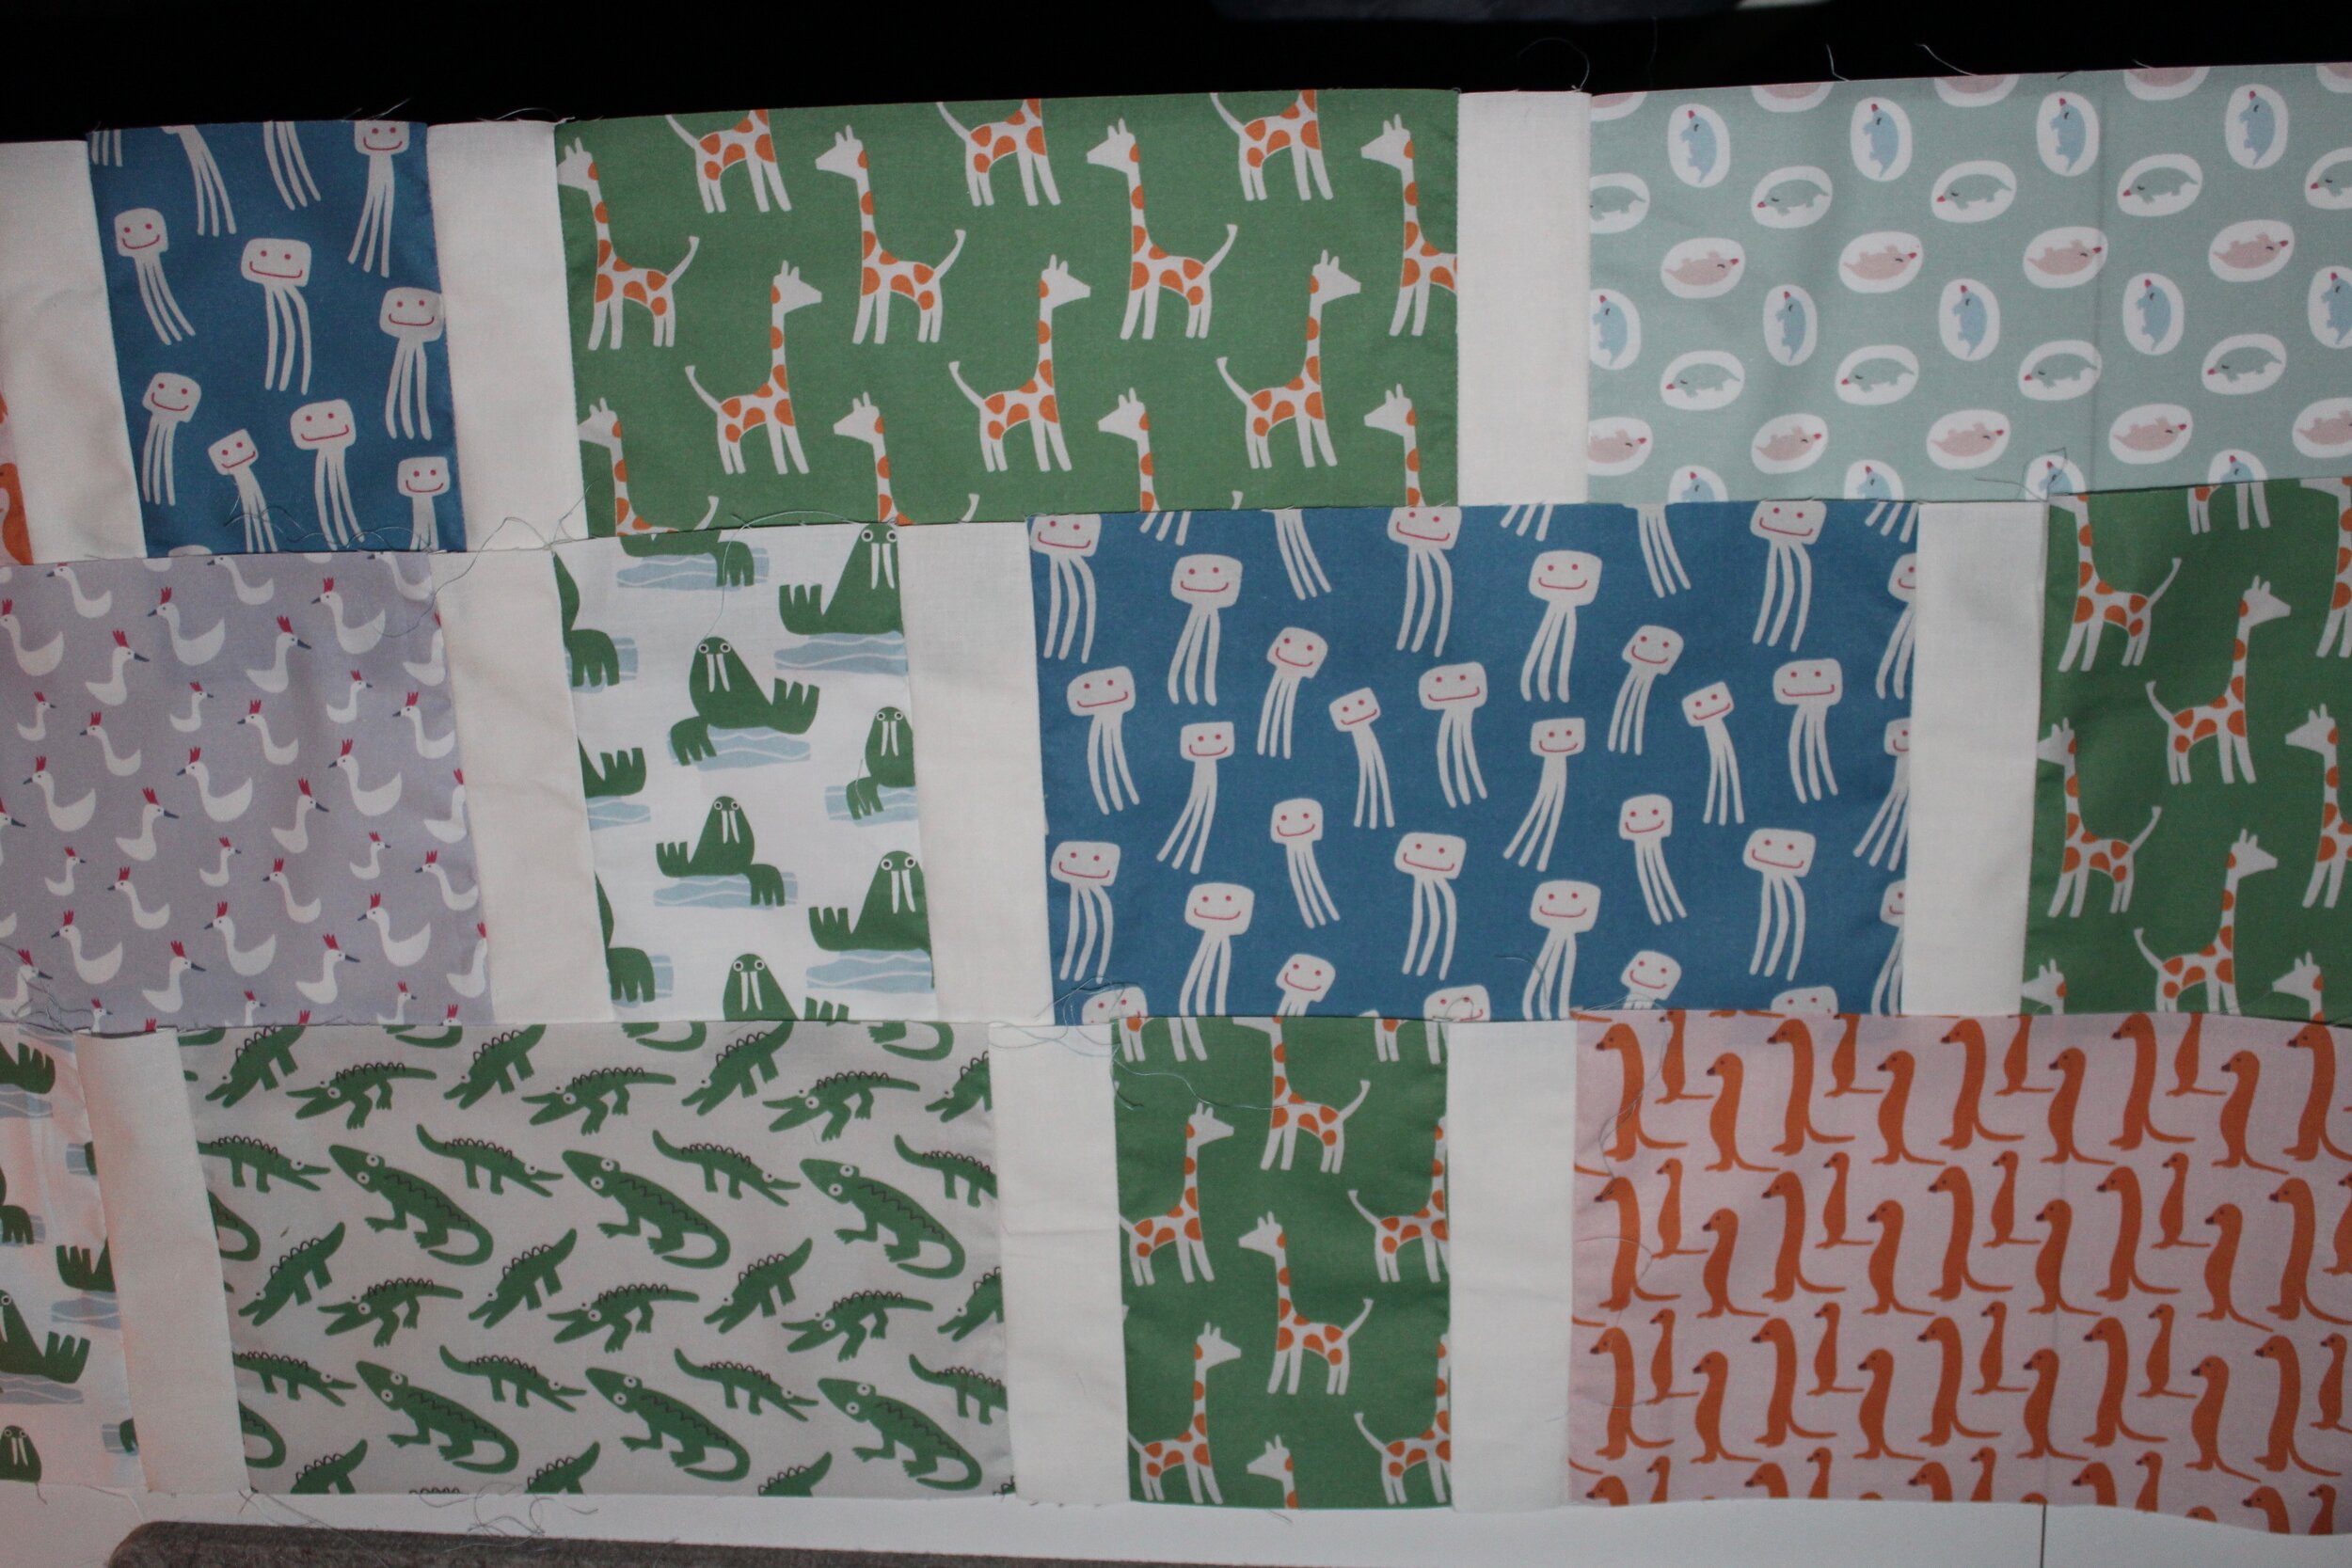
As you can see above, I’m done with the cutting for all the piecing work (although I still need to make the binding tape and cut the backing). I will say the first thing that has made me nervous is the fact that this pattern calls for cutting out long white strips of fabric. I’m a bit worried that these strips aren’t completely square since I couldn’t cut them in one cut (too long for my table), I will have to keep an eye on my quilt blocks as I construct them and make sure they are square.

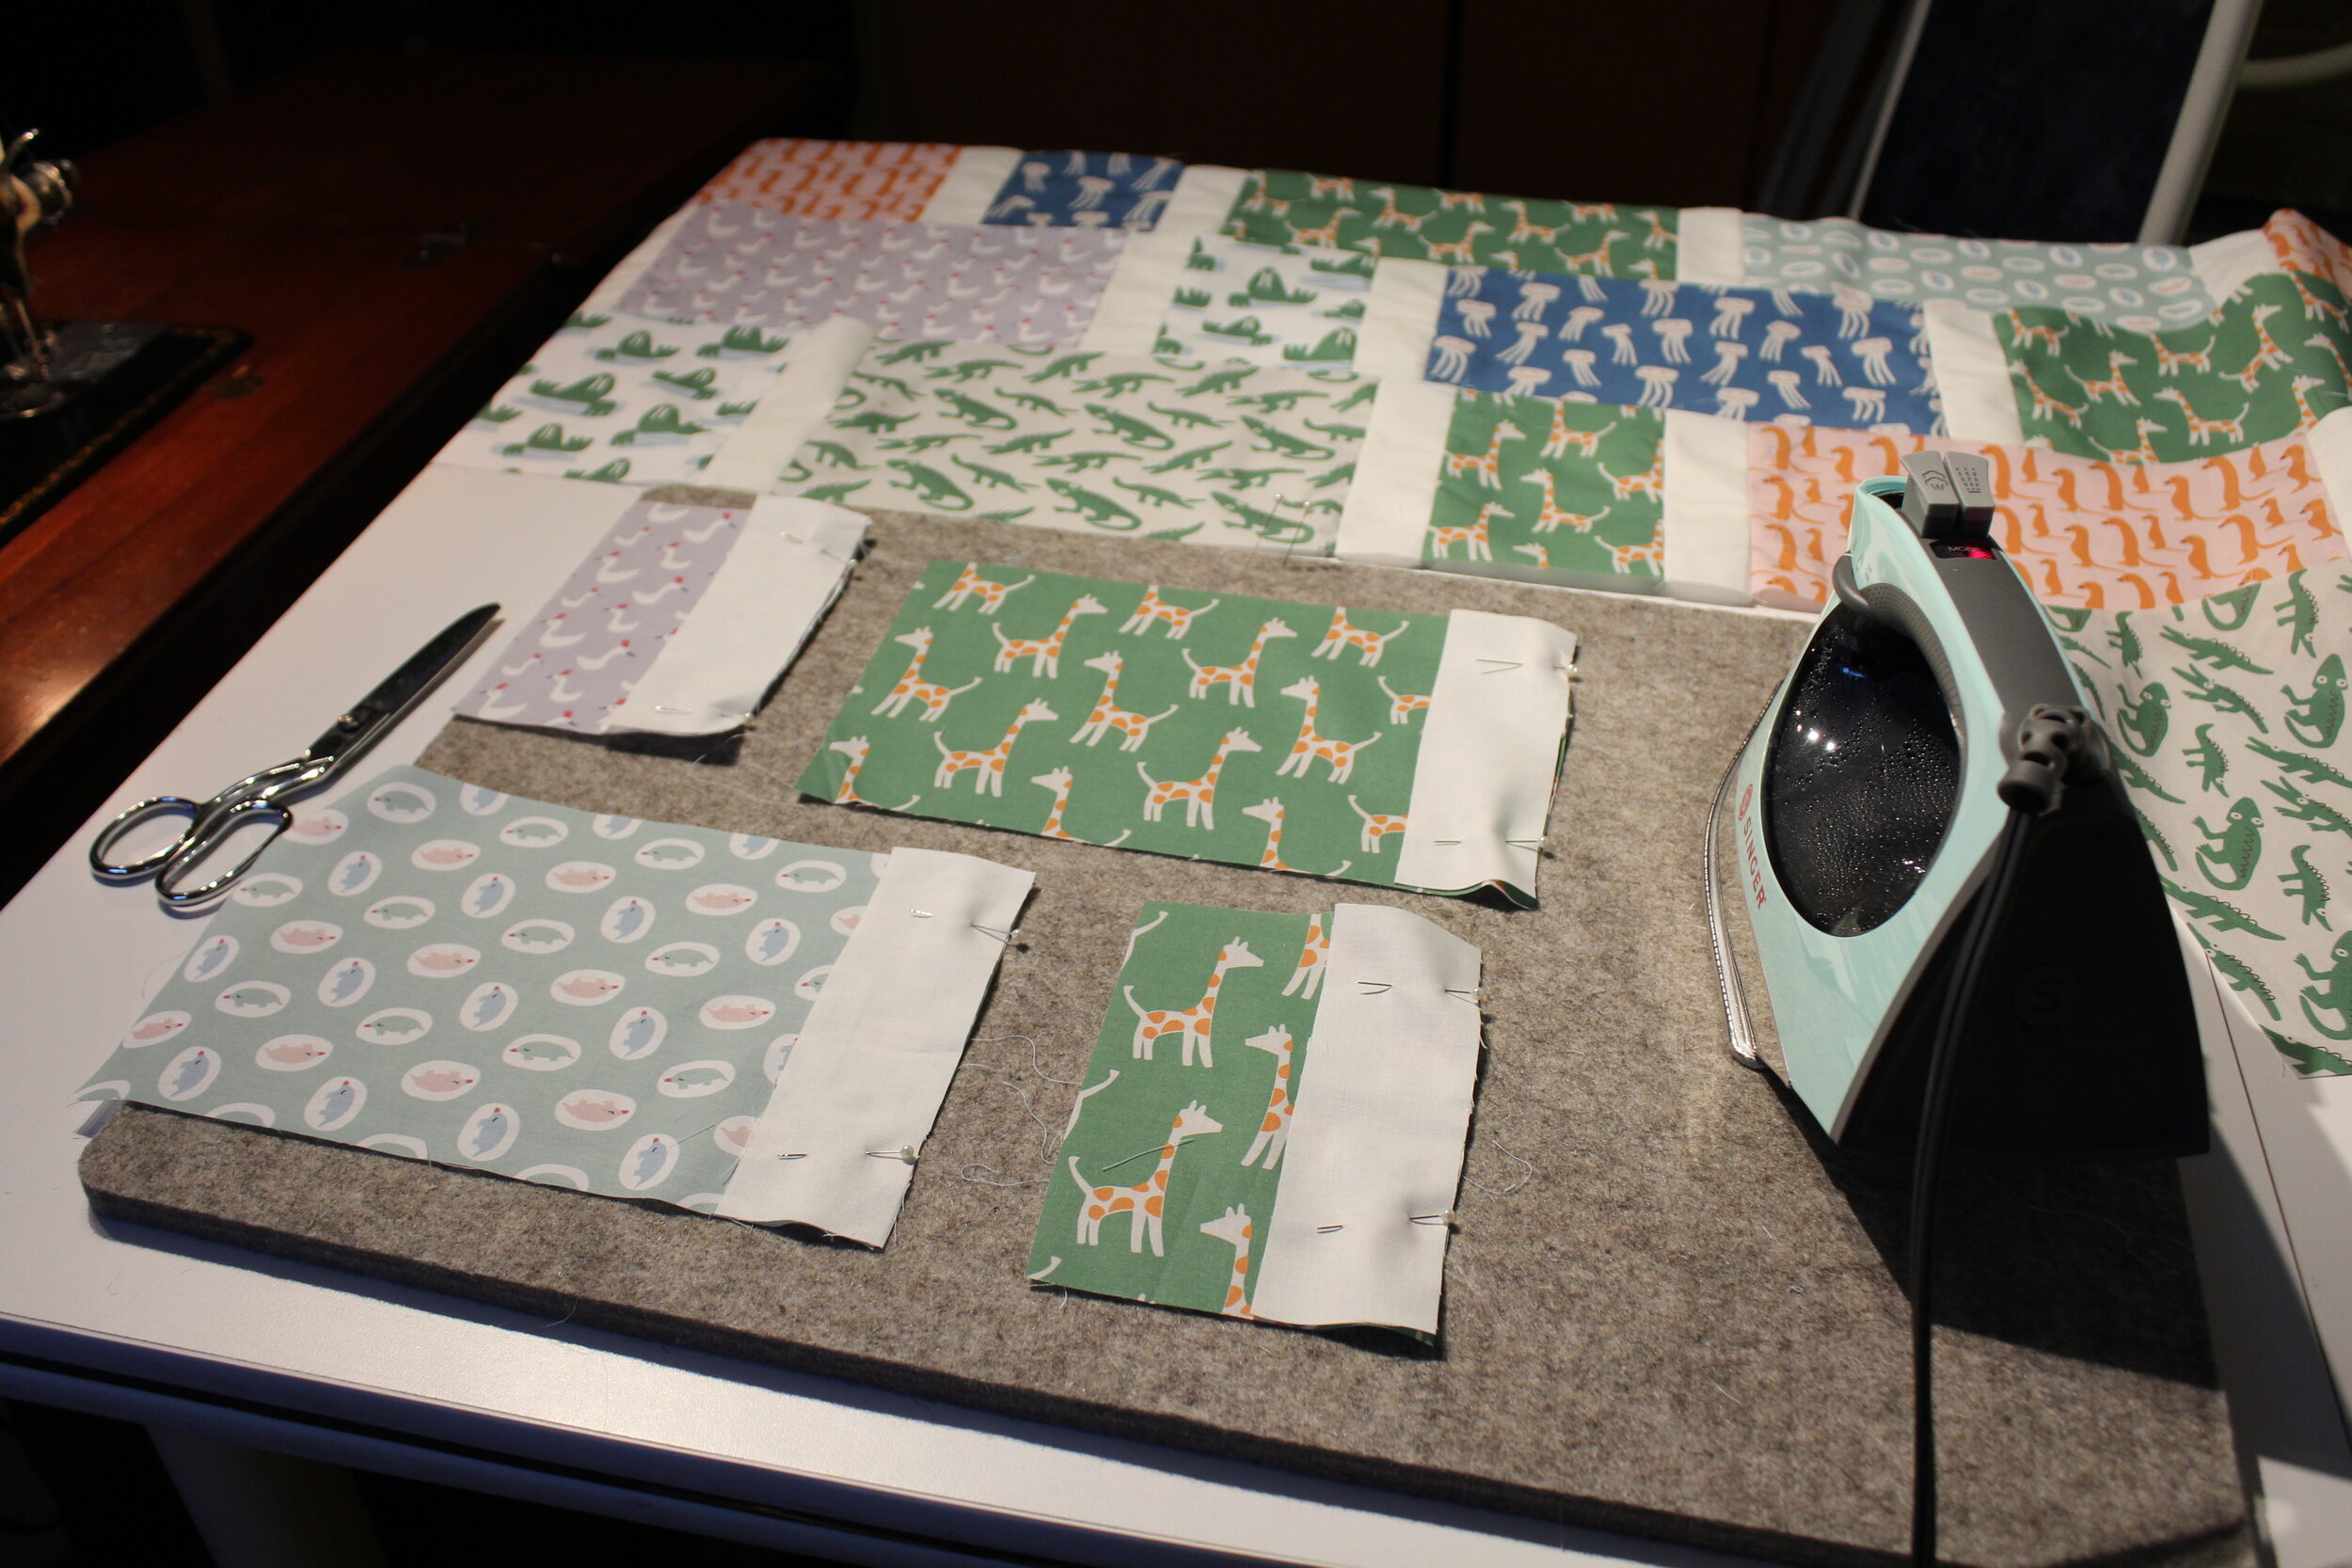
In terms of time, piecing is actually going pretty quickly even though I have to pause often to iron out all the seams. I think I will be able to finish the front of the quilt in the next day, although I haven’t tried sewing in the long white strips yet…

IMG_1691.jpeg
IMG_1697.jpeg
IMG_1701.jpg
IMG_1707.jpg