Threading the 15-91 (and your needle)
Like with winding your bobbin, I think the 15-91 manual actually does a decent job of describing the process. I’ll include some extra photos though for reference to help you out if you are struggling. Plus, there are a few tools you can actually use to pass the thread through the needle, and I personally wouldn’t have figured that out without someone showing me.
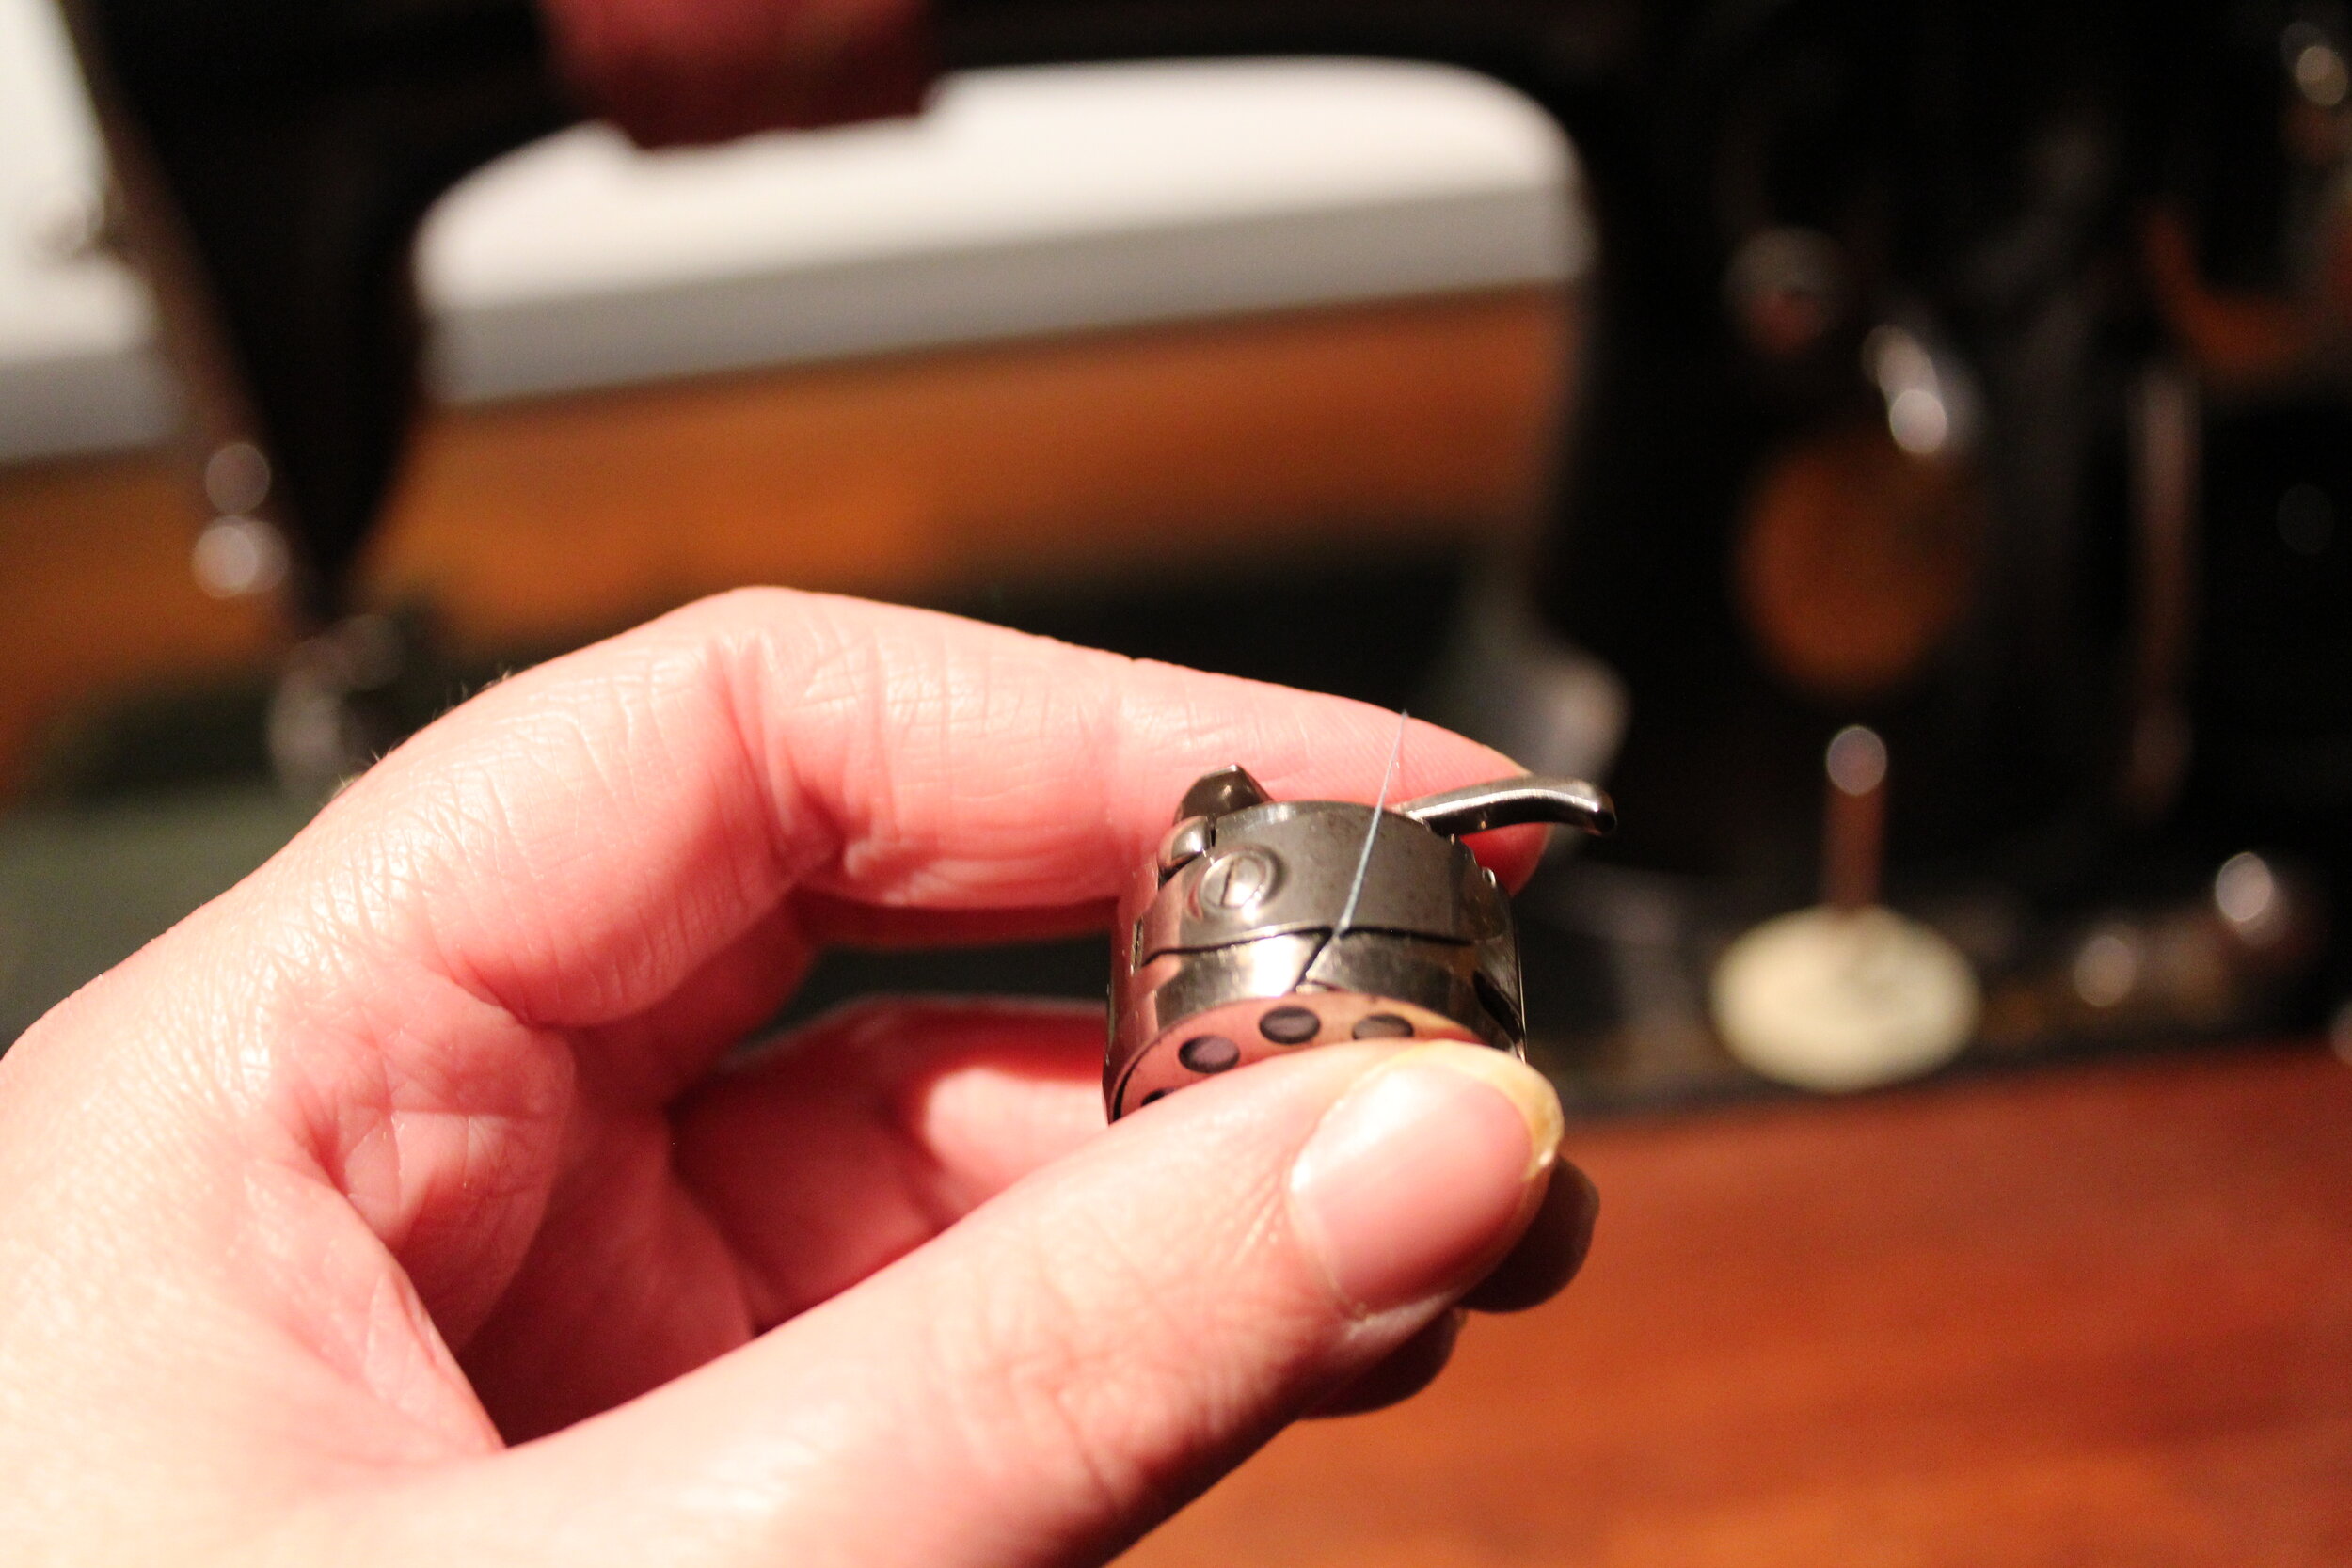
Thread the Bobbin Case
You can start by loading your bobbin case with a bobbin and pulling the thread up through slot and hook under the spring (see pg 15 of the manual)
Sliding the thread up the slot on the bobbin case
Hooking the thread under the spring
Put bobbin case under the needle plate
Once you have threaded the bobbin case, you can add it to its spot under the needle plate. However, you won’t be able to pull up the bobbin thread through the plate until you have threaded the machine.
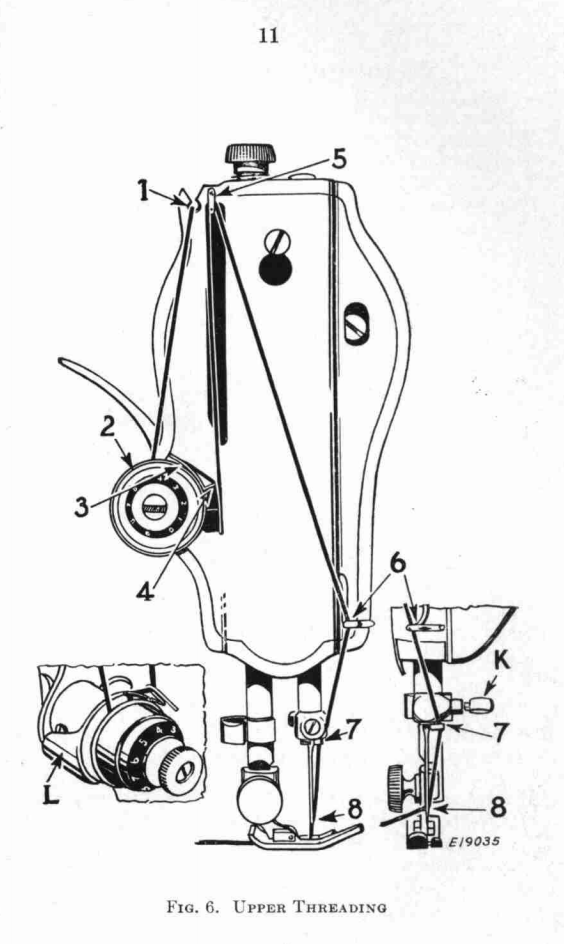
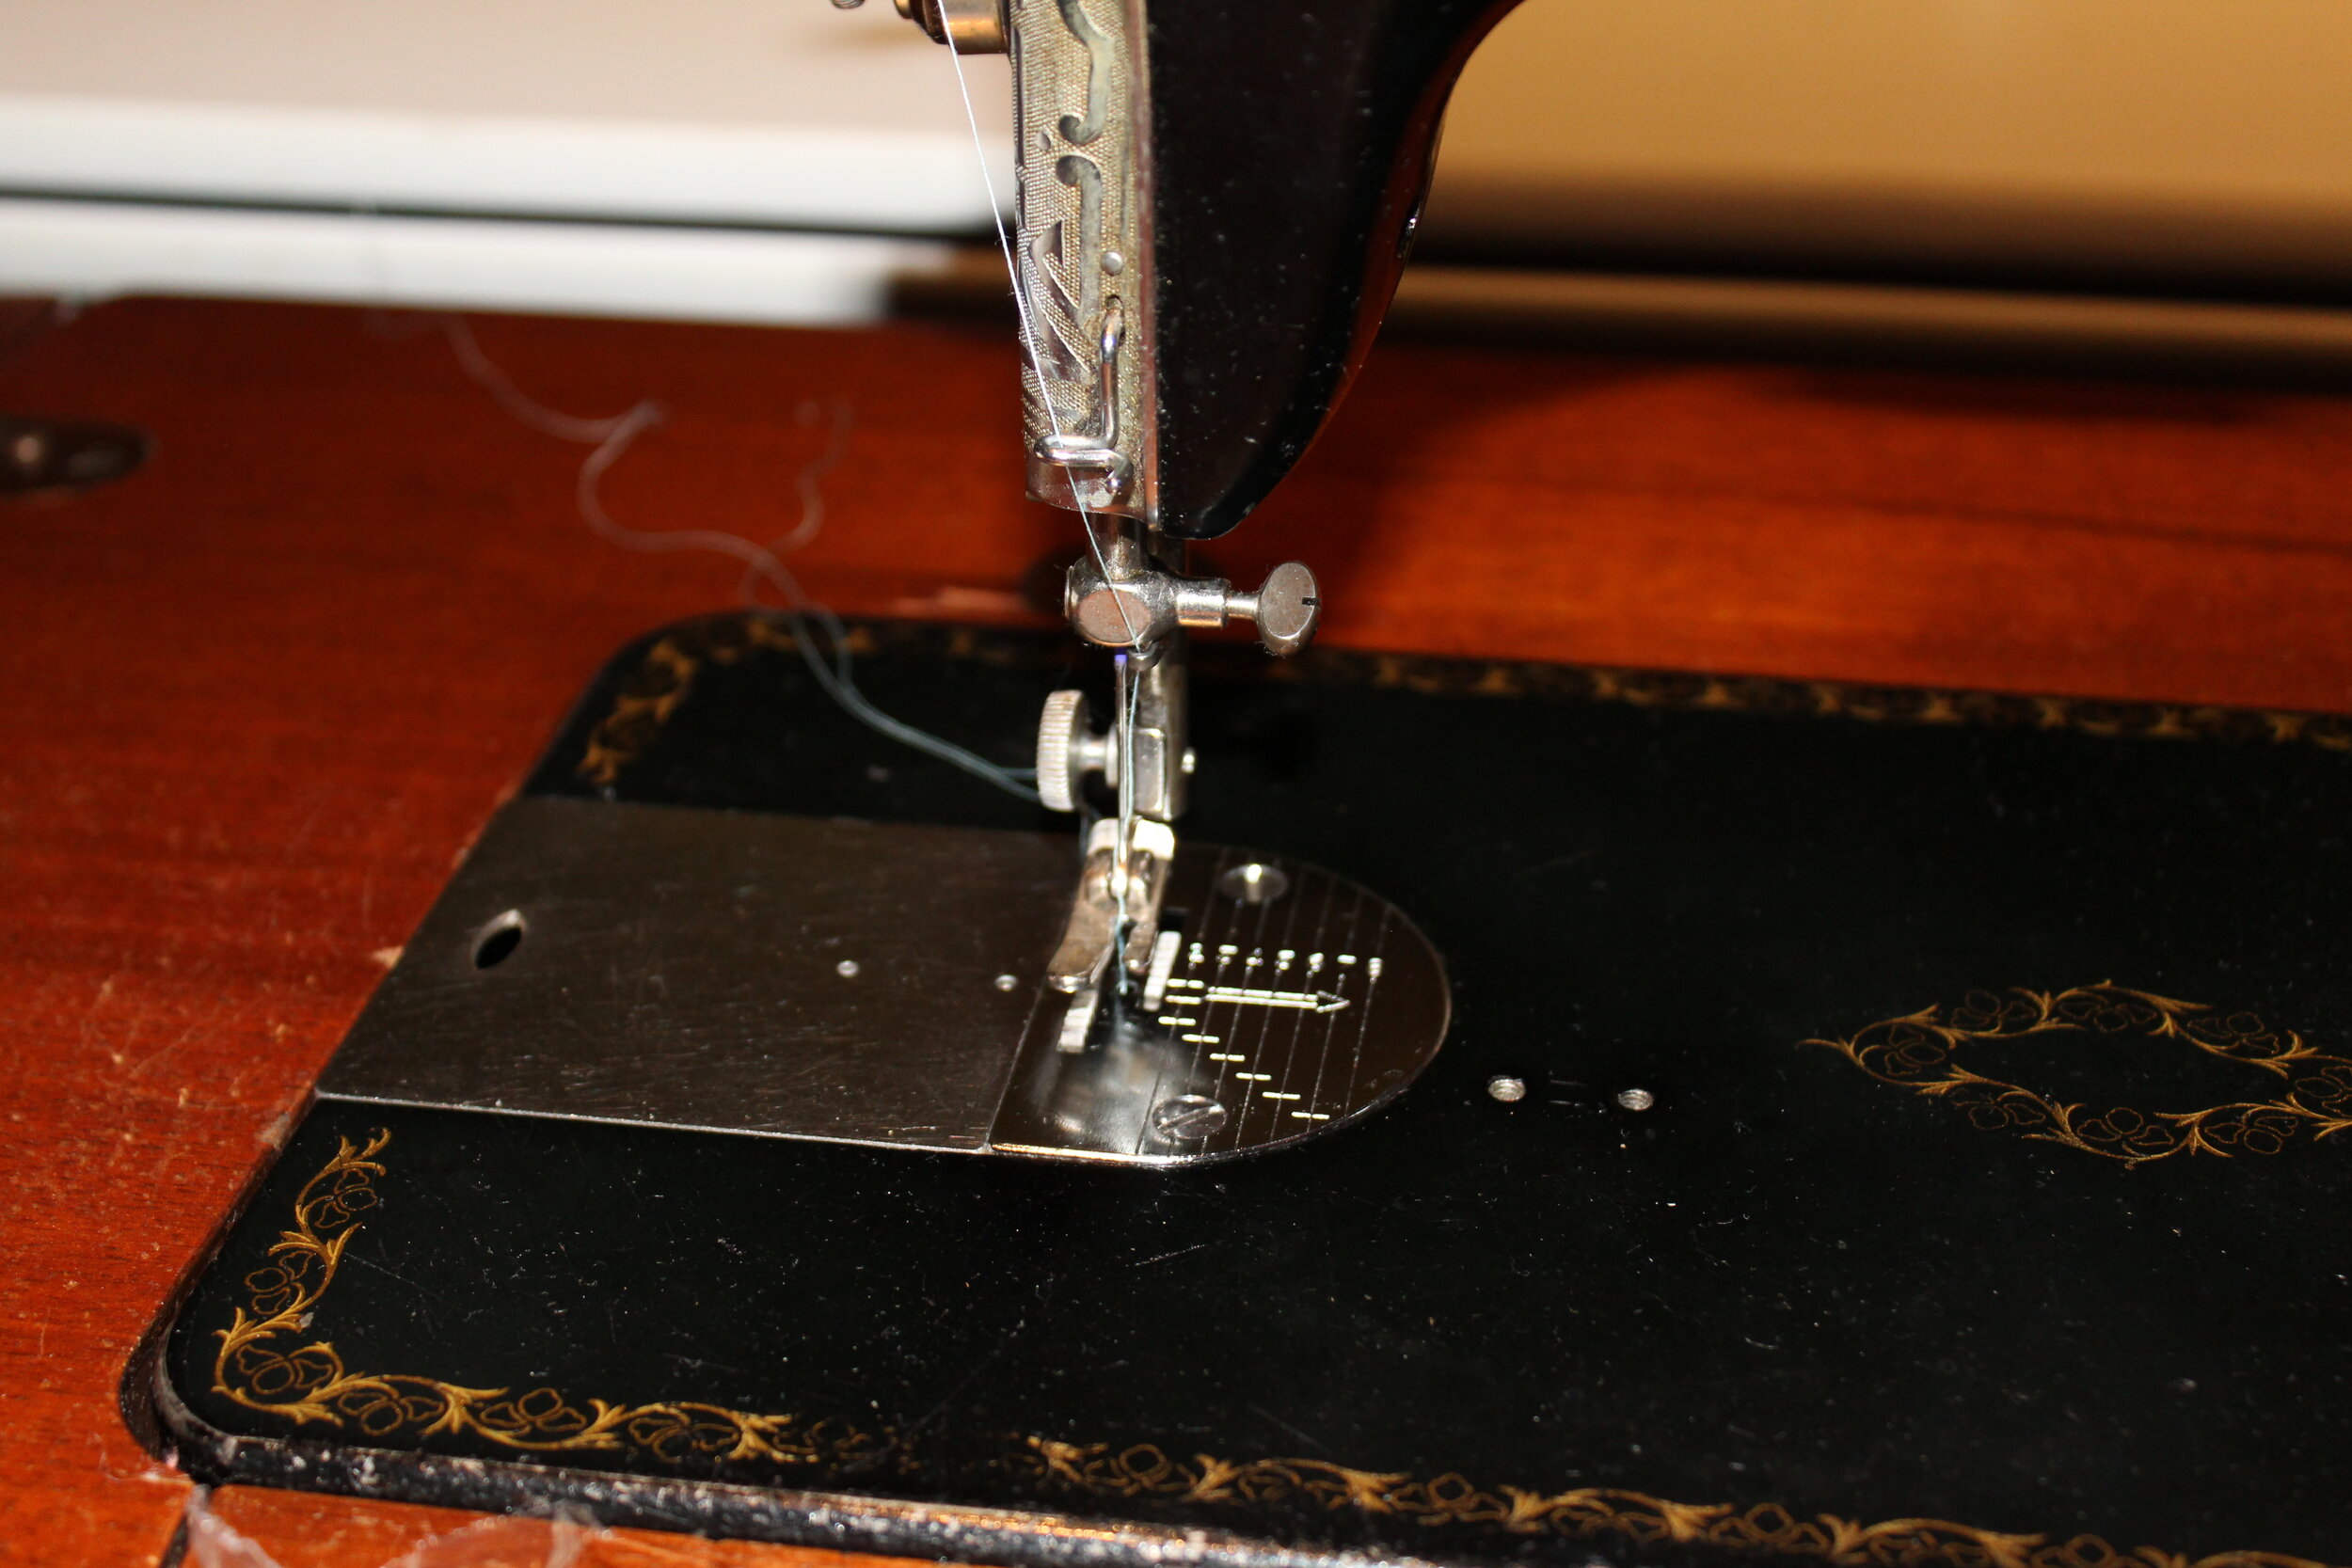
Follow pg 10-11 to thread the upper needle. As you can see from my photo, I should of risen the take-up lever before trying to thread
Now before you try to pass the thread through the eye of the needle, you should know there are tools that can help you. Take for instance the needle threader pictured below. You can actually use it to pull the thread through the needle (see below).
Needle threader
Push needle threader through eye of needle and place the thread in between the wires that you pushed through the needle eye
Pull the needle threader back and while you do that you will see the thread being pulled through the needle eye
Voila! You have threaded the needle without minimal effort! Now that you have threaded the needle, you can pull up the bobbin thread. Just turn you balance wheel to move the needle. As the needle goes down it will pick up the bobbin thread. And as you raise the needle you can see a loop of bobbin thread which you can then pull out.
Quick tricks and adjustments
I was originally going to create a separate post for this topic but I realized if you are like me, and are threading the needle on your 15-91, you are probably ready to start sewing and testing your stitches. Therefore, it is probably more helpful to cover some of these adjustments now, rather than covering them later. Also, I discovered a neat trick on how to cut the thread on your machine without using scissors!
Adjusting stitch size (and how to go in reverse)
You adjust your stitch size by using the lever shown here. It is in number of stitches per inch, so for example if you want your stitch size to be 2mm and you know there is ~25mm in an inch, then you will need about 12 stitches per inch. You can also use a thumb screw to “lock in” your stitch length so if you are switching back and forth from reverse, you don’t have to keep track of what your stitch length is. Simply raise the thumb screw to whatever stitch length you want to use, and tighten it.
Going in reverse is pretty simple. Just raise the lever up all the way.
Adjusting Pressure of Pressor Foot
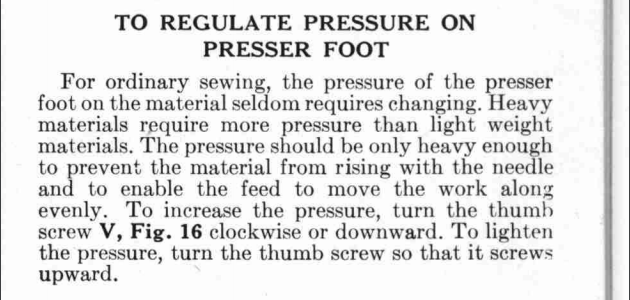
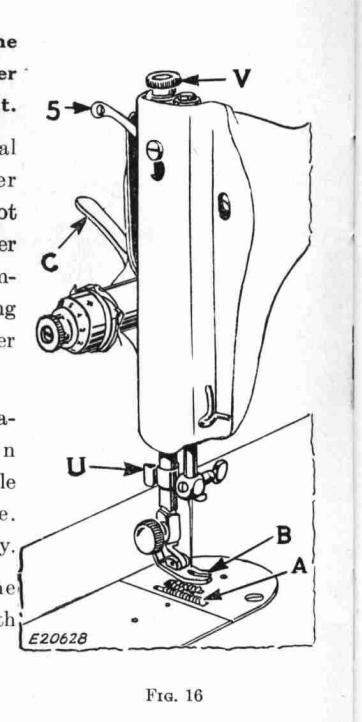
If you want to change the pressure on your presser foot, just adjust the thumb screw shown in the figure as V. Increase the pressure by turning the thumbscrew so it drops. If you actually want to change the height of your presser foot, there is a way to do it but it is a bit involved.
Adjusting Thread Tension
I haven’t tried to adjust my thread tension yet but it may be necessary depending on what thread you are using (as mentioned in a previous post). There are two places you can adjust the tension: the needle thread tension and the bobbin thread tension.
It shouldn’t be necessary but if you absolutely need to, you can also disassemble your needle thread tension (mentioned on pg. 24)
Cutting thread on the Machine
When I first started sewing on the 15-91, I remember grabbing the scissors to cut the thread connecting the fabric to the machine and thinking, “Man, this is going to get old really quickly.” Good news is there is an easier way! First, credit should be given where credit is due, and I wouldn’t of realized this trick without watching this video demonstration on the 15-91. I was actually researching what are the thread limitations on the 15-91, so I didn’t pick up until my third rewatching that he was actually using a part on the machine to cut the thread instead of scissors.
I tried to film it for you but its hard to film one handed; you really need both hands to cut efficiently on the machine. You can try skipping to 8:35 in the video demonstration if you want a look, but if you look closely at the manual, you can see on the thread cutter on pg 18.
To the left you can see the thread cutter marked as U. The manual describes lifting the fabric back and to the left, but it doesn’t mention that you actually need to pull the threads up to the right and on the thread cutter.
Pulling the threads against the thread cutter. If you want to cut the threads, continue to pull the threads against the thread cutter until they slip through it and cut. After I took this photo I realized I could rotate the thread cutter, so the position I have it in now actually doesn’t require me to pull up the thread so far up to the right.
Other Adjustments
There are other adjustments you can do on your 15-91, such as lowering the feed dogs, but I think what I covered above would allow any beginner to get started on their 15-91.
