For my second quilt, I decided to do a Fancy Fox pattern (by Elizabeth Hartman). It was initially intended as a birthday gift but it turned into a Christmas gift… I like a lot of Elizabeth Hartman’s patterns but chose this pattern as it seemed one of the easier ones. And the foxes are undeniably cute.

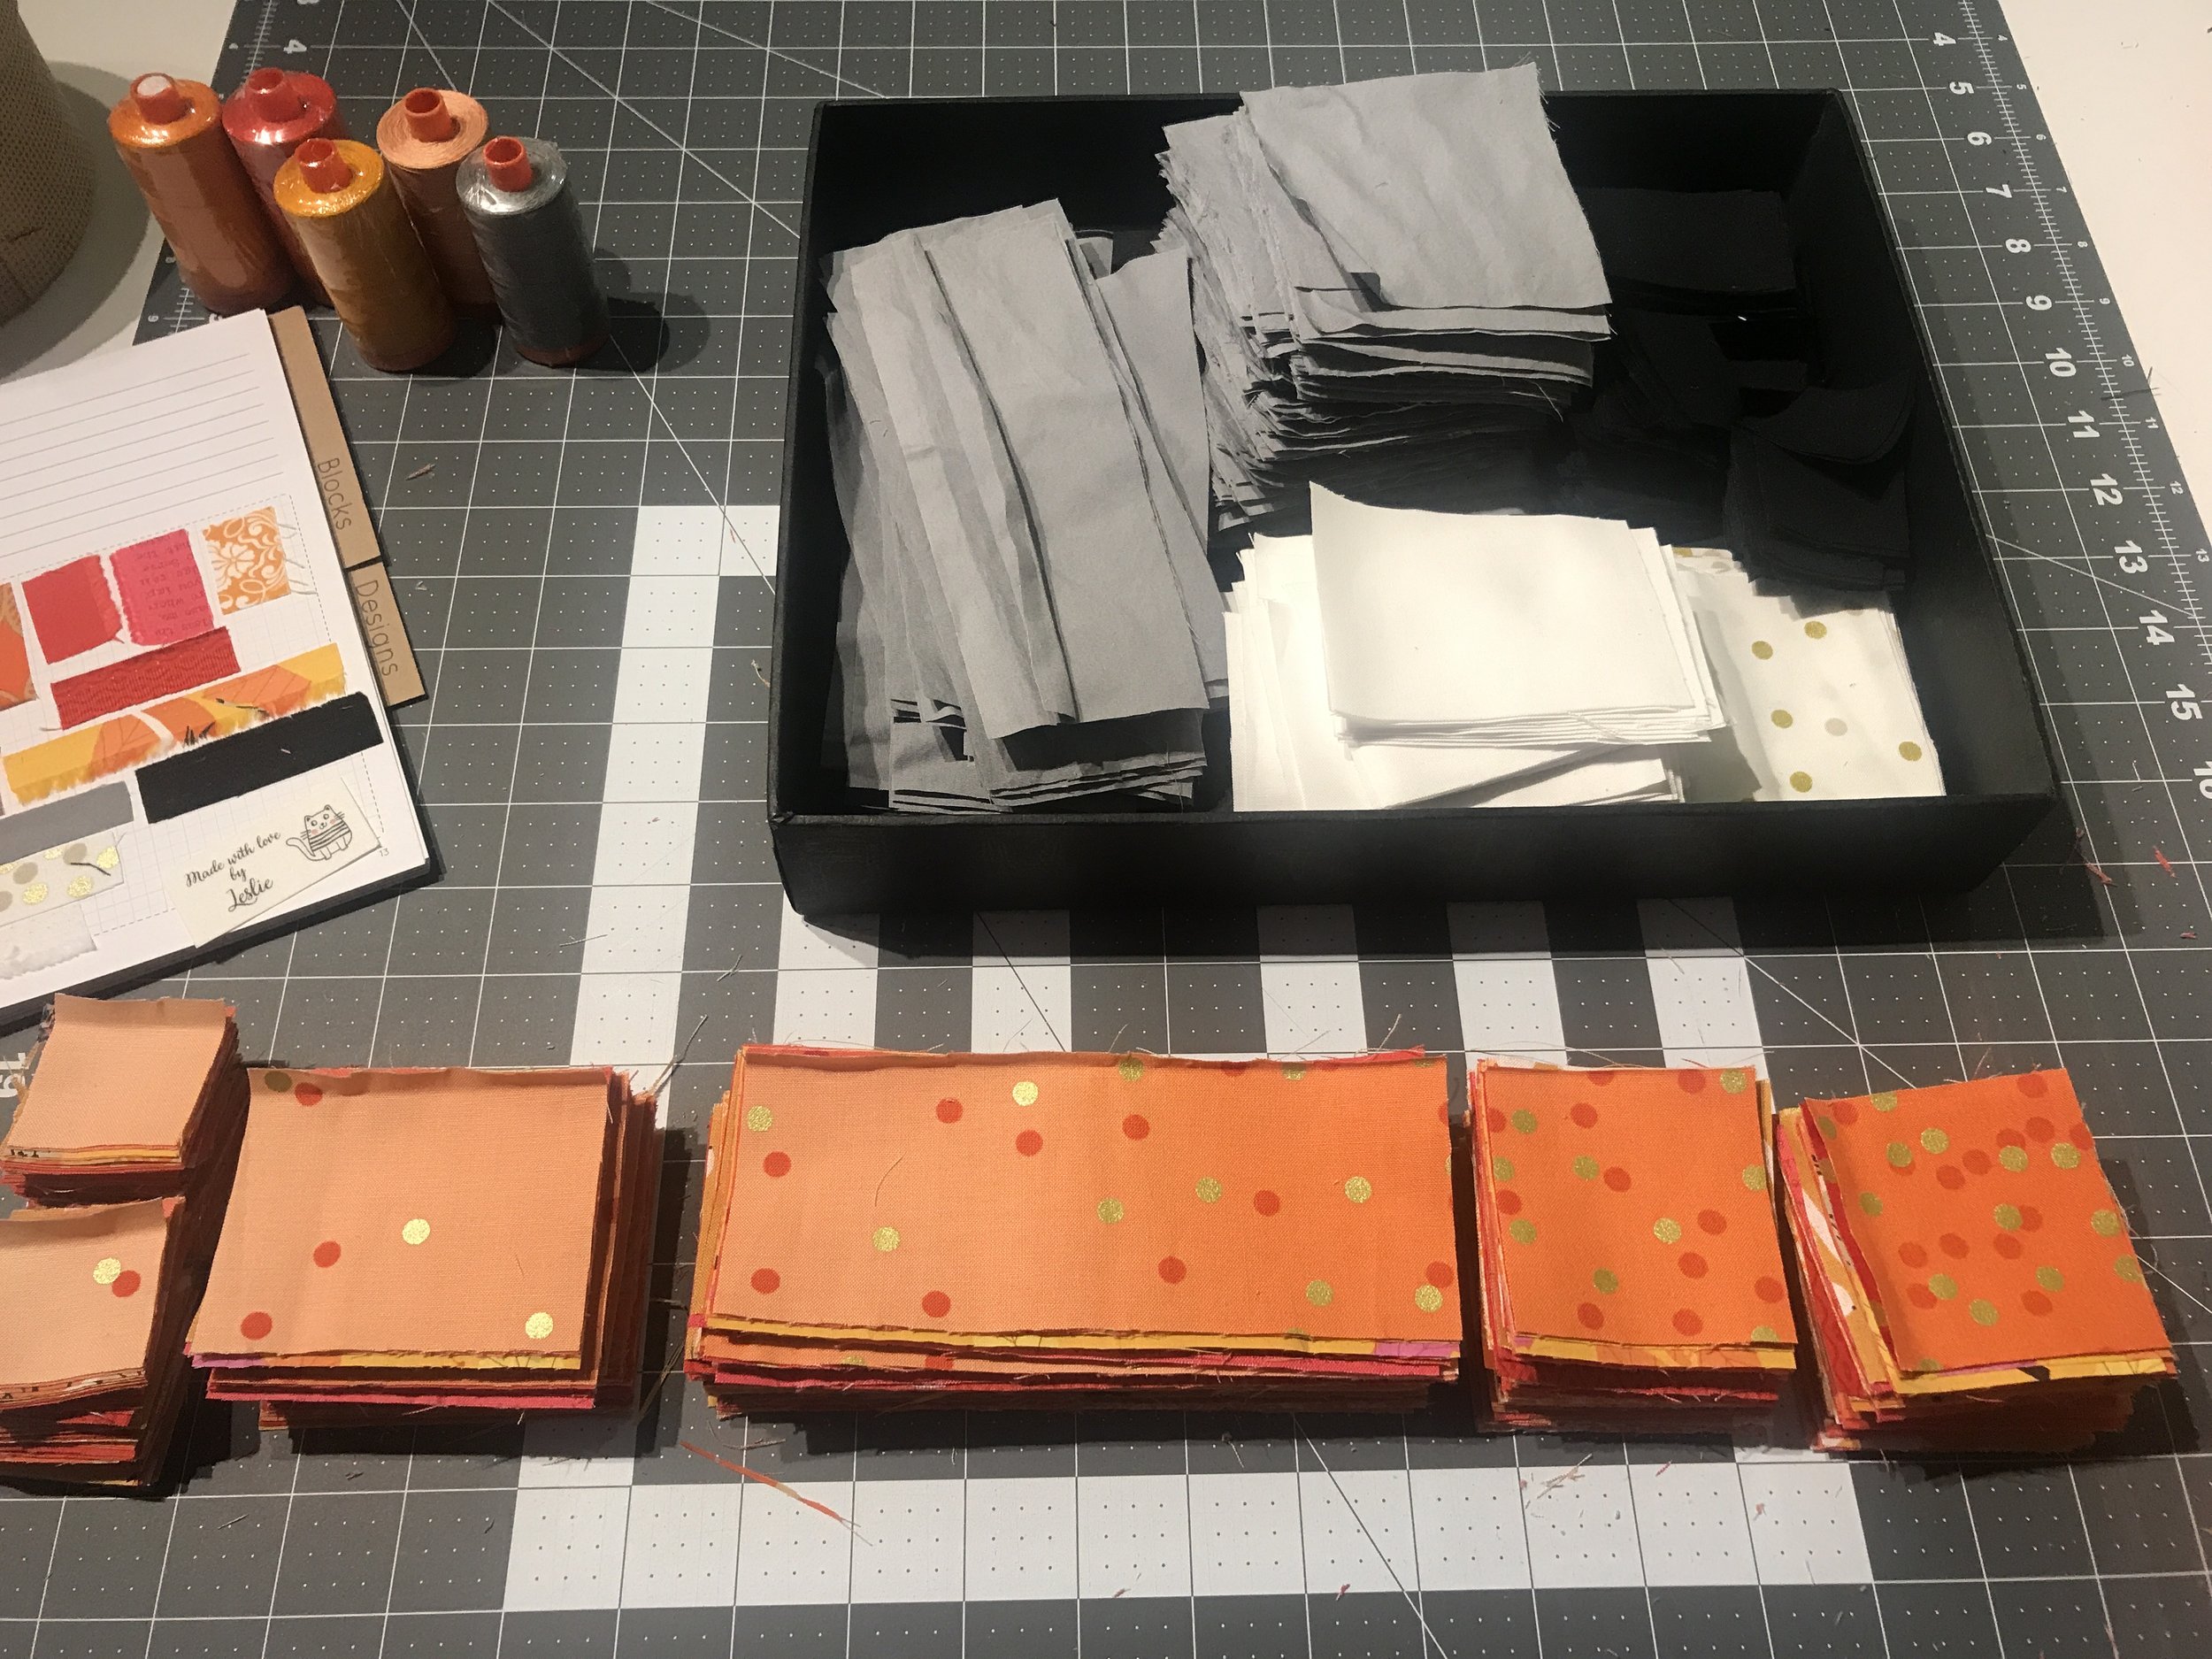
As you can see above, I’ve started to use a quilting journal (from Patterntrace on Etsy) to keep track of my projects. I do wish the fabric section was a bit bigger since I like to list all the fabric colors, but overall it has been a good way to log my quilts. It is also a great way to review the work I’ve done, especially when it is something I’ve given away. While this is labeled ‘Project 3’ in the journal, it is the second quilt I’ve actually finished. Project 2 is still in progress.
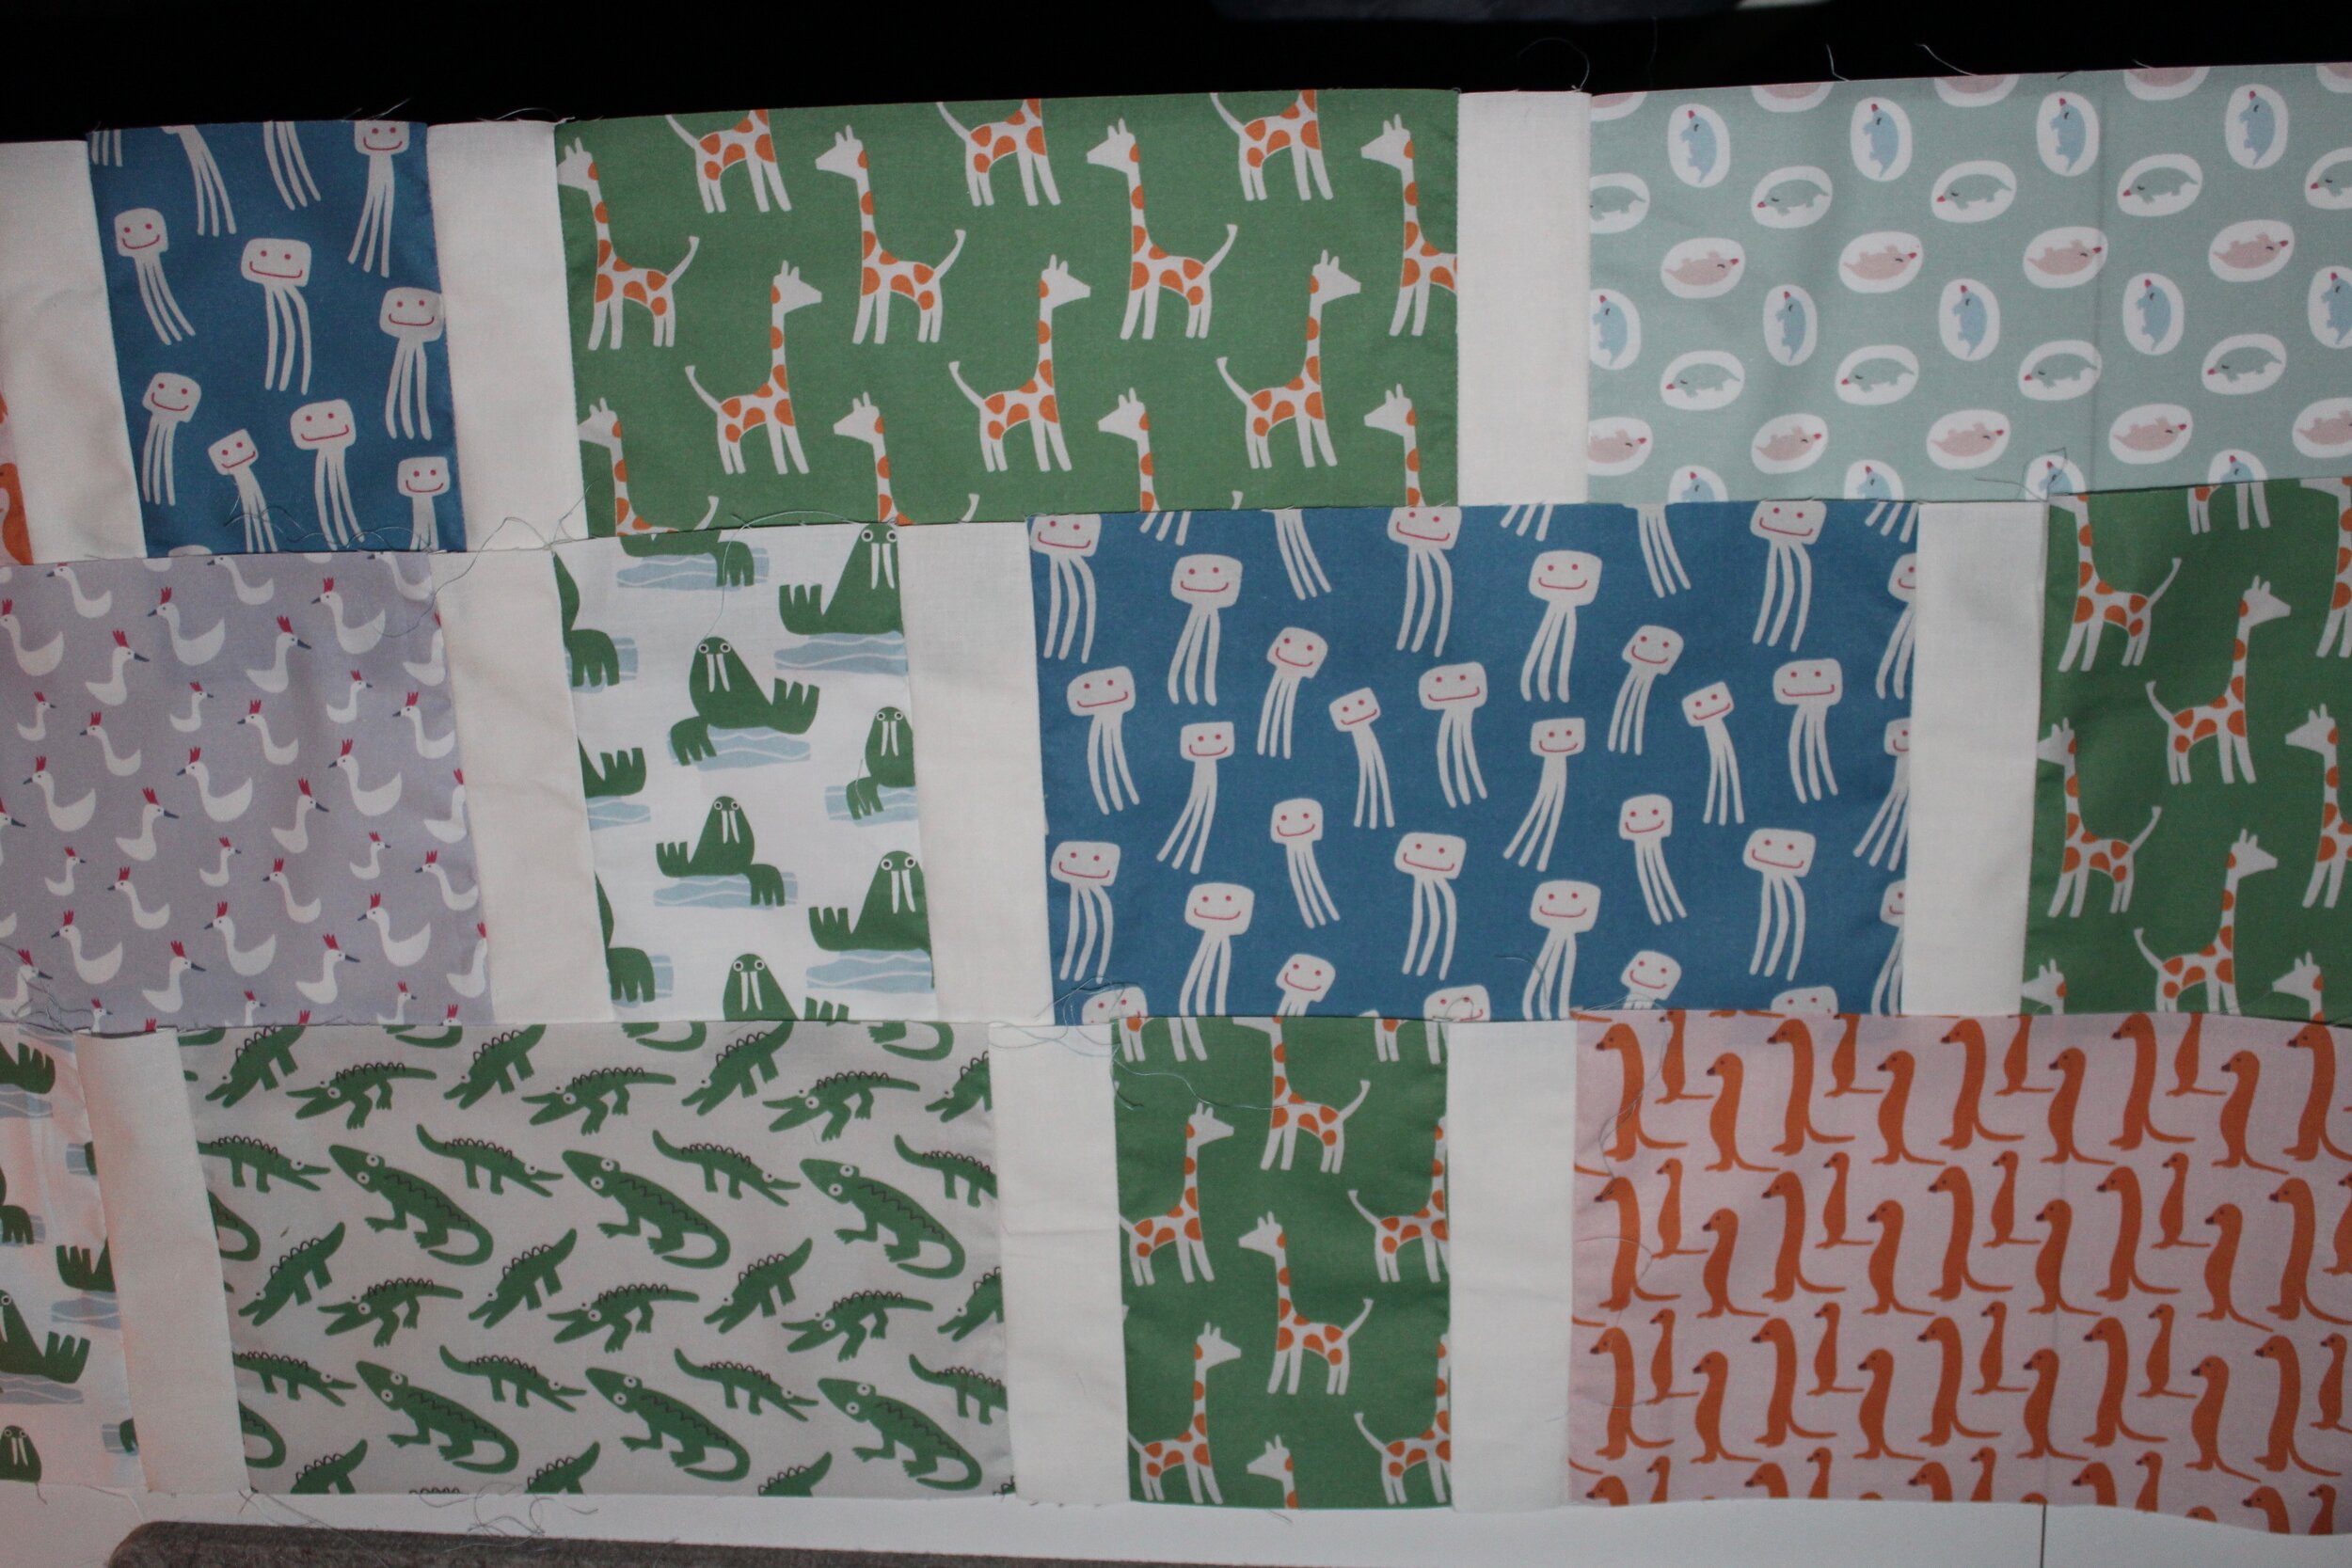
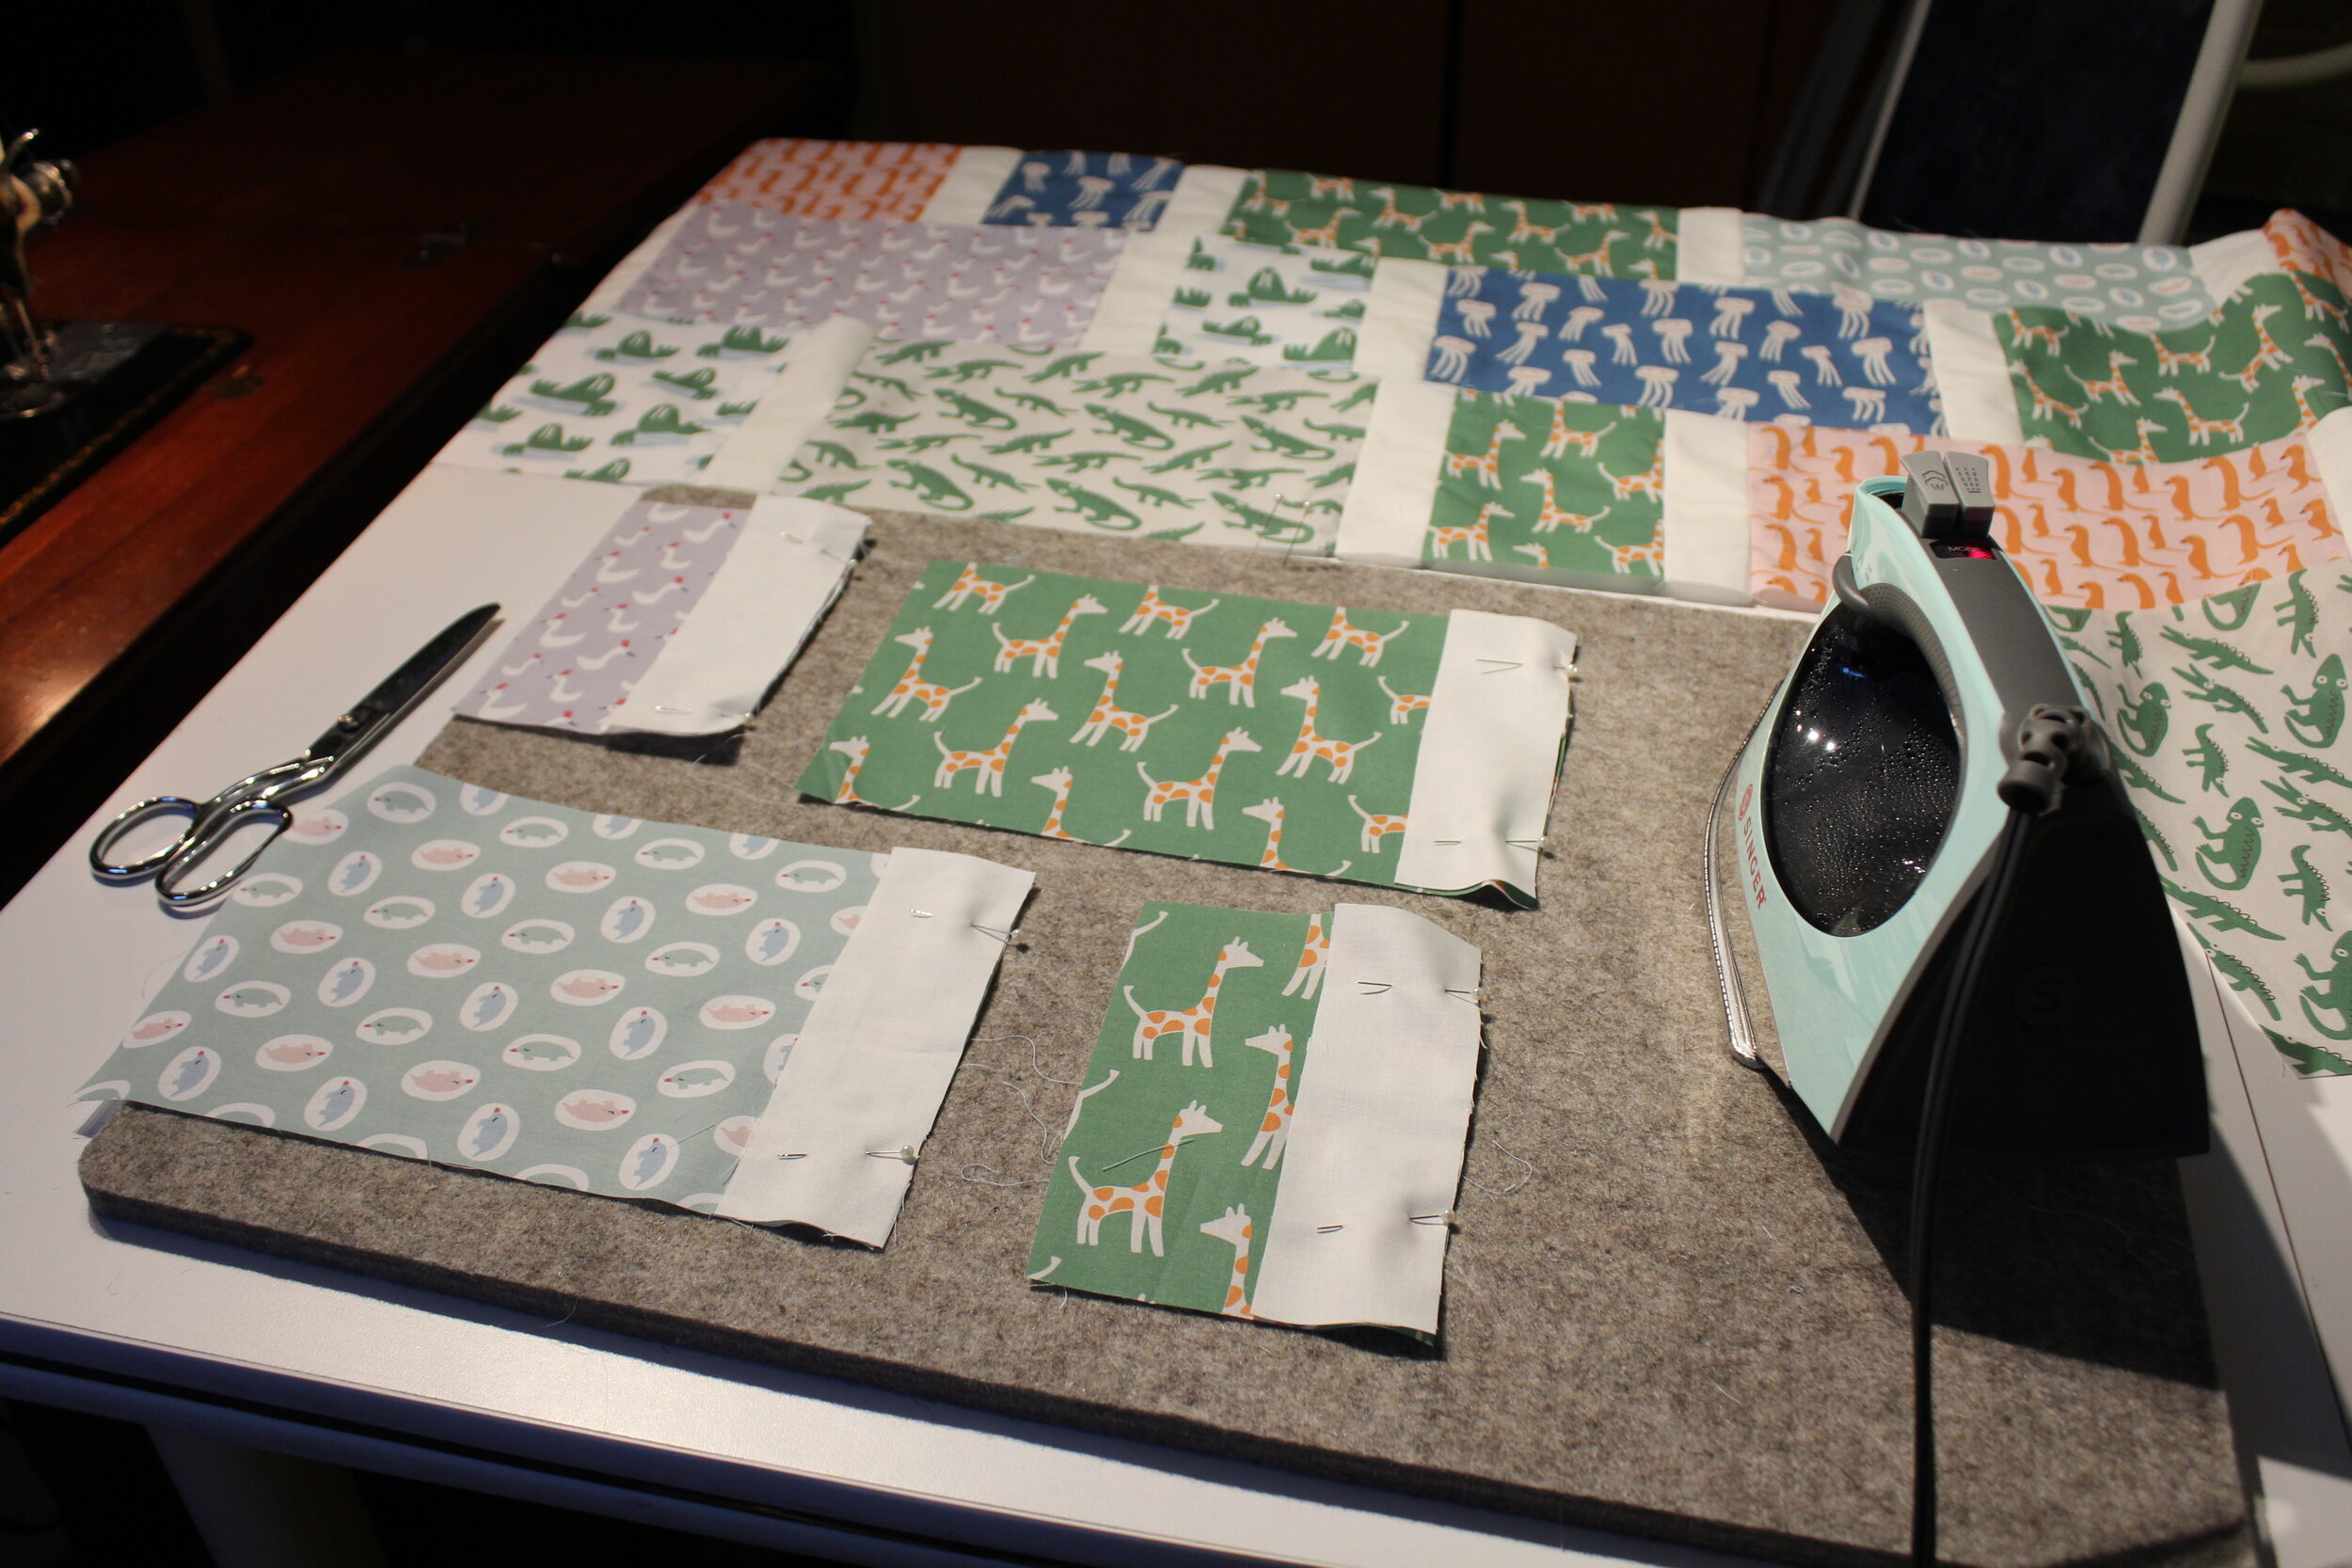
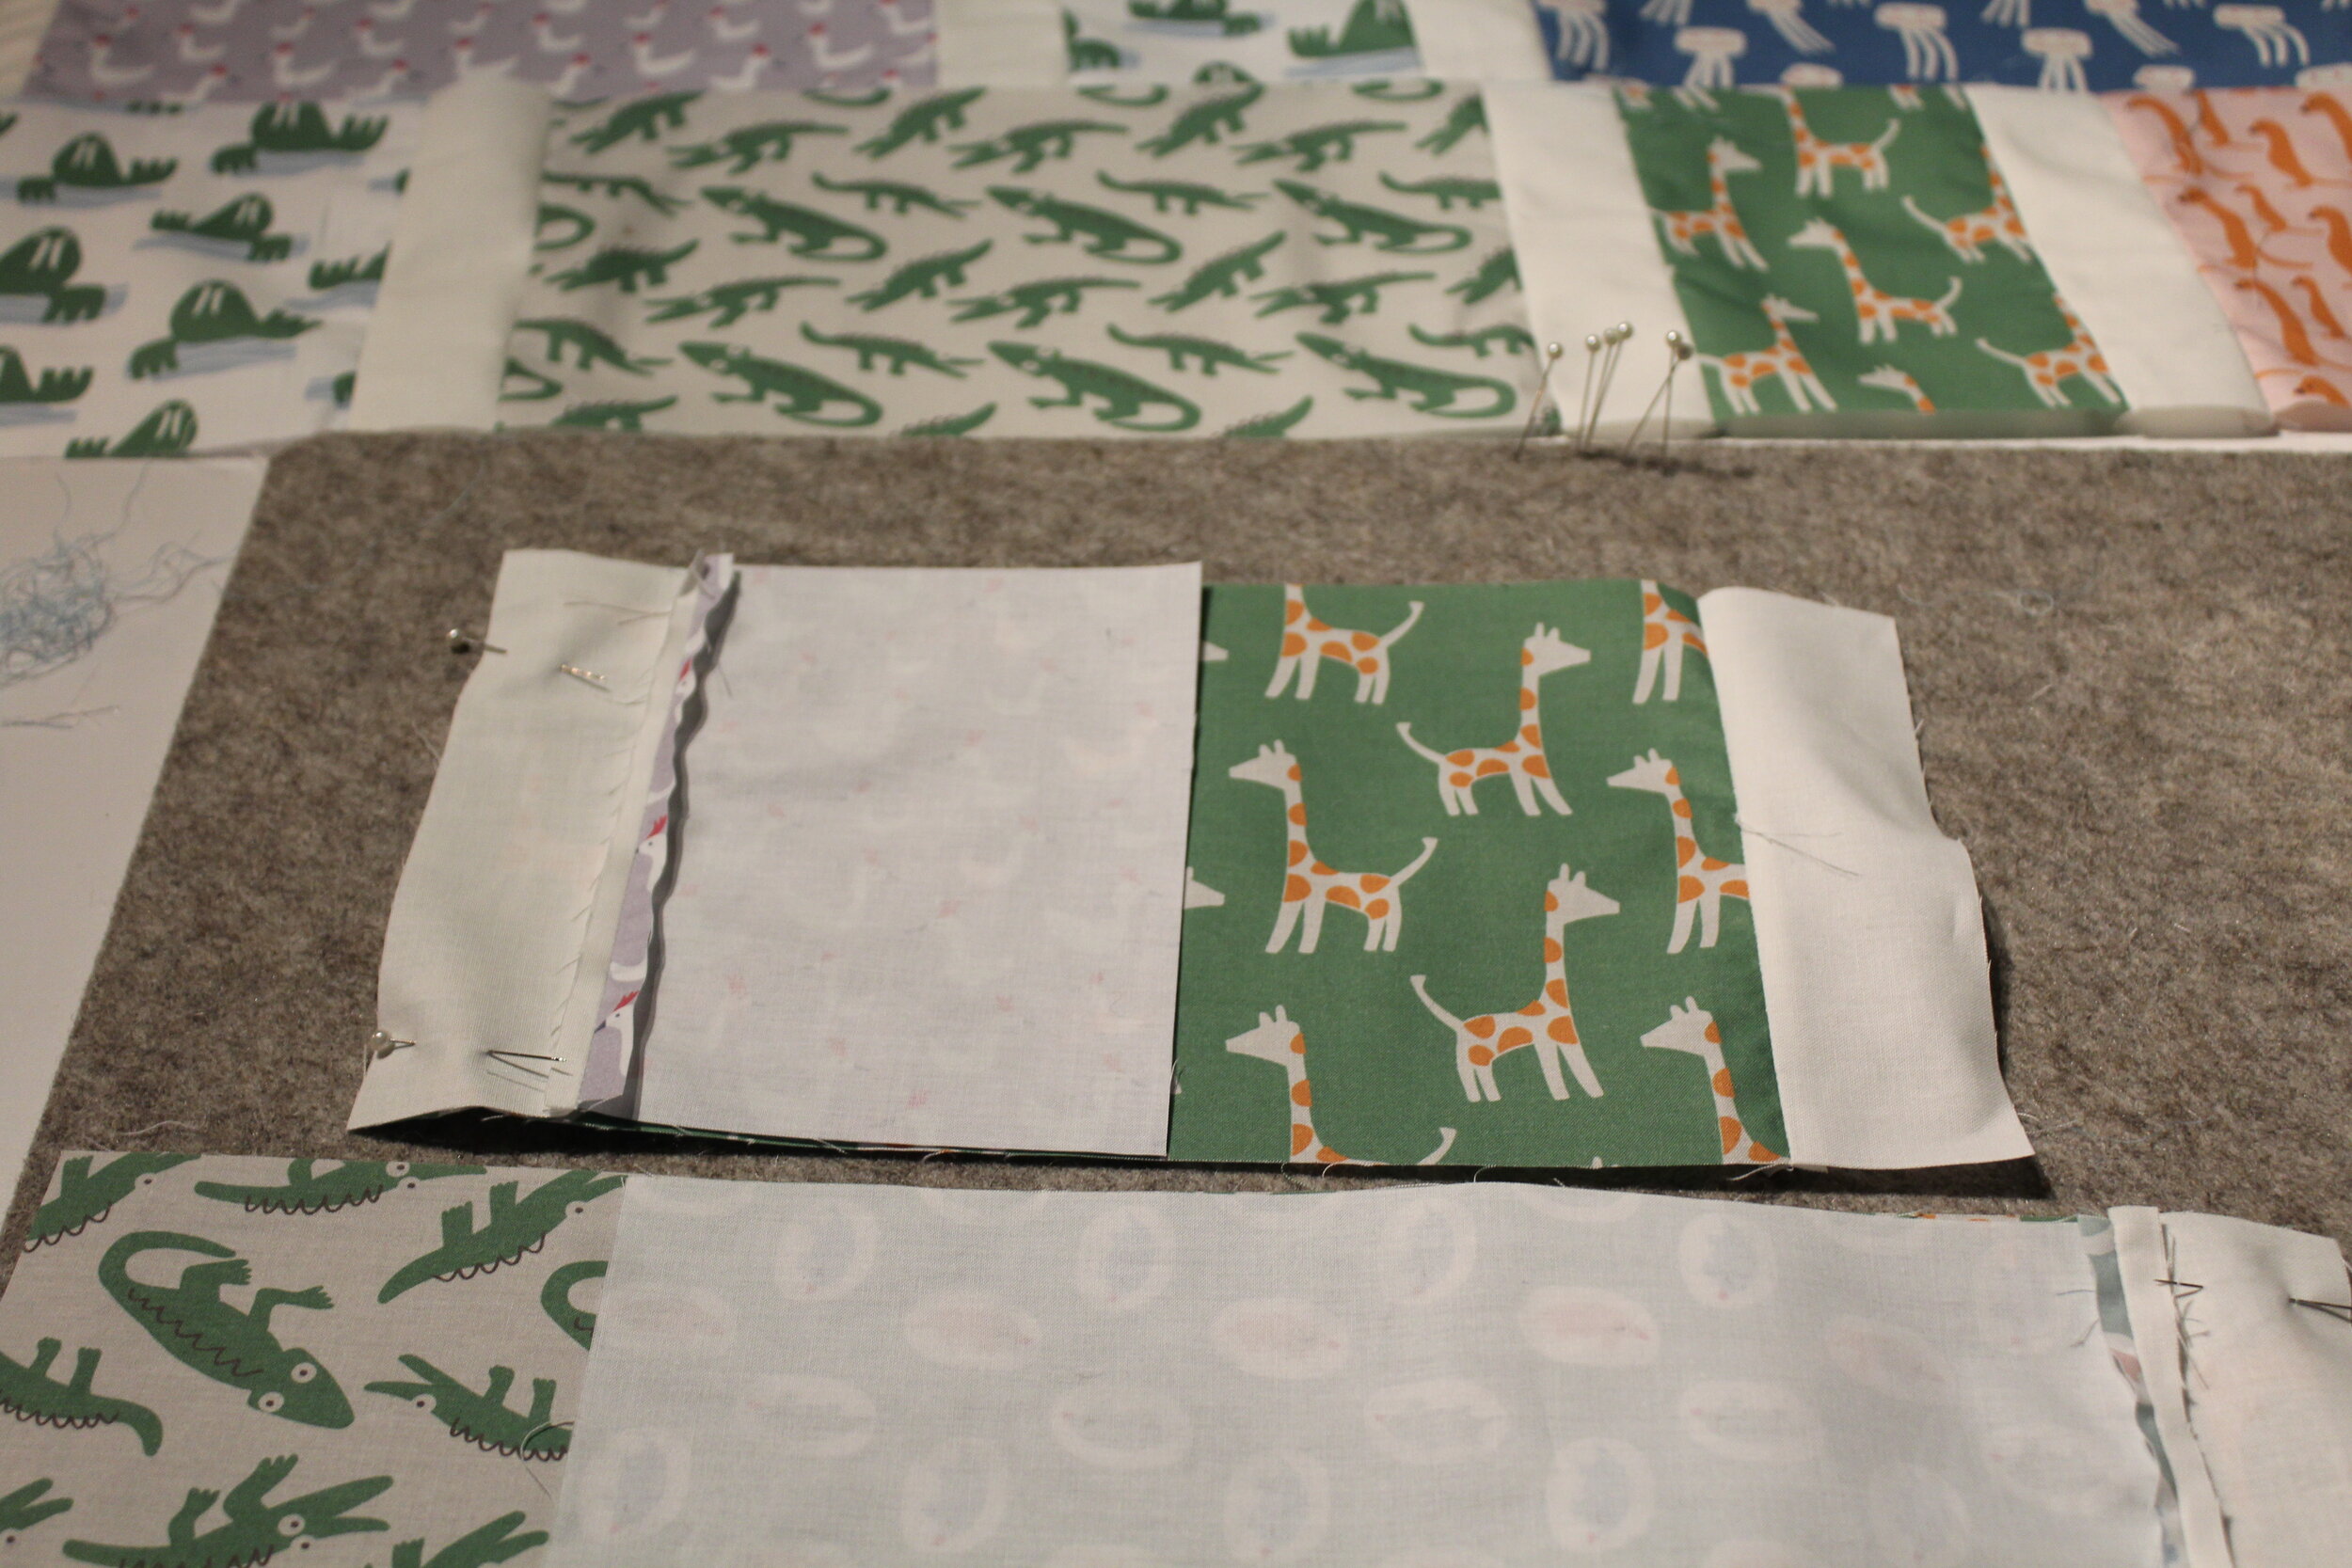
I decided to go with the 80 block version (twin sized) of Elizabeth Hartman’s pattern. Which meant A LOT of cutting. And A LOT of piecing. And A LOT of ironing. The only thing that got me through all 80 blocks is how cute the foxes are (and a new blade on my rotary cutter didn’t hurt either).


I’m not sure if it was due to inconsistencies in my cutting or sewing, but I had a lot of difficulty keeping the fox blocks the same size. I had to do a significant amount of trimming to make sure I could fit the blocks together when sewing the strips of blocks together. It means my final quilt is actually a bit smaller than twin size due to how much I trimmed down.
I was also worried about the final layout of the foxes. I didn’t want clumps of certain colors. I ended up having someone help me with the layout (a second pair of eyes really help with this!). When it came to the batting I pulled out my big roll of batting (ordered from Dinkydoo). Is a roll of batting excessive? Maybe. But if you are planning multiple projects that will use the same batting, it might ultimately be cheaper and easier to order a roll of batting (as it was for me). It also meant I didn’t have to piece together multiple pieces of batting for this quilt.


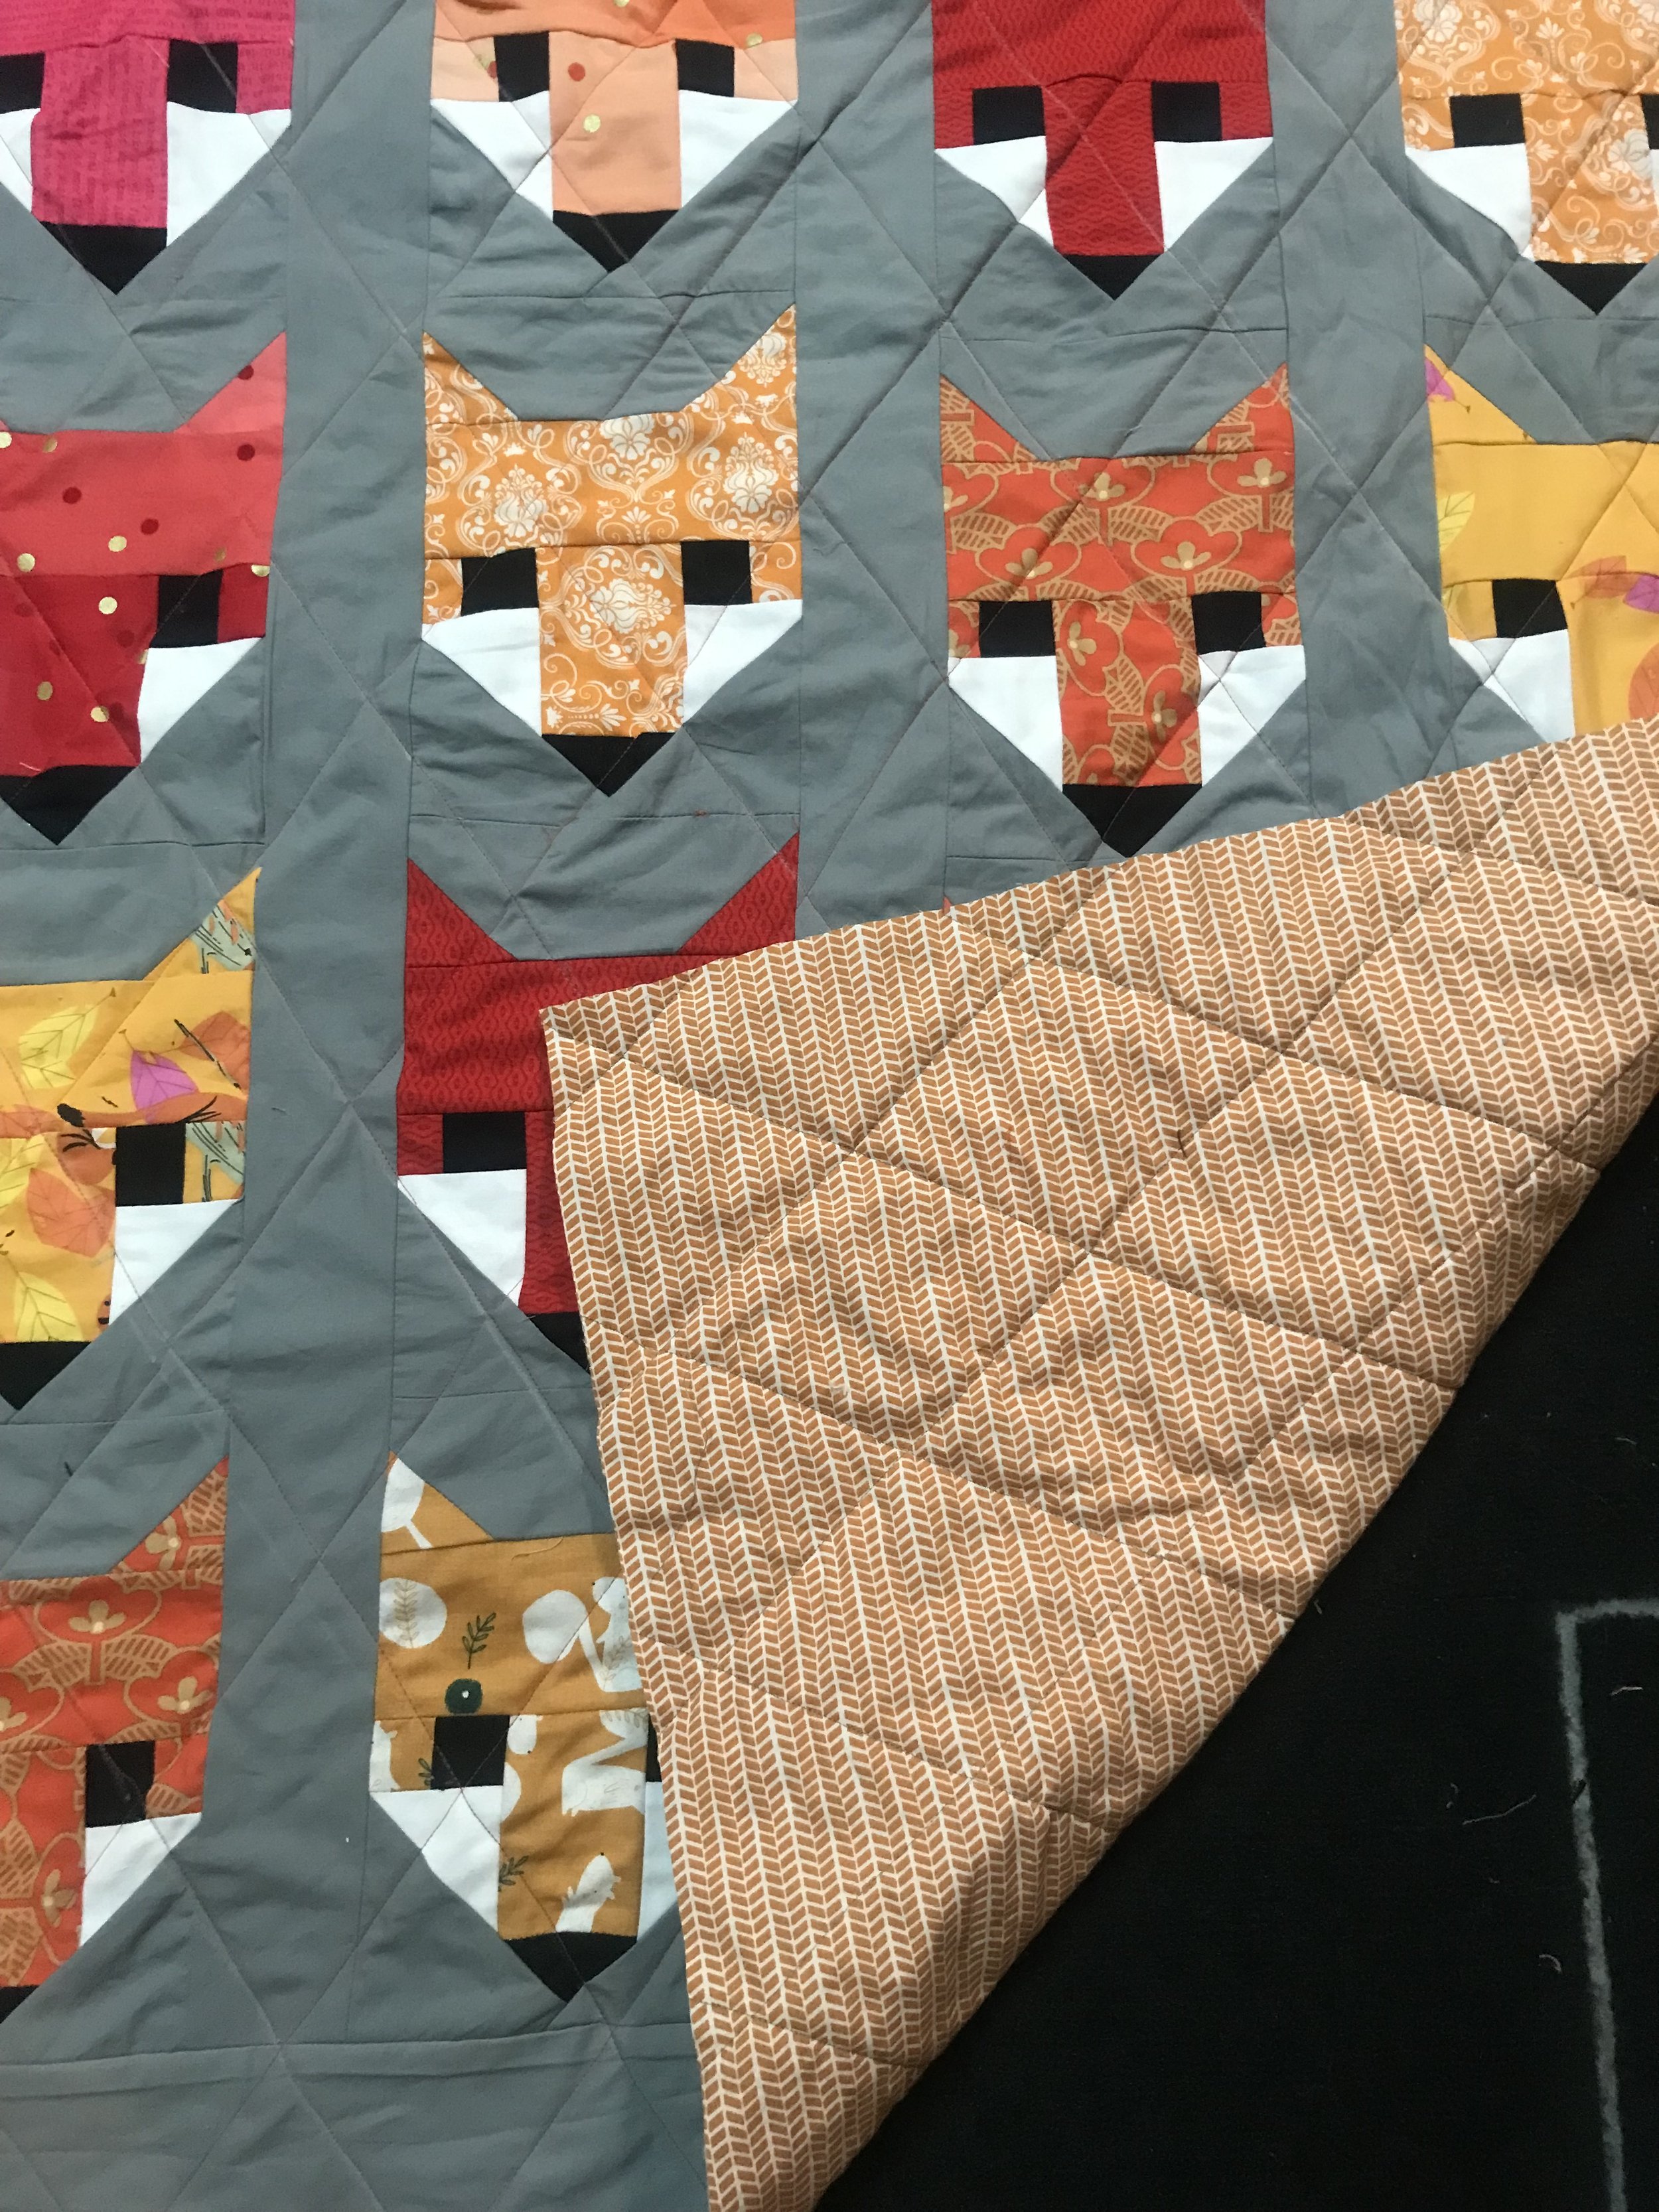
I decided to go with a large diamond pattern to quilt the layers together. Besides the aesthetic, I was also looking for a quick quilting pattern to make sure the quilt was done by Christmas. Since none of my rulers were big enough to draw the lines across the quilt, I used a laser level cube to help guide my lines. I drew them in chalk marking pencils (Roxanne Quilter’s Choice bought from Quilters Cupboard Uxbridge). My one complaint about those marking pencils is I constantly have to sharpen them but it is better than disappearing ink when working on a large project. Next time, I think I will just buy a chalk stick.
For the top of the quilt, I decided to use Blood Orange Aurifil 50 wt thread (#2245, I used it in the piecing as well) to contrast with the gray background. For my bobbin thread (the back of the quilt), I used Gray Aurifil 50 wt threat (#2625). To fit the quilt through the throat of the sewing machine, I had to roll it. I was expecting some trouble due to the size of the quilt (even rolled), but it wasn’t too bad since I have a table behind my quilt that catches the quilt (i.e. prevents pulling on the fabric from the weight of the quilt falling down). There was only a few moments I needed someone to hold the end of the quilt (when I had excess fabric on the left side of my sewing machine).

For the binding, I used the same gray background fabric. After attaching the binding to the front, I had a bit of trouble cleanly sewing it on the back. If I had to do the binding over again I would be a bit more careful about the binding width (make it more consistent) and pinned it more securely while sewing. I would have also taken a bit more time doing the hand stitching around the label. Unfortunately I was under a time crunch and had to get the quilt out the same day in time for drop off Christmas presents.
For the hand stitching of the label, I used some Sew Fine thread gloss (satsuma scented), Acorn Premium Hand Dyed Threads by Trailhead Yarns (Butternut), and sashiko needles. I would not recommend sashiko needles for this type of work. I’m not sure if it was the stiffness/material of the label or something else, but I actually had two sashiko needles break on me while I was trying to sew this label on the quilt. The label itself was from EverEmblem, and the only complaint I have about it is that the color faded a bit in the wash. I’m curious to see how the label holds up long term. I actually sewed the label up to the batting layer of the quilt. I did this so the hand stitching wouldn’t show up on the front of the quilt. It took some practice to correctly gauge the depth of my needle.
This was also my first time using Acorn thread. The thread itself is 8 weight, and I have had some difficulty finding sewing needles that I can thread with that size (hence my attempt with sashiko needles). Despite that though, the color of the thread is gorgeous and I’m excited to try the other colors I have bought on other projects. While hand quilting can be time consuming, it can be a nice touch. And hand quilting can be mixed with machine quilting if you don’t feel like completely hand quilting a quilt. For the thread gloss, while it is not a necessary product, it can make hand quilting easier. It coats the thread to protect it from fraying and tangling, and makes the thread stiffer (i.e. easier to work with). And I would be lying if I didn’t say the scents are a big part of the appeal of using thread gloss (there is a variety of scents of satsuma doesn’t appeal to you).
I am aware there is a debate about washing quilts. Washing quilts will give them a crinkly look (although you can minimize that by pre-washing fabric). Personally, I don’t mind the crinkled look and it has been important to me to make sure the quilts I’ve given out are clean (one was for a baby and the other a toddler). I also think it is a good way to test the integrity of the quilt (as a quilt for a child will likely have heavy wear and tear). After I wash and dry a quilt, I examine it for tears and loose threads. For this quilt, I ended up having to wash it twice since the chalk marks didn’t completely disappear in the first round of washing.