Removing 15-91 from cabinet (#40) for servicing (including power cord / foot pedal)

Last November I realized my 15-91 was overdue for servicing (maintenance, internal cleaning, oiling and minor adjustments). Since I have not yet gained the confidence to do my own maintenance and internal cleaning (beyond cleaning out the bobbin area), I figured I should take it into a store.

My father-in-law had it serviced before giving me the machine so this was the first time I was arranging to do this myself. I found a store that was able to service the machine, and the night before I was planning to drop it off I decided I should gather everything I would need (bobbin, bobbin case, screw tool) and remove the machine from my cabinet. Something that should be straight forward, right?

Steps for removing the 15-91 from the cabinet (#40)

I would recommend before trying to pull out the machine to remove the bobbin and bobbin case and set them off to the side. Otherwise as you move the machine it is possible that the bobbin case and bobbin will fall out, and roll somewhere inconvenient. If you are planning to take the machine into a store for servicing, remember to bring the bobbin and bobbin case with the machine.

Unplug the 3-pin terminal plug from the machine

I apologize for all the dust…

Unscrew the hinges that attach the 15-91 to the cabinet. There should be 2.

Lift out the machine

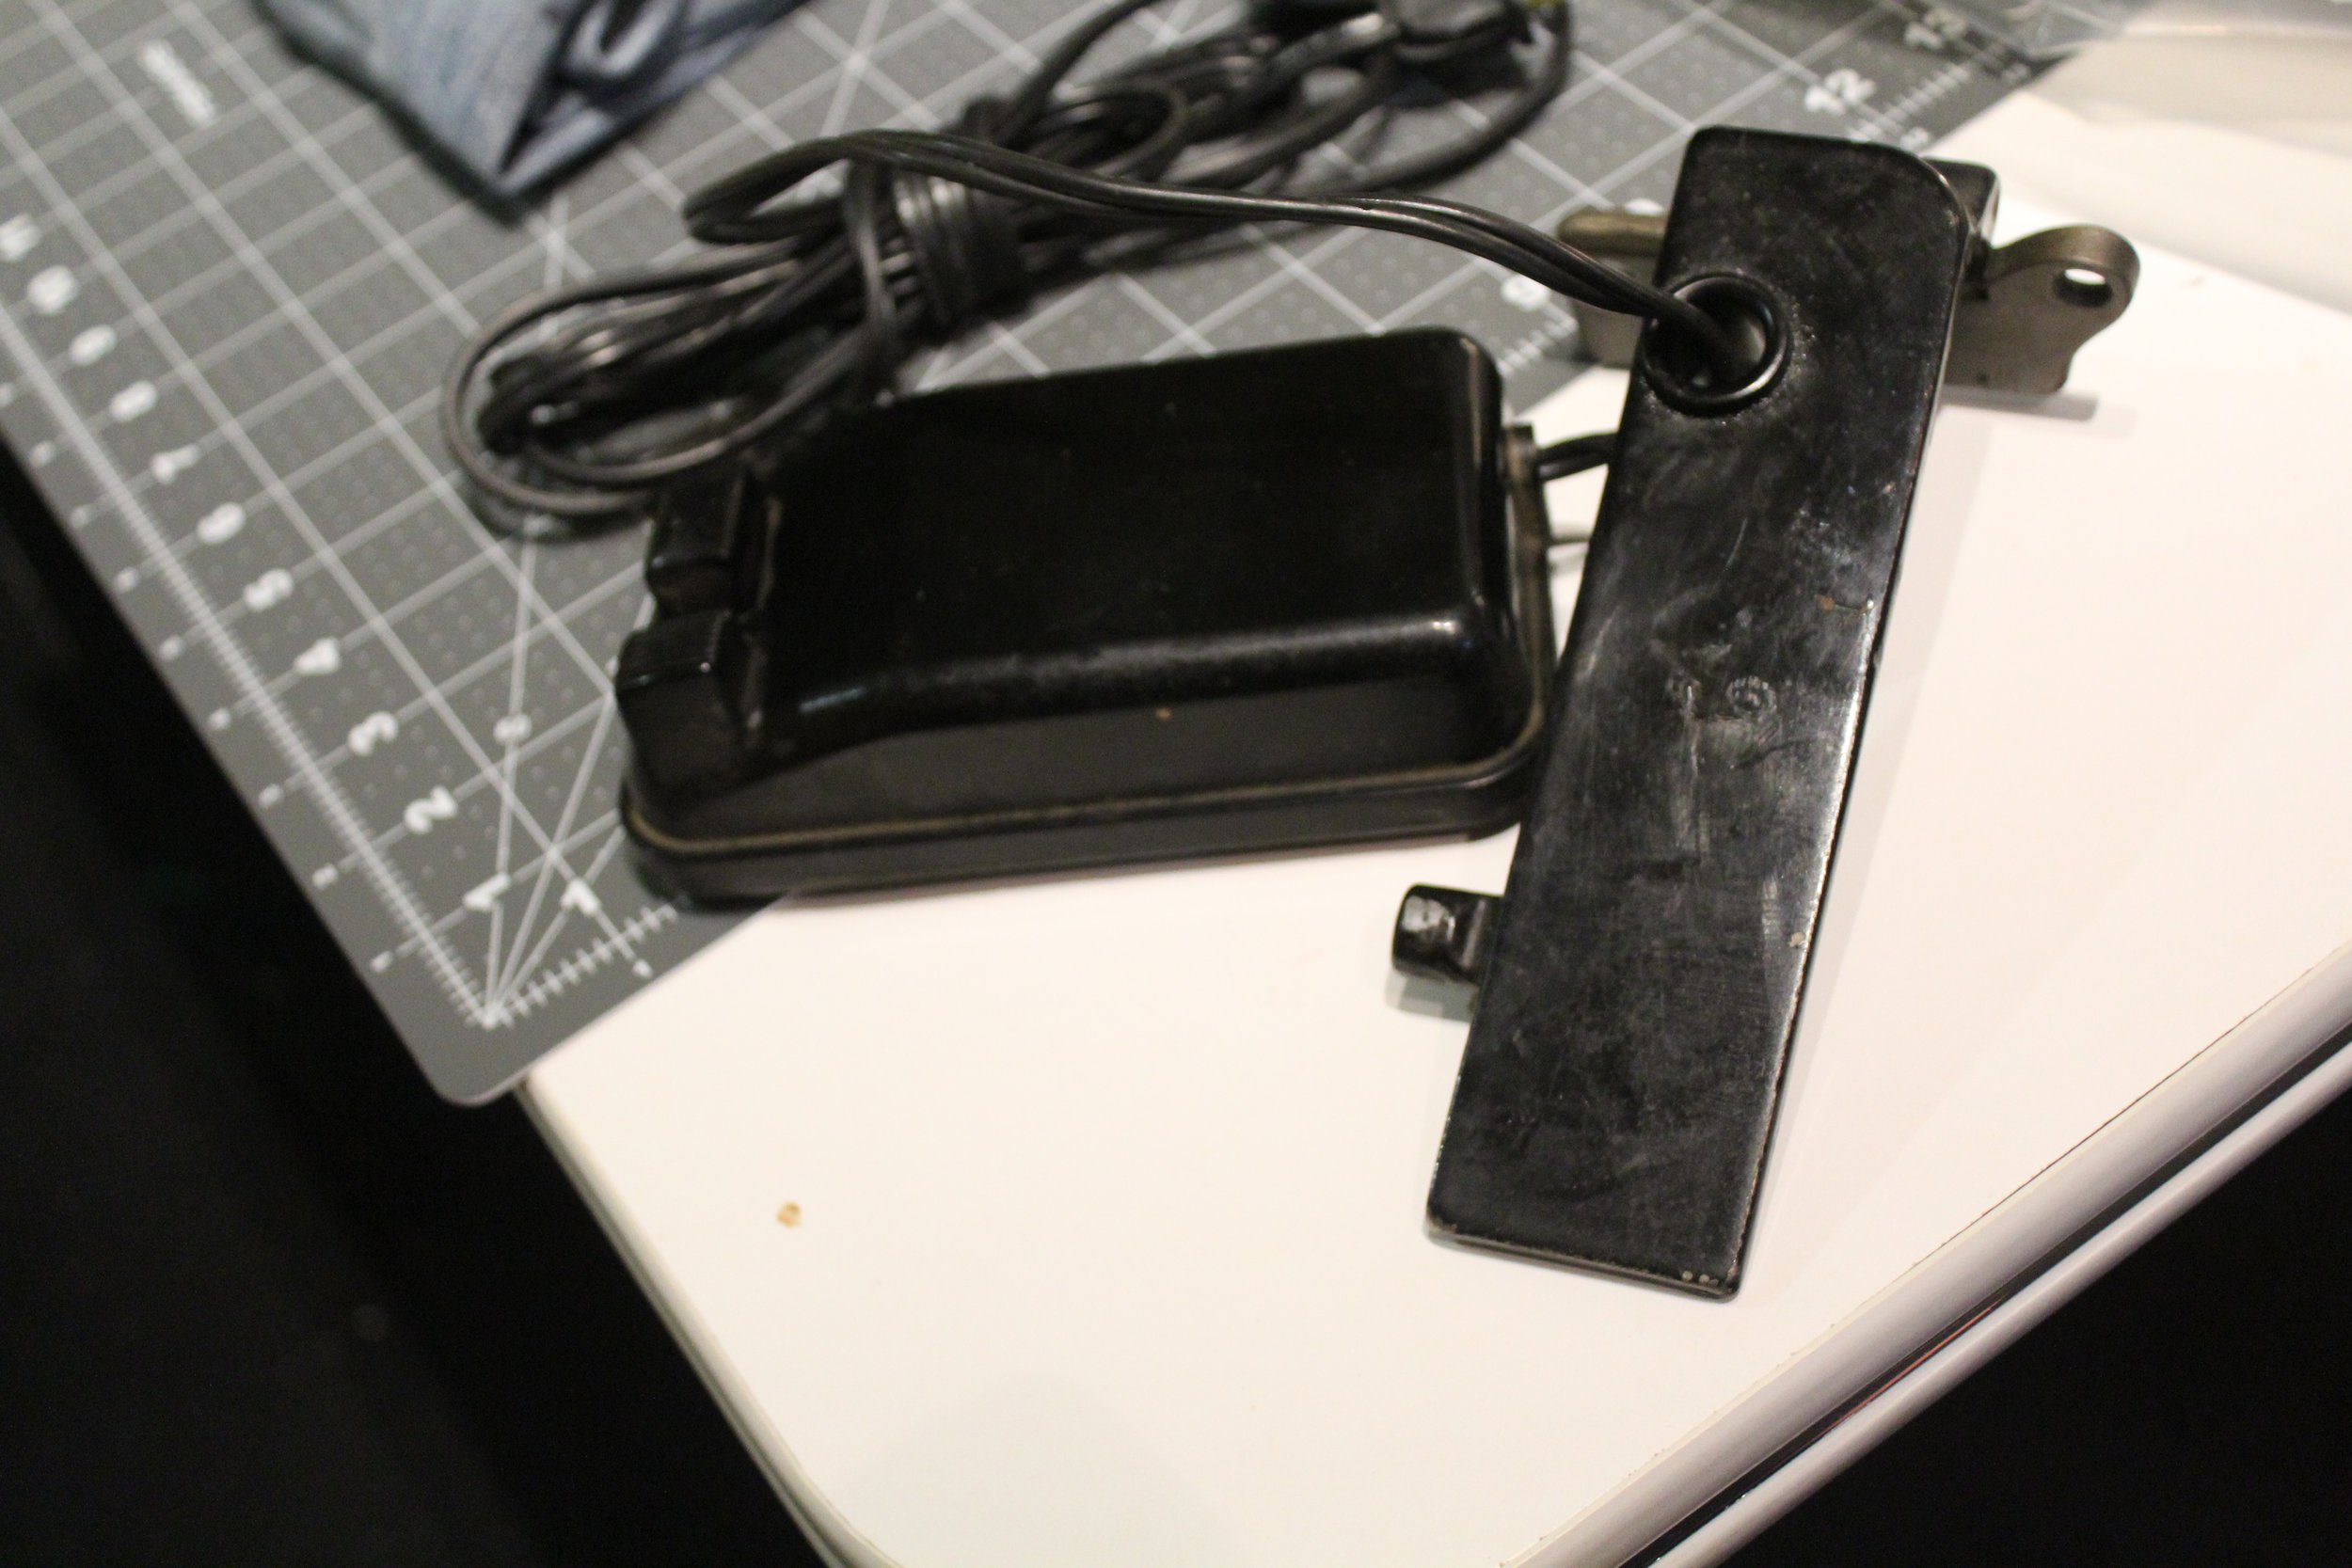
Great, the machine is removed. But wait, what about the power cord and foot pedal??? You will notice the size of the 3-pin terminal plug prevents you from pulling the cord through the cabinet in one direction. And the foot pedal prevent you from pulling the cord in the other direction. The hole in the metal plate is simply too small.

I had no idea how my father-in-law handled this previously but typically when a shop services a sewing machine they request the power cord and foot pedal to be able to run the machine. And I really didn’t want to carry the cabinet with me into the sewing shop just for the power cord.

I went to google. A lot of the initial results just covered how to remove the machine, not really mentioning anything about the power cord. Or covered how to dismount the foot pedal from cabinet (instead of using the knee pedal). Or vague references to removing the power cord with no details covering what that exactly meant.

I even checked the adjuster’s manual for the 15-91 but it mostly covered the machine itself, not the cabinet.

Then I started getting into results that suggested rewiring? I couldn’t quite make sense of that. One of the nice things about having 15-91 is the ability to self-service the machine. You can open and adjust the machine easily yourself. Rewiring just didn’t seem to fit into that self-service vision.

What was starting to make more sense was all those vintage singer machines with cut (or missing) power cords. People had likely grown frustrated with trying to remove their machine from a cabinet, and in a rage just cut the cord. BUT I WAS NOT READY TO ADMIT DEFEAT.

So I turned the cabinet upside down trying to evaluate what my options were.

Steps for removing the power cord / foot pedal for the 15-91 from the cabinet (#40)

Before we start I would recommend sliding your foot pedal out of its case/holder. Since its a tight space, the more room we can give ourselves to see and maneuver, the better. It might be a bit sticky but the food pedal should slide out out of its holder.

Now what is important to note is that the cable is passing through a hole in a metal plate that helps hold up the 15-91. There is no way to push the cord with the 3-pin terminal through the hole. Which means the only path forward is to remove the metal plate from the cabinet. But how?

If we look closely we can see there are screws holding the metal plate into the cabinet.

Now at this point you might be tempted to go straight to those screws and start unscrewing them (like I did). BUT WAIT. You will quickly realize that while you can easily remove one of the screws. The other one is very hard to reach. And even if you can manage to reach it, there is a third screw you can’t even see that you will not be able to reach due to the spring mechanism being in the way.

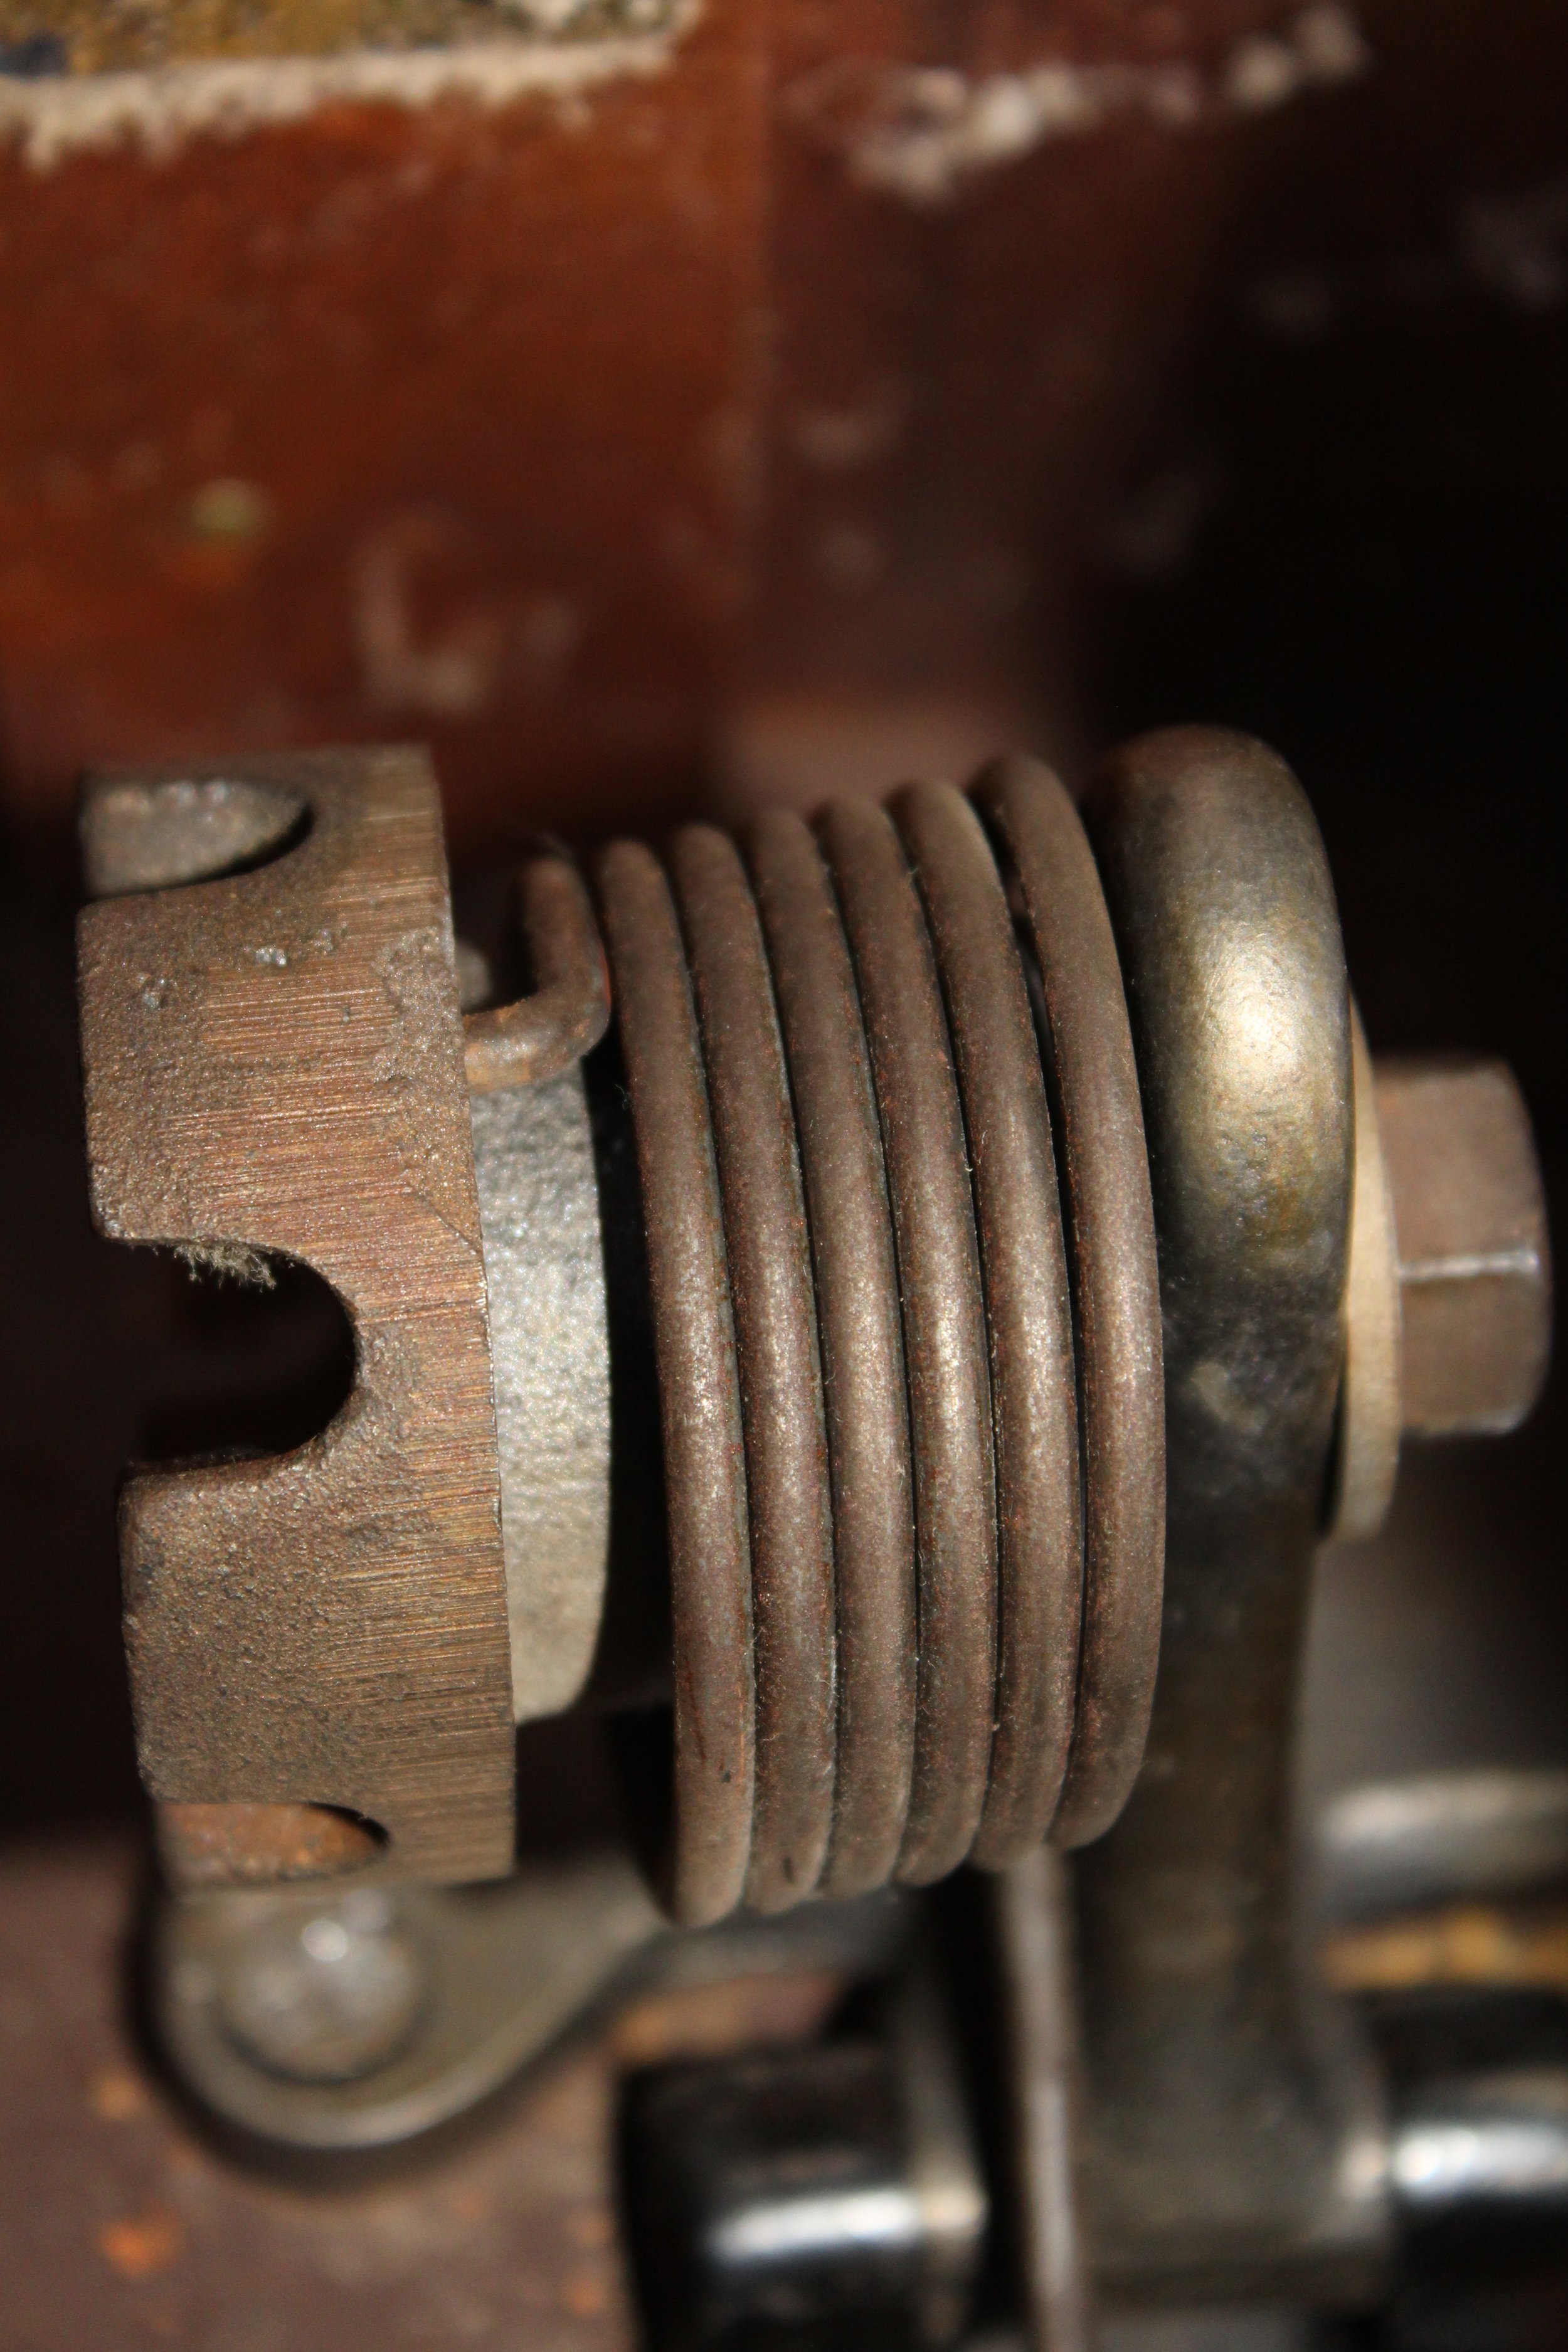
Yes, this means you will need to remove the spring mechanism to reach the screws. Take a close look at the spring mechanism.

While I’m not an expert in springs, it looks like we have a torsion spring. I’m not entirely sure what to call the part on the left (perhaps an anchor?) but it is helping to hold the tension in the spring and you can see the spring is inserted into it. You can’t see it from this angle but there is also a very long screw passing through this part through the entire mechanism. As we travel to the right, we of course have the spring, the hinge of the metal plate that our cord is passing through, a washer, and then finally a nut. The screw passing through the entire mechanism has been tightened by the nut. Which means we need to undo the nut to take this apart.

Based on my own experience, I found using a 15 mm ratchet worked well for a nut of this size. Be aware as you are loosening the nut that the tension in the spring will be released (and could be released quite suddenly). Since the entire cabinet is upside down, we don’t need to worry about the metal plate being released (once the tension is gone) and hitting us in the face. Another reason to do this with cabinet upside down…

Keep in mind that when you have to put this all back together you will need to add tension back to the spring by tightening it before securing it in place. If you don’t, then the metal plate won’t have any tension helping to hold it up.

Once you remove it, you should have the anchor (?), spring, washer, nut, and long screw. Put them aside in a safe space.

Now that the spring mechanism is out of the way, we can clearly see all three screws holding the metal plate in place! It will still be a bit tight but much easier to unscrew them with the spring mechanism out of the way.

Before you get too excited, make sure to set aside the screws in a safe place. And viola, now we can pull out the metal plate, with the foot pedal, 3-pin plug, and power cord. Is it slightly embarrassing to carry the power cord and foot pedal with a metal plate + hinge into the sewing store? Yes, it is (the owner had a good chuckle). But far better than having to carrying around the cabinet or give up bringing in the machine to a shop for servicing.

Once I got the machine back, I had to do all these steps in reverse. As I mentioned earlier, it is key to add tension back to the spring before screwing it in place. Another pair of hands can be quite useful to assist with this.

Now can this knowledge be applied to other types of cabinets? I’m not sure as I only have experience with cabinet #40. But I would definitely recommend if you are having similar problems with your cabinet to turn it upside down and check what you have going on down there. It is not necessary to rewire the machine just to remove the foot pedal and power cord from the main sewing cabinet. It might just require removing some additional parts from the cabinet.

15-91 Cabinet # 40 (incl. support arm repair)

As you may of noticed in my other posts, my 15-91 came with a table that it sits in (and a matching chair). I wanted to know more about this table so I first began with the ismacs.net site.

IMG_1513.JPG
Above: Singer Cabinet (plus chair) when openLeft: Singer Cabinet (plus chair) when closed. Machine is actually tucked in under the table when in the closed position

Above: Singer Cabinet (plus chair) when open

Left: Singer Cabinet (plus chair) when closed. Machine is actually tucked in under the table when in the closed position

First thing I learned is that these tables are actually called cabinets. And that there are only 6 cabinets for the 15-91 listed. My cabinet is clearly the #40 cabinet. There are two versions of this cabinet but it looks like I have the standard #40 cabinet since I don’t have the curved legs that indicate the Queen Anne style. There is frustratingly little detail though on this cabinet on the ismacs.net site. For example, it doesn’t mention anything about the years this cabinet was produced or the cabinet drawer. The accompanying chair isn’t even shown! When I look at the page for the #40 cabinet (Queen Anne Style) in comparison, it does at least show the chair and mentions the drawer. I can also surmise from the description that other singer models were used with this cabinet in addition to the 15-91. See below for some features of the #40 cabinet I have.

Edit: Adding some extra resources I found on the #40 cabinet

  • Blog post where the author did some neat updates on their #40 cabinet to fit a modern machine. Includes some research they try to do on their cabinet:

  • Another blog post where the author looked at advertisements for various singer cabinets. The #40 cabinet is towards the end of the post.

IMG_1514.JPG
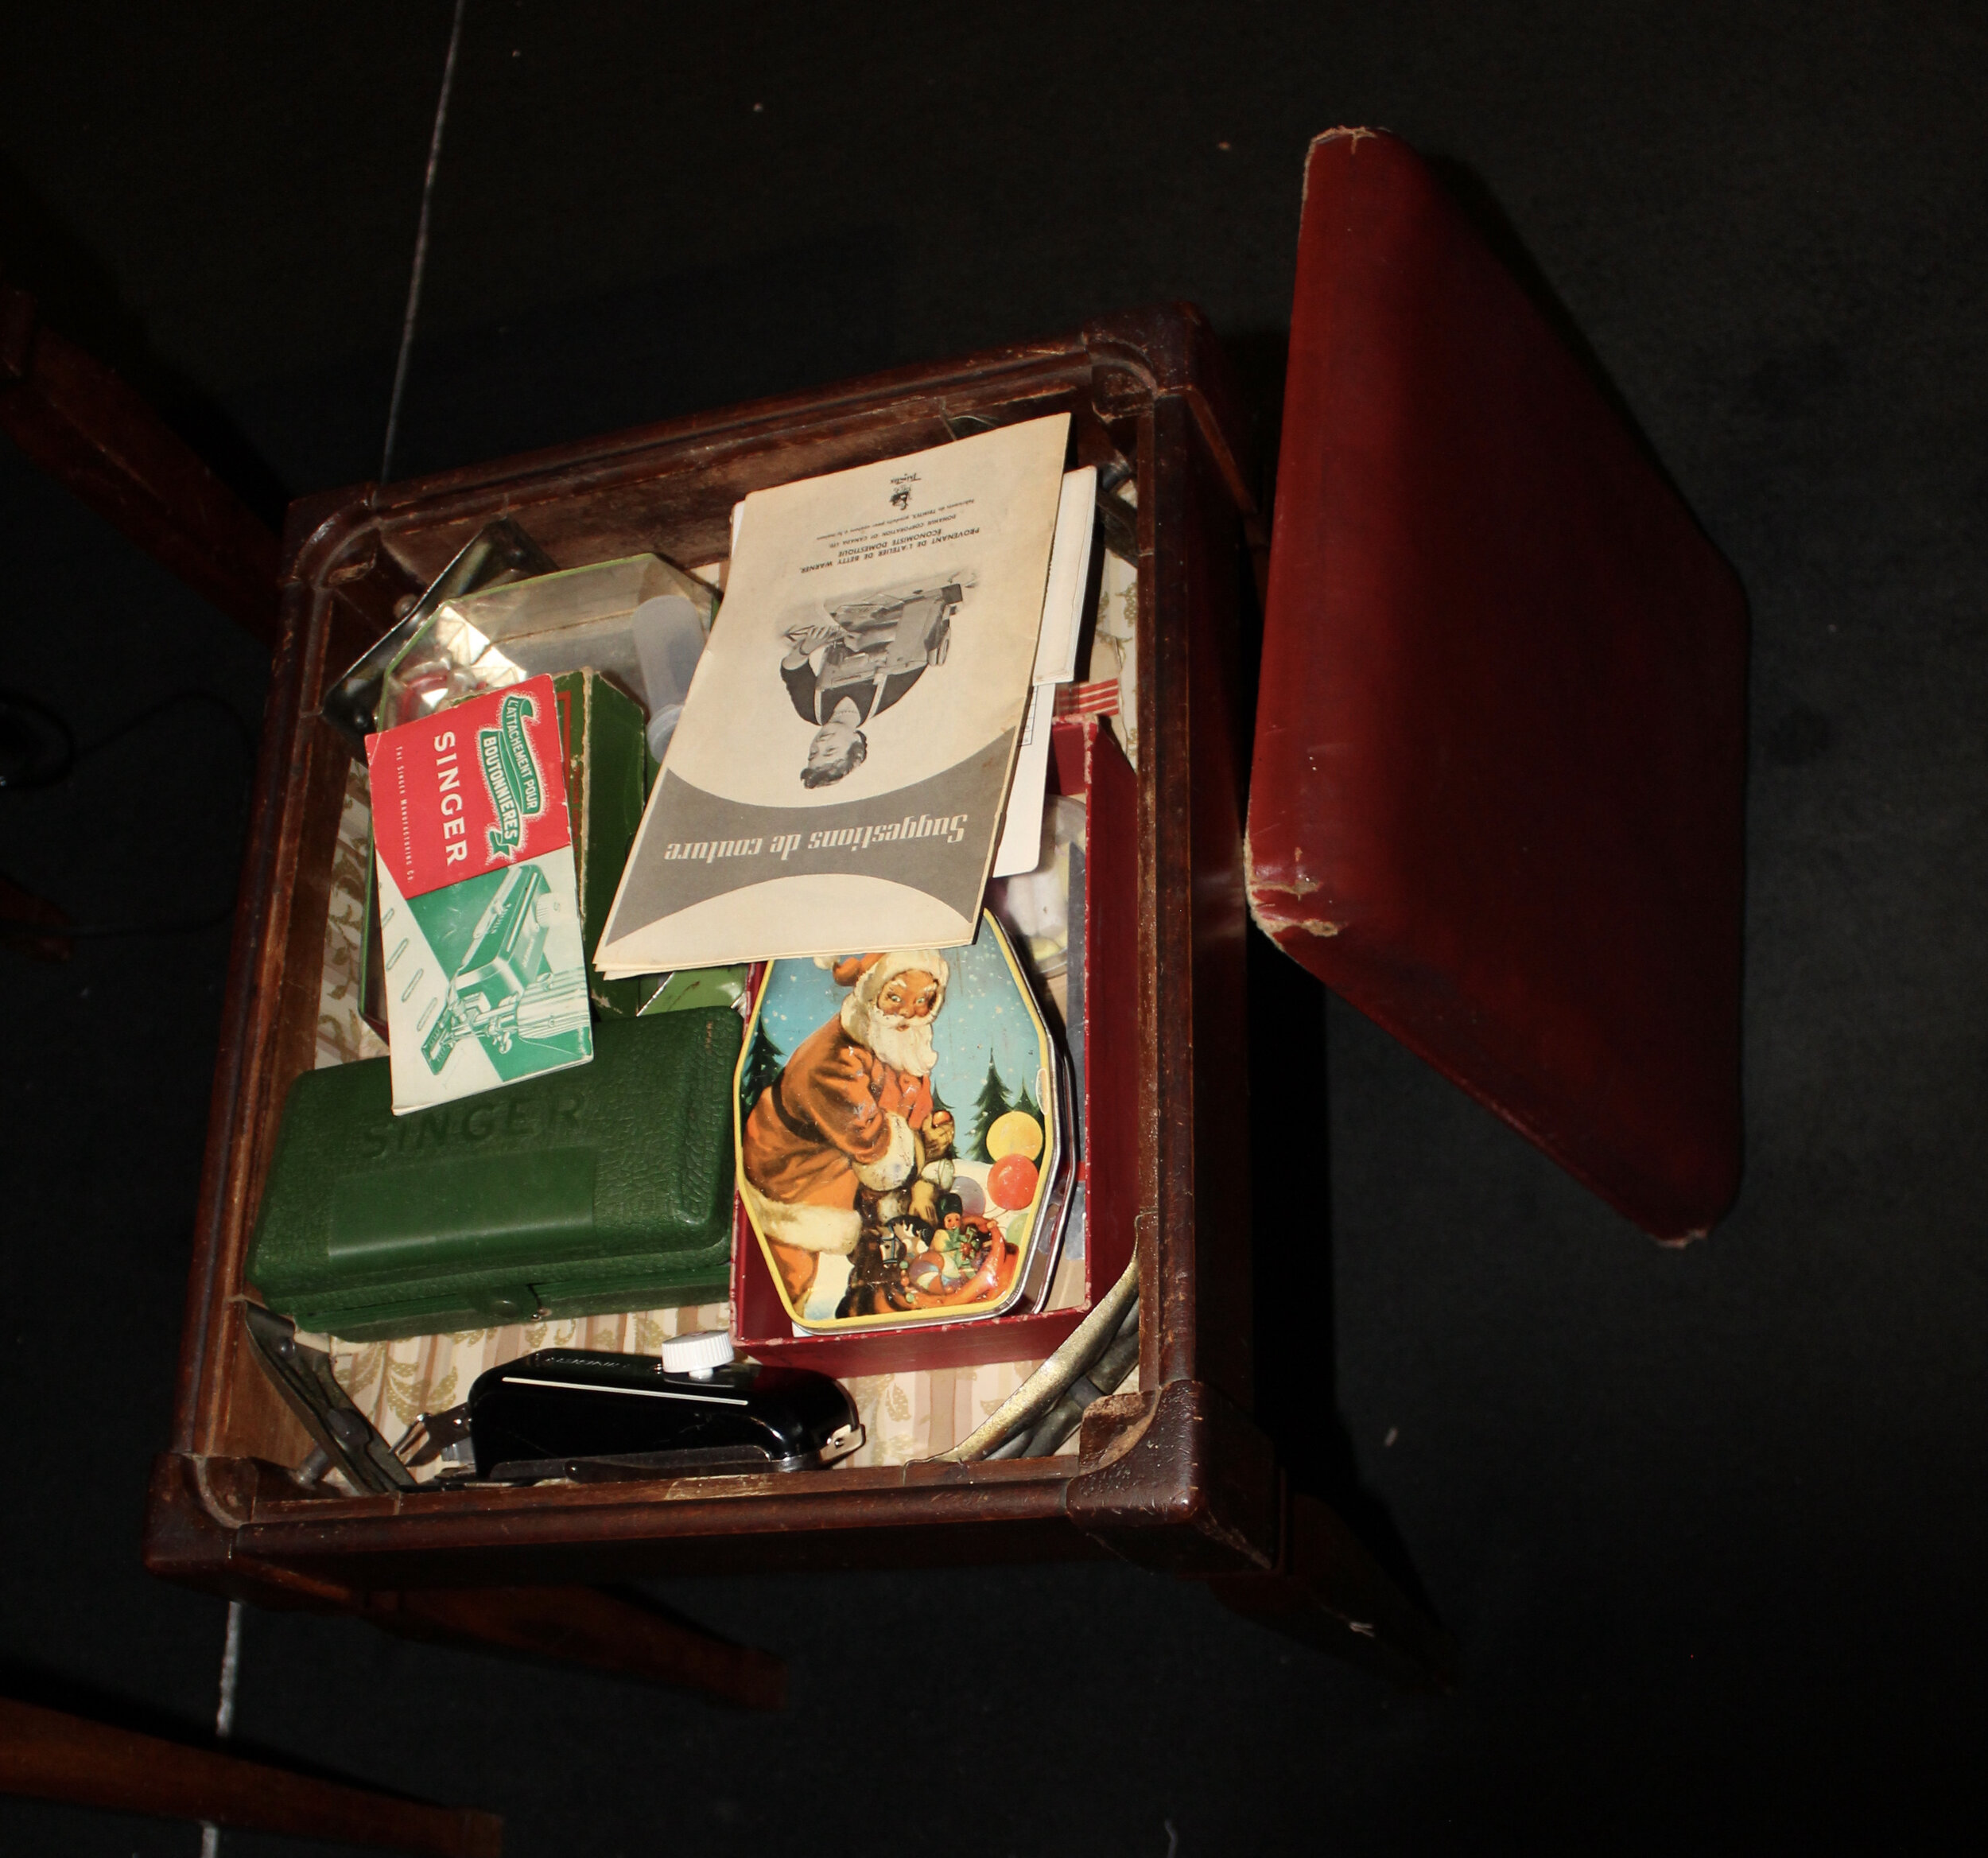
Above: Cabinet drawer that pulls out. When I asked about the metal piece in the cabinet (on the far right side of the drawer) in https://www.quiltingboard.com/ forums, they mentioned that they thought it was to hold an oil can (to oil the machine).Left: Chair/stool that came with the cabinet actually has space underneath the cushion to store items.

Above: Cabinet drawer that pulls out. When I asked about the metal piece in the cabinet (on the far right side of the drawer) in https://www.quiltingboard.com/ forums, they mentioned that they thought it was to hold an oil can (to oil the machine).

Left: Chair/stool that came with the cabinet actually has space underneath the cushion to store items.

You will notice on the right side of the photo that there is a pedal. This is actually a knee pedal and when i push against it with my knee (when I’m sitting at the machine) it will run the sewing machine. Similar to a foot pedal. The harder I push with my knee, the faster the machine goes. It took a little while to get used to using it but I actually like it quite a bit.

You will notice on the right side of the photo that there is a pedal. This is actually a knee pedal and when i push against it with my knee (when I’m sitting at the machine) it will run the sewing machine. Similar to a foot pedal. The harder I push with my knee, the faster the machine goes. It took a little while to get used to using it but I actually like it quite a bit.

I was somewhat resigned that I wouldn’t learn anymore about the table however I noticed right away when I got the machine + cabinet that there seemed to be a problem with the table. If you look at my photo below, you notice on the left leaf of the table, there is an obvious slant towards the ground. I was concerned about this because 1) I was worried the leaf would break off if I put any weight on it, and 2) It somewhat hampered my quilting (the weight of the quilt caused it to start sliding off towards the left).

IMG_1550.JPG

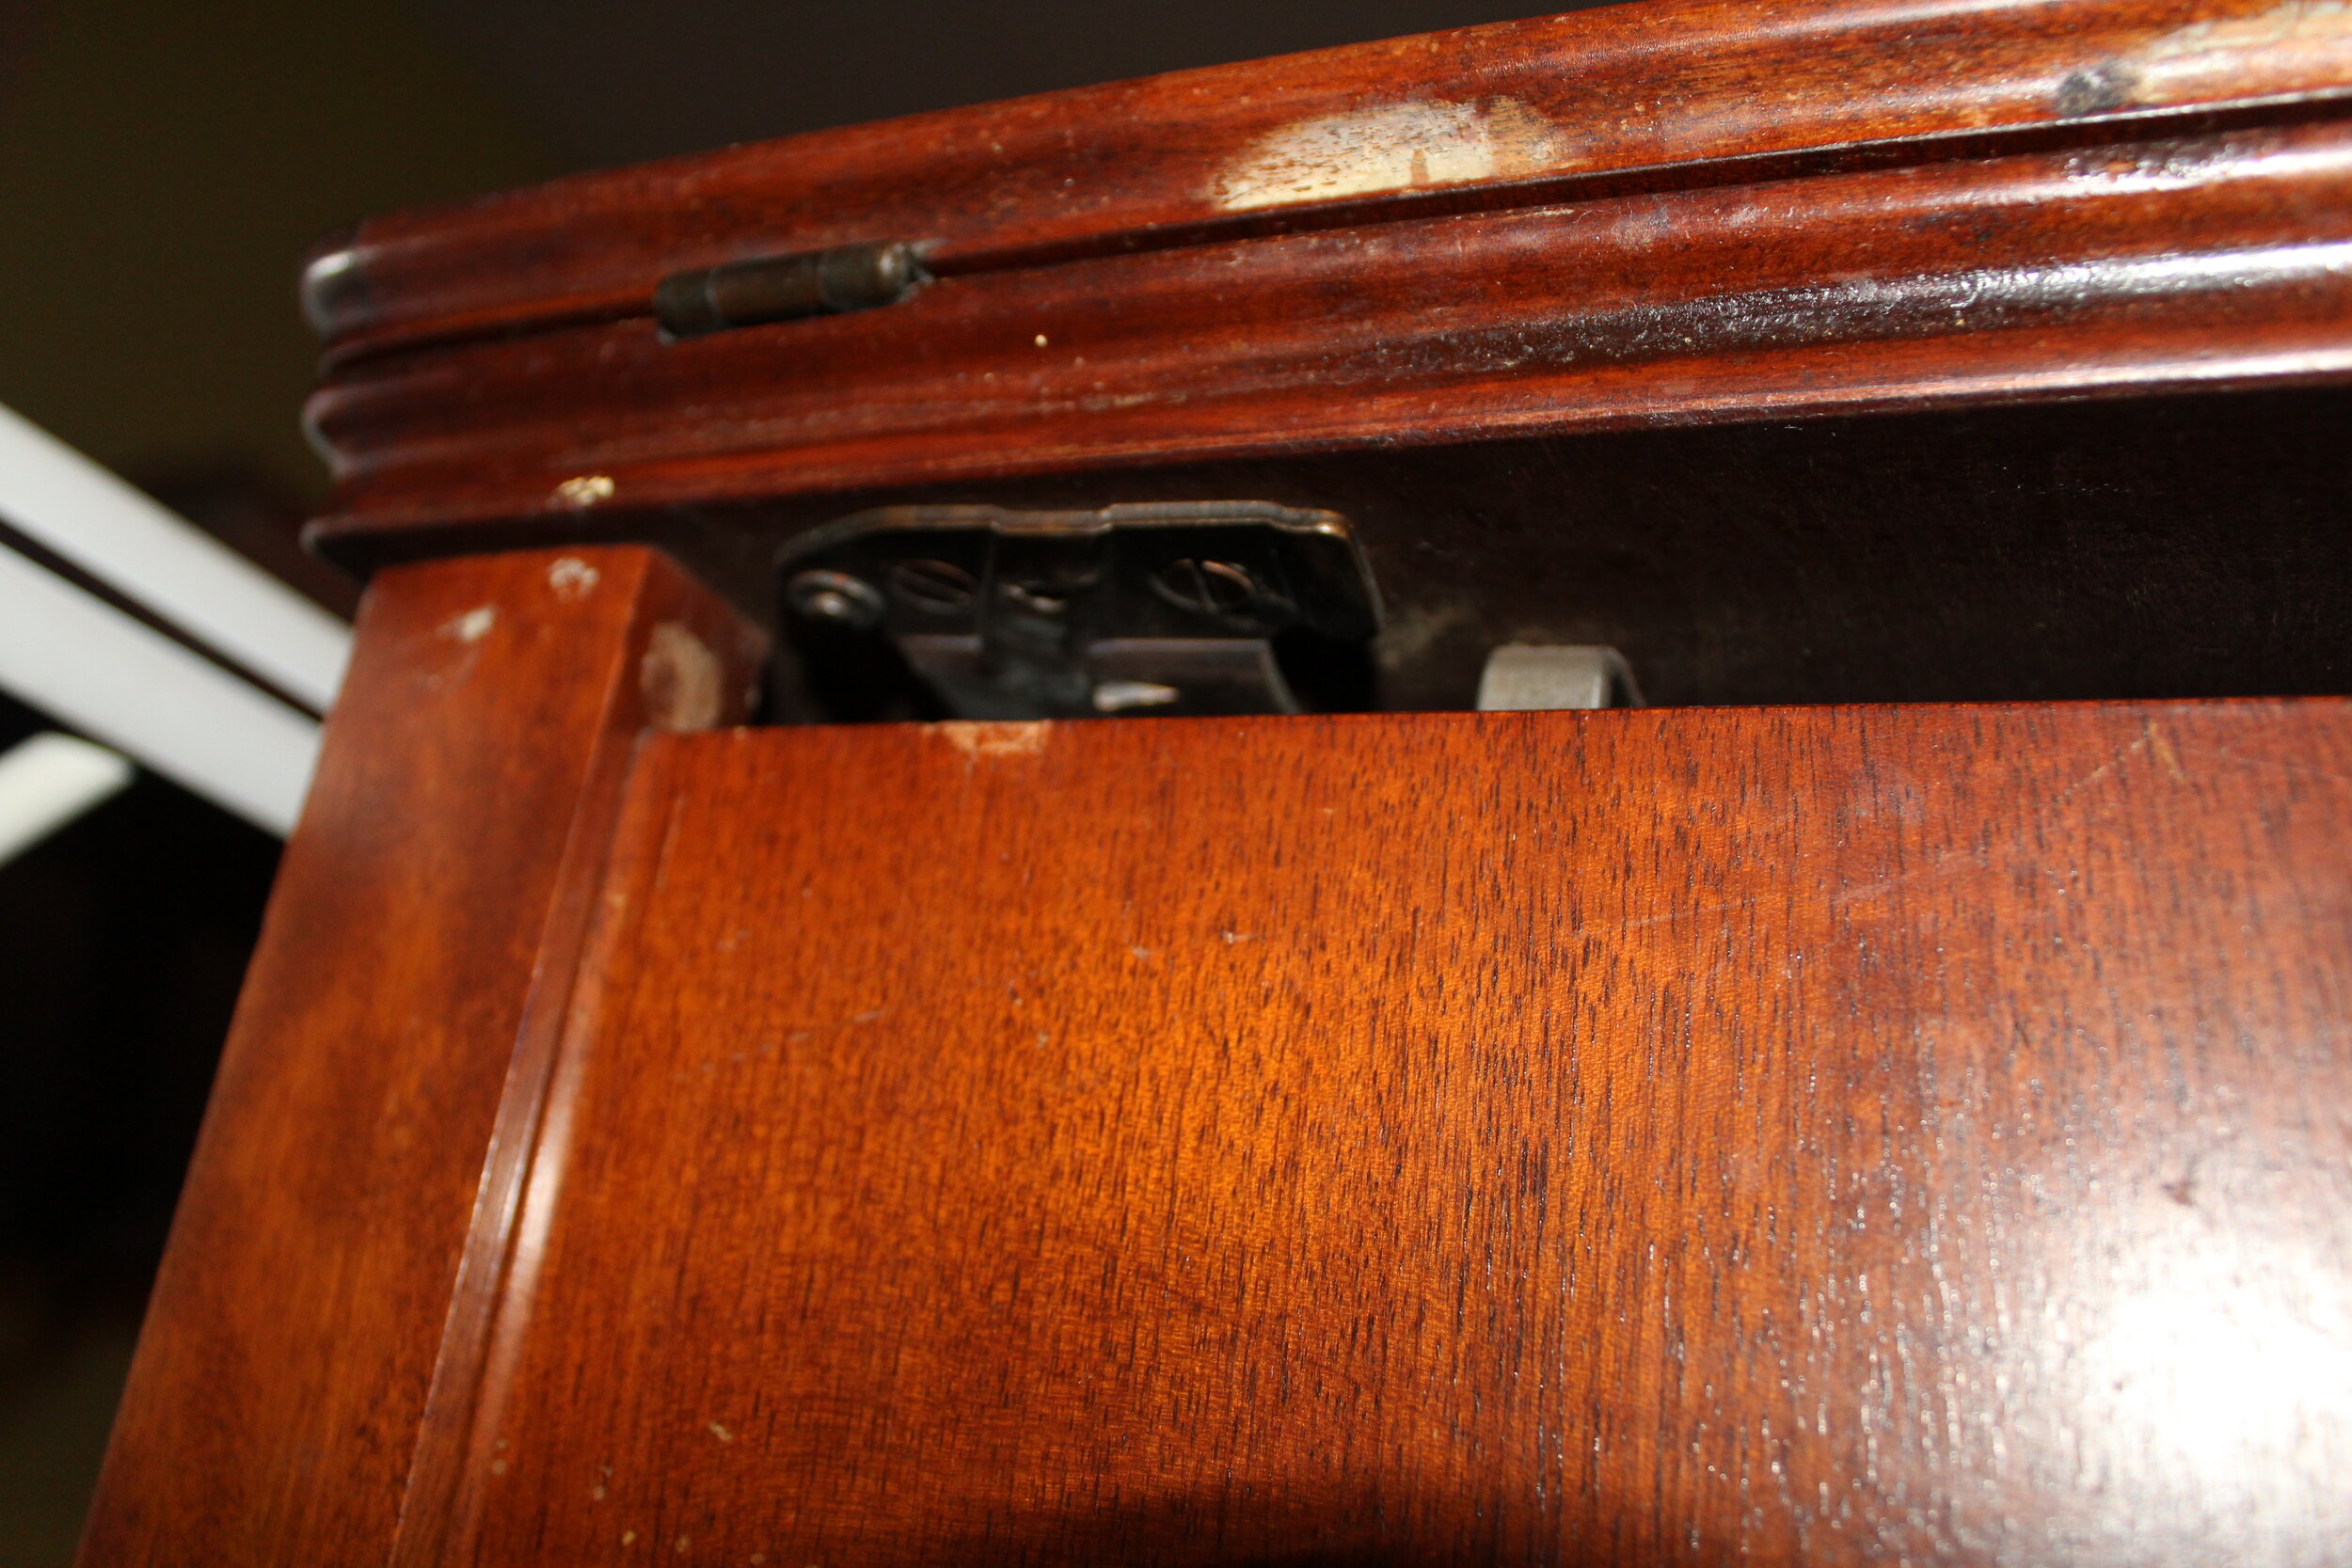
When I took a closer look in the area under the sagging leaf, I noticed a suspiciously sized space. A perfectly sized space for a support arm? Closer examination under the table, revealed a screwed plate that didn’t seem to serve any current purpose on the machine. Perhaps a left over piece from the support arm?

IMG_1537.JPG

More research was needed. Some wandering on the internet brought me to the https://www.quiltingboard.com/ forums, who confirmed that not only did some cabinet models have a support arm, but that it automatically springs out when you left the leaf??? Well now I have to fix it. I took up the suggestion in the forum to buy a singer support arm on ebay. While I waited for it I read PAPPP’s Rambling where they try to fix their #42 cabinet support arm, hoping I might understand the mechanics of this arm a bit better.

Screen Shot 2021-08-25 at 3.20.16 PM.png

Now this was my first mistake. And to spare you from making the same mistake I did, I will tell you why. What I SHOULD have done first, before ordering any parts, was remove the current screw plate and examine the part to see if it aligned with the sold part. Because as it turns out, there are different types of singer sewing machine cabinet support arms. Something I found out the day my part arrived when taking off the screw plate to replace it.

On the left is the older screw plate. On the right is the screw plate with the support arm I ordered. As you can see, the top two holes seem to align however the bottom hole clearly does not. Also the hole for the pin (top far left) doesn’t align quite right.

On the left is the older screw plate. On the right is the screw plate with the support arm I ordered. As you can see, the top two holes seem to align however the bottom hole clearly does not. Also the hole for the pin (top far left) doesn’t align quite right.

Now if you are like me and order the wrong part, you can try to make this work. I was able to screw 2 out of 3 of the screws in, however the automatic swing out feature for the support bar when I lift the cabinet leaf wasn’t working. And I couldn’t push the support arm under the table when the leaves of the table are closed. While I didn’t know the exact mechanics of the support arm, I suspected this had to do with the ‘pin’ under the table and the fact it didn’t align with the hole on this new screw plate.

I suppose I could have left the cabinet alone at this point. The leaf was now supported and I had a level surface to sew on. BUT NO! I was determined to get this cabinet properly fixed so I went back to ebay (I blame my engineering background). Now luckily for me, there was a part number on the original screw plate that came with the table (Simanco 136259). When I looked up this part number on ebay I was able to find a support arm. When I scrutinized the photo it did look like it aligned more closely with my original screw plate (compared to the part I previously ordered). I went ahead and ordered it (and ignored my significant other’s grumbling on how unnecessary this all was).

Eventually the part arrived and it… sat on my sewing table for 4 months. My excuse is that life kept me busy, but I was also not excited about climbing under the cabinet to try to screw in screws, without stripping them, in a tight space (my first time doing this when installing the wrong support arm was terrible). I FINALLY built up the courage today to install it.

It was surprisingly… straightforward? All the holes aligned and I was able to screw in all 3 screws. The pin fit perfectly into the remaining hole in the screw plate and I screwed in the spring (see below for how the spring is installed - I installed the spring before for the first support part I ordered, but I thought it might be helpful to include a reference photo this 2nd time).

And now for the moment of truth. Does the support arm work? See for yourself:

(I apologize in advance for the video quality. I’m using my phone and I’m often taking videos without any assistance)

Success! Finally my saga with the cabinet support arm can come to a close. Thanks everyone who helped me out! And if you happen to need a singer support arm that doesn’t go with a #40 cabinet and live in Canada… let me know! Otherwise this extra support arm I now have is just going to languish in my sewing room.